
This guide illustrates some approaches to enable you to test a Blackboard Ultra assessment (Test or Assignment) without making it live within the module. Testing out various aspects of the module (such as tests or otherwise) can give you the confidence that the item is functioning appropriately and adjust it should you need to make any changes without student activity.
In summary, we are going to explore using the Student Preview user. When you switch to Student Preview, Blackboard creates a temporary student account in your module. When you exit Student Preview, you have the option to Save the Student Preview user, allowing you greater scope for testing purposes. In this guide, we will explore configuring a Release condition, specifically to release content to a specific module member. In this case, that user will be the Student Preview User.
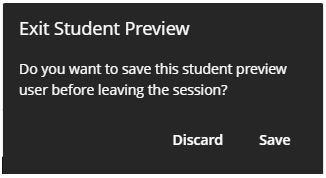
It is important to note that when switching out of Student Preview, you are prompted to either Discard or Save your Student Preview User. For the rest of this guide, we will focus on the option to “save” the user. When you are satisfied, and no longer need the Student Preview user in your module. you can switch to Student Preview and when you Exist, choose to Discard. This can help ensure the Gradebook remains accurate and up to date, especially if you are using such facilities as the Grades Transfer tool.
To begin, click on Student Preview (top right of the screen).
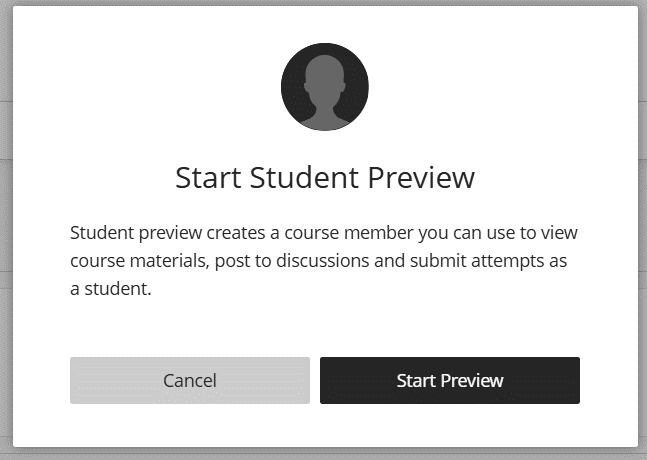
Click Start Preview, and your interface will change to that of a student. Additionally, Blackboard has created a new student user in the module, called your name_PreviewUser. Once we have entered Student Preview mode, we can simply Exit – the system has created the preview user account which is what we need for the next stage. When prompted to Discard or Save, it is crucial to select Save at this stage. This will then keep your student preview user in the module.
Once you’ve done the above, you can check the new preview user exists by going to the Gradebook or Class Register. Once satisfied we have our preview user, we can configure the Release conditions so that the assessment is only available to the Previews User.
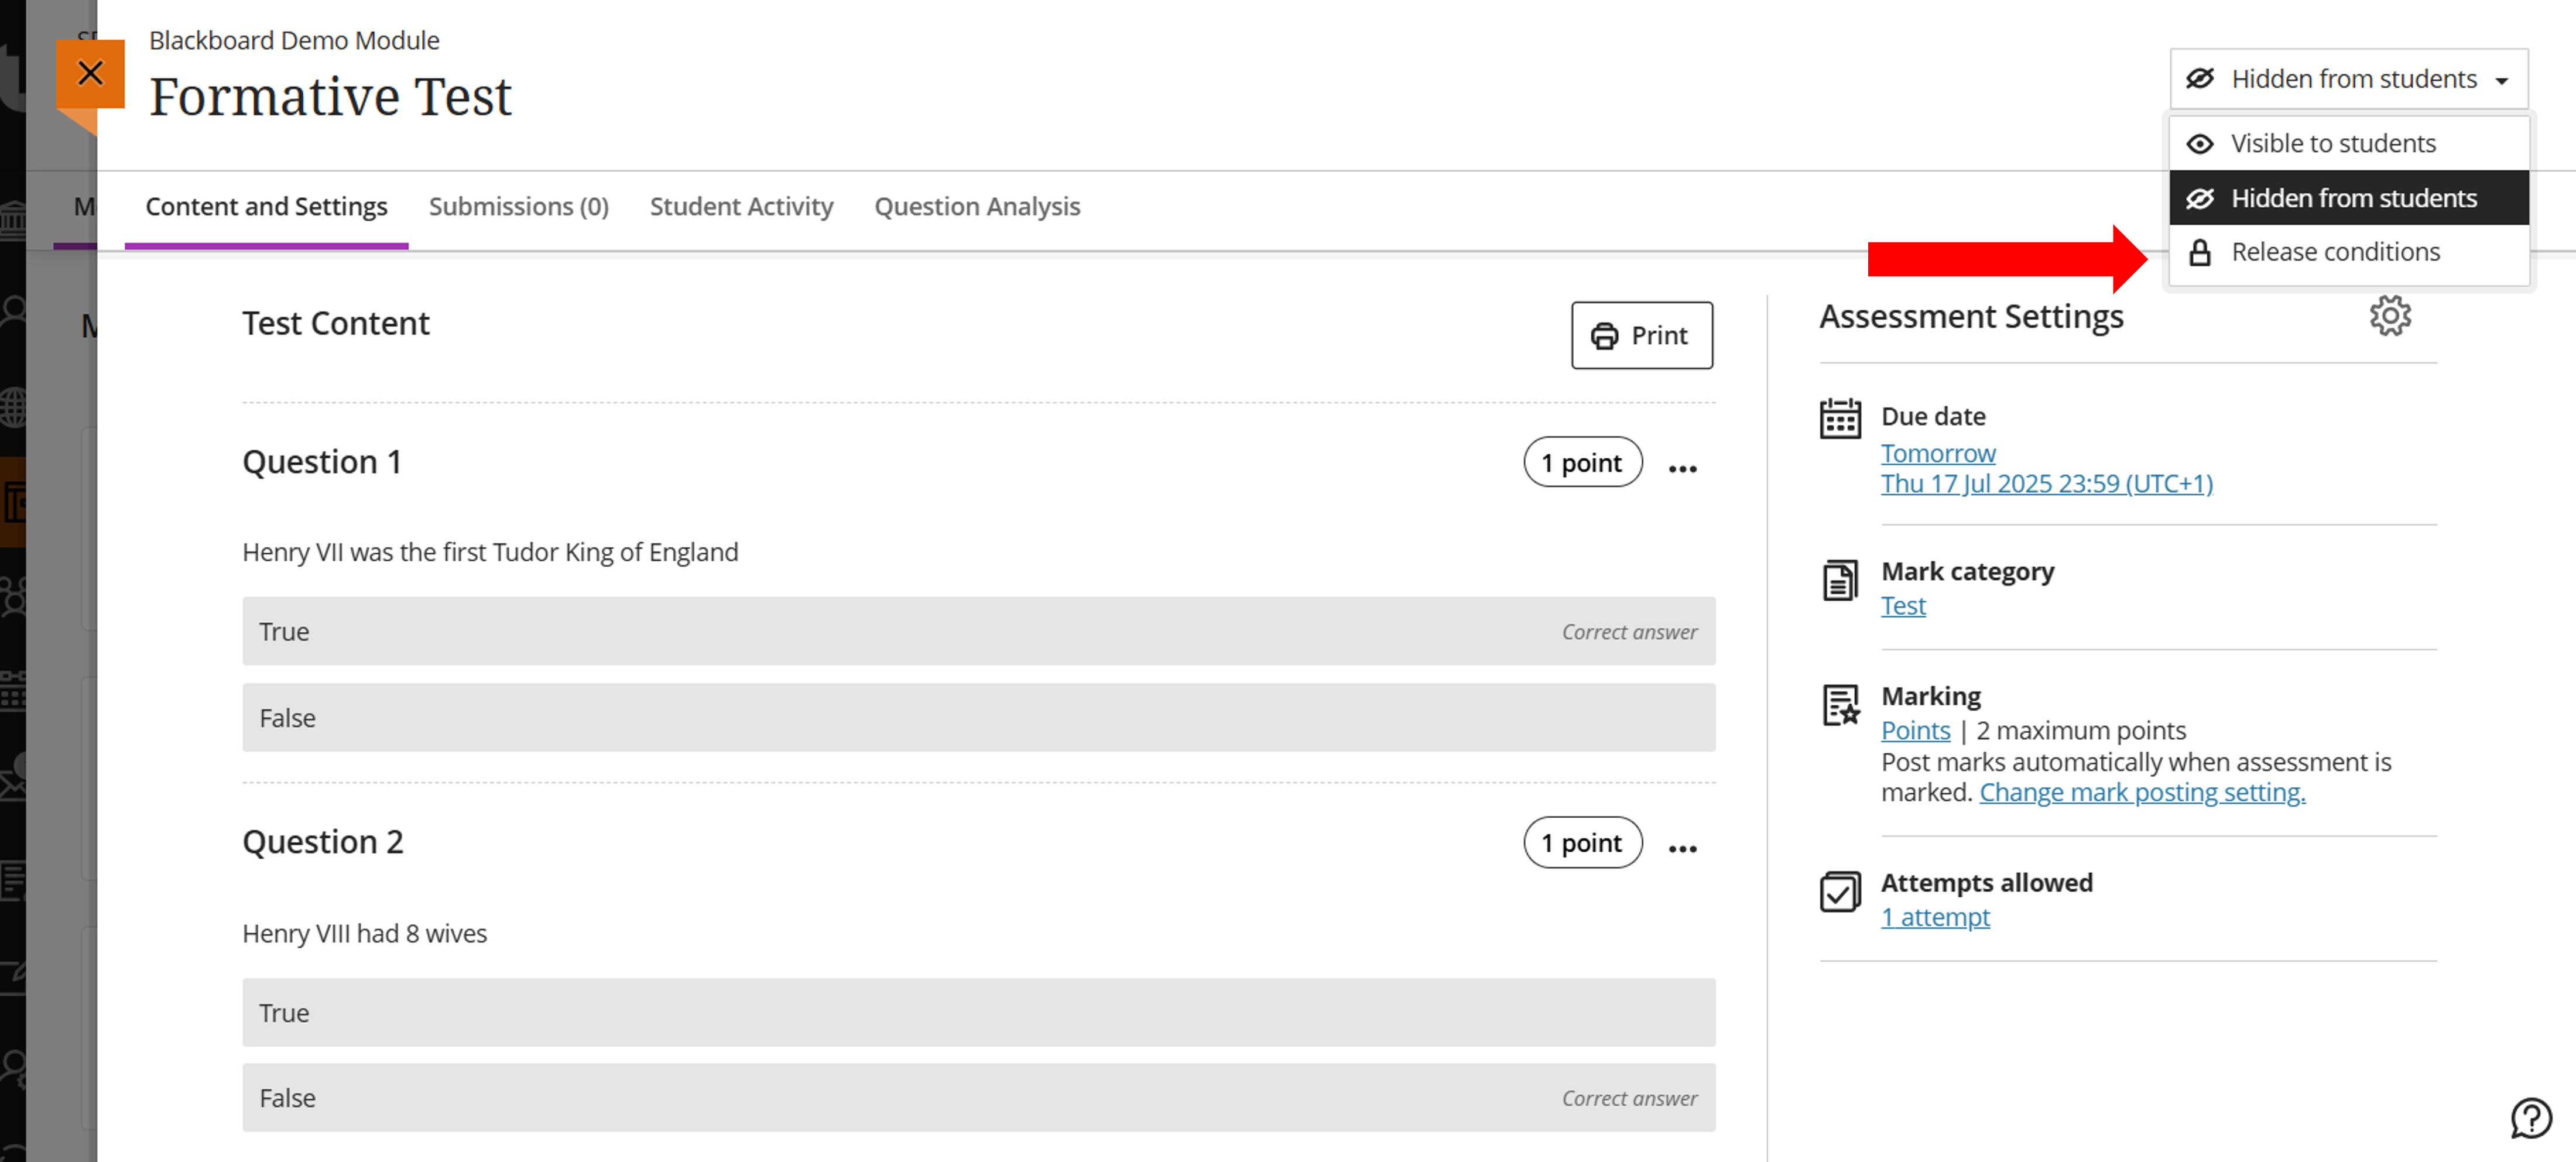
1. With the assessment or test open, change the View option from the default Hidden from students to Release conditions. You can also access the Release Conditions from underneath the items title.
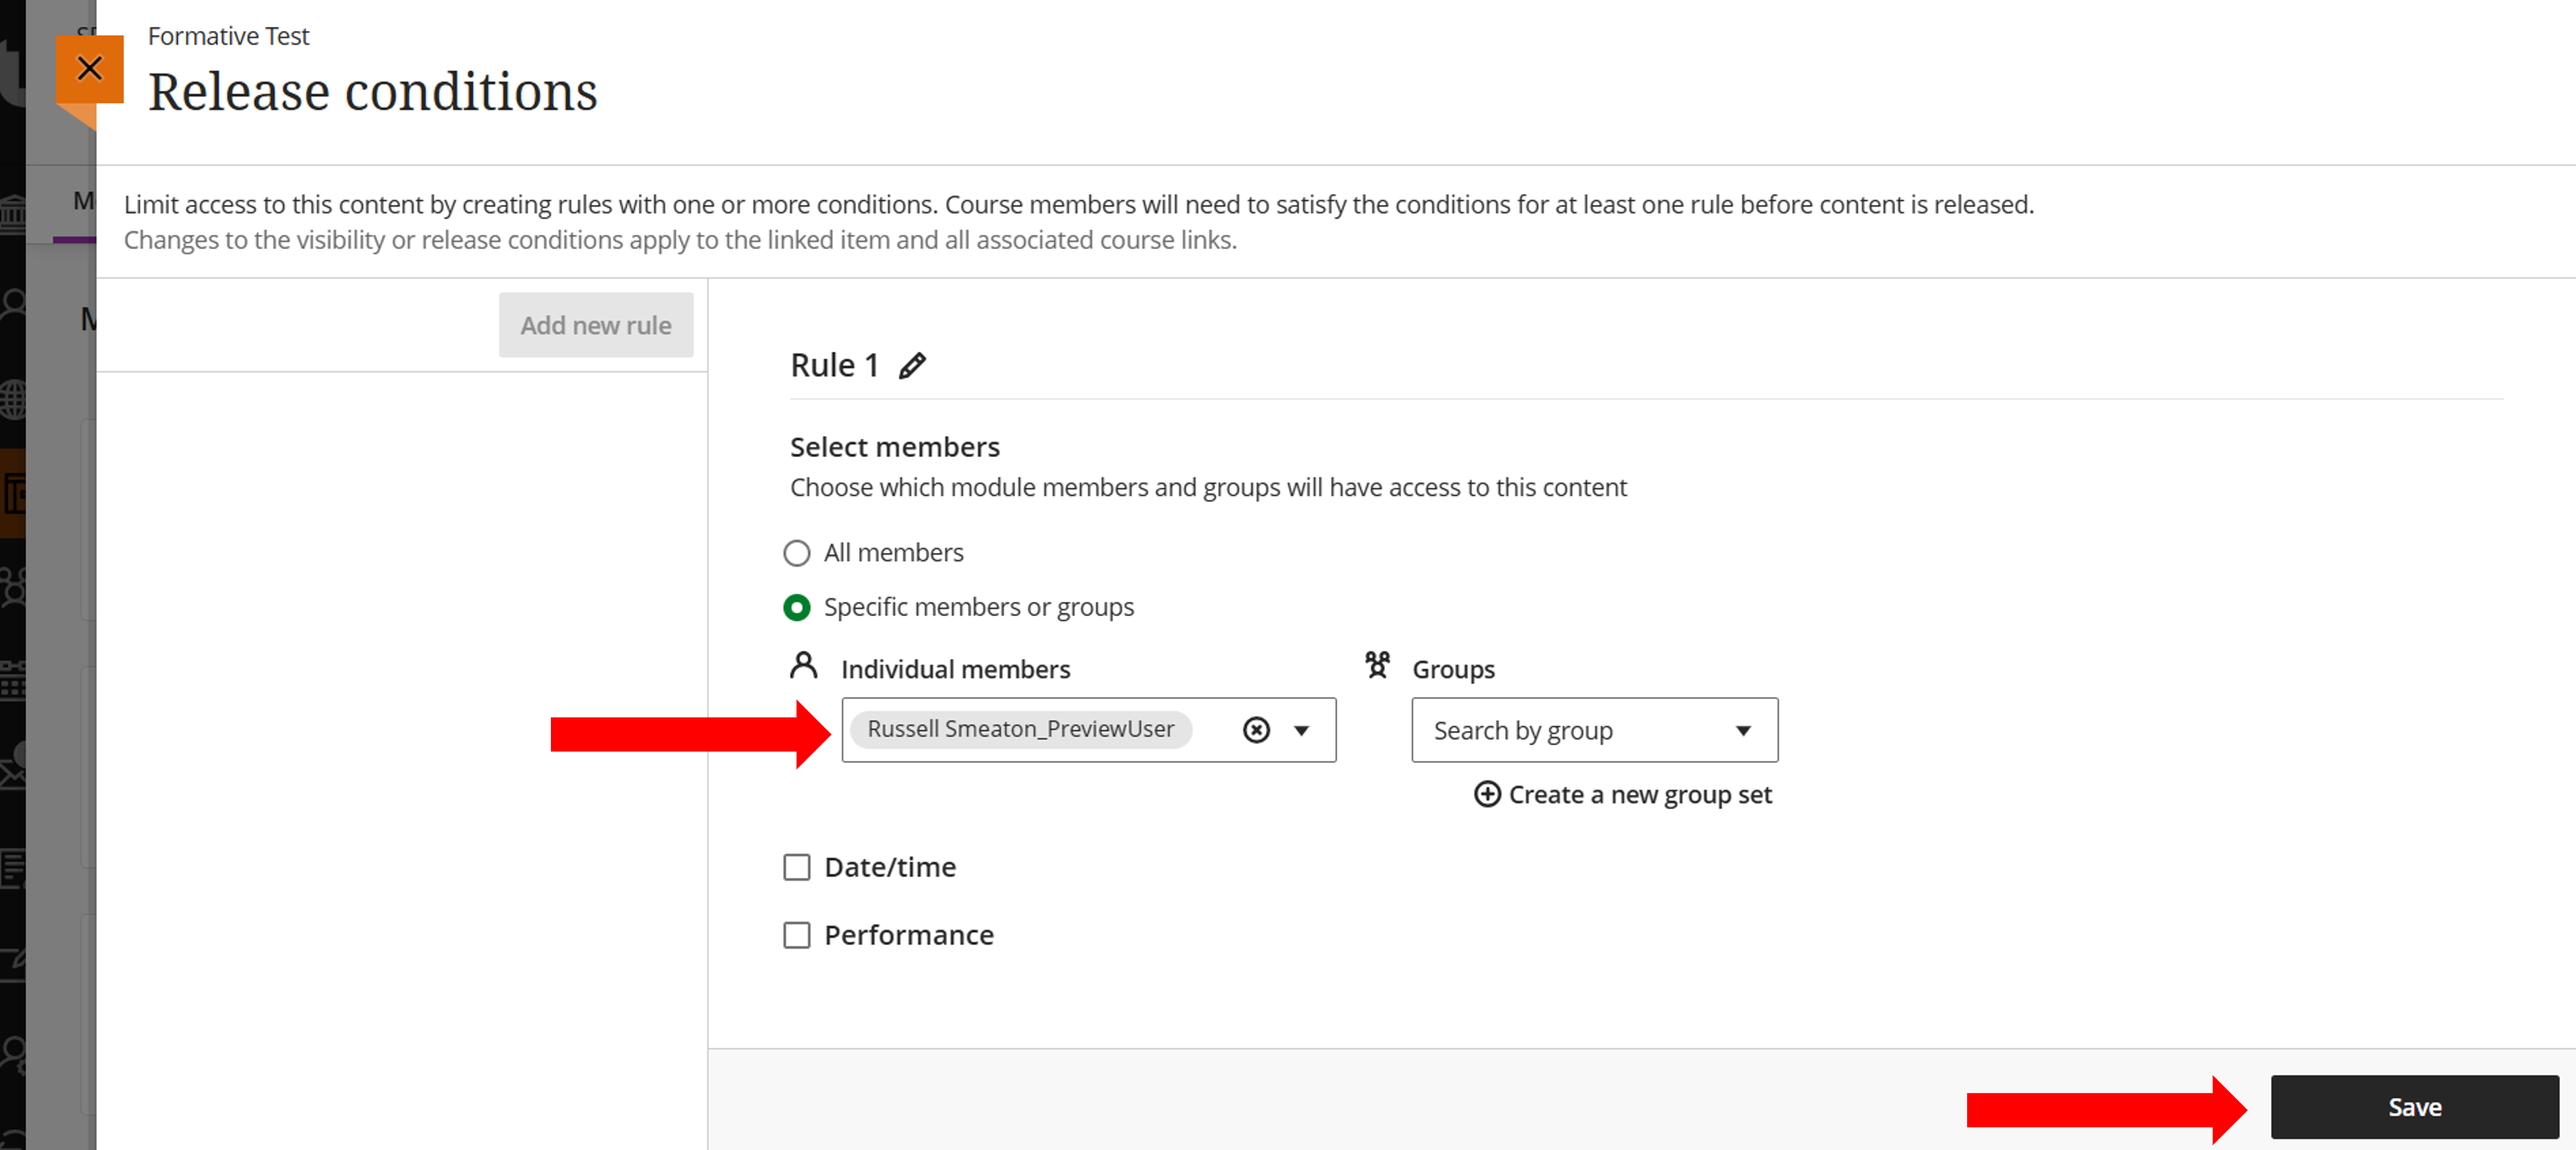
In the Release conditions page, select Specific members or groups. Then, in the Individual Members drop down, select your Preview User.
In the example below, we can see that the Specific Members or Groups option has been selected, and the Preview User has been selected. Click the Save button to save the changes to the Release Conditions and continue.
After you have clicked Save, the Release Condition will ensure this item is now only visible to your Student Preview User, and not to any other student enrolled in the module. Switch back to Student Preview, and you can now explore how the item behaves from the student perspective. In addition, you can examine in the Gradebook, and get a better understanding of what has been recorded for the Student Preview.
Once the testing of the assessment has been confirmed, you can remove your Student Preview account. Switch to Student Preview again, but when you exit the student preview, select Discard. This will remove all trace of the Student Preview account.
When the testing of the assessment is complete, the applied Release conditions will need to be removed. Either from within the item, or from within the Module Content page, click where it says Release Conditions and change the option to either Visible to Students (if you are ready for the students to access the item) or Hidden From Students if you need to modify the item.
Alternative option
If you are wanting to explore tests and/or assignments, an alternative exists by using an Access Code. This can be set instead of using the Release Condition. Setting an access code on either a assessment or test would prohibit learners from gaining access to the assessment until they are given the access code.
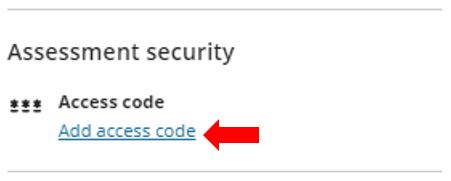
To configure the assessment security Access code, open the Settings panel, and scroll down to the bottom of the side panel. Click the Add access code option. If no access code has been set up, it’ll say Access code not required – click the toggle next to this and an access code will be randomly generated. It will be generated in a hidden state (denoted by a series of stars). Click the “Hidden” icon (right hand side) to reveal the code. You can either copy the code or make a note of it manually. Click Save and you can now use this code to explore how the test and/or assignment functions.