
Once a Class Notebook has been created and students have been attached, there may be times when certain administration tasks need to be undertaken relating to the management of the Class Notebook. This guide provides instructions on how to achieve the following:
Contents
- How to access the Manage Notebooks.
- Rename a previously created sub-section within the Student sections.
- Delete a previously created Student sub-section.
- Lock the Collaboration Space area.
- Set Collaboration Space Permissions.
- Add additional sections to the Student section.
How to access the Manage Notebooks functionality in Microsoft Class Notebook
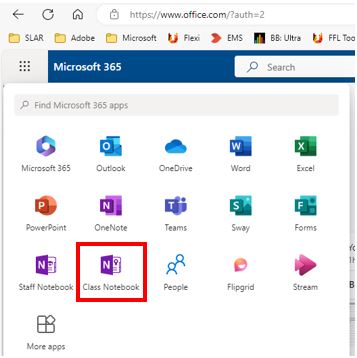
1. Open the Microsoft Office site (https://www.office.com) and select Class Notebook, not either OneNote or Staff Notebook.
The Welcome to the OneNote Class Notebook will be displayed.
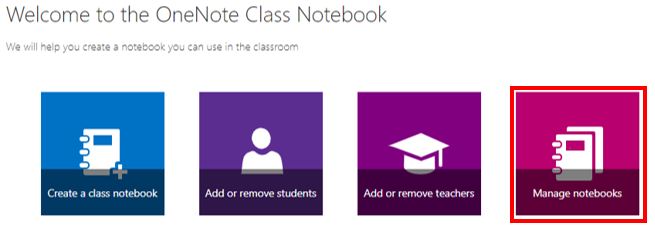
Click on the ‘Manage Notebooks’ icon, if you have multiple Microsoft Class Notebooks, select the Class Notebook in question.
Once the Manage Class Notebook menu opens, there will now be multiple configurations that can be performed. Ive options have been identified here and are described in more detail below.
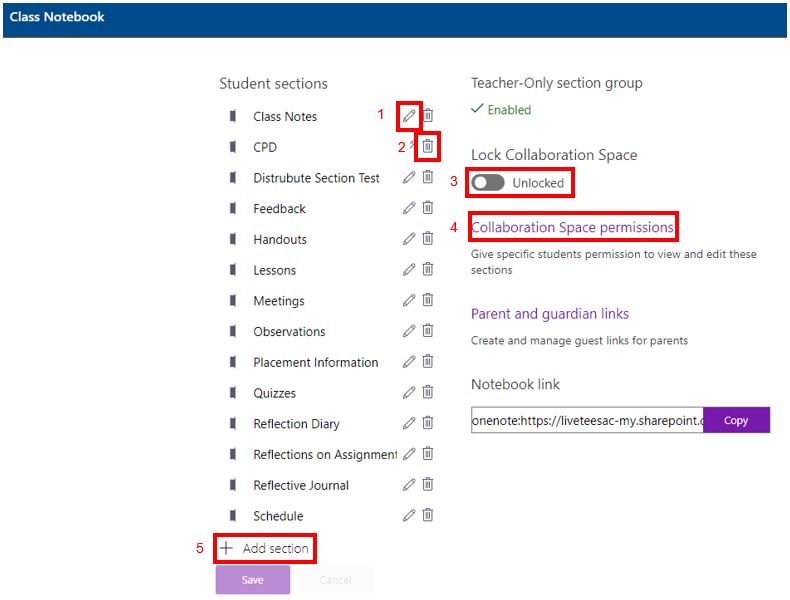
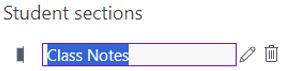
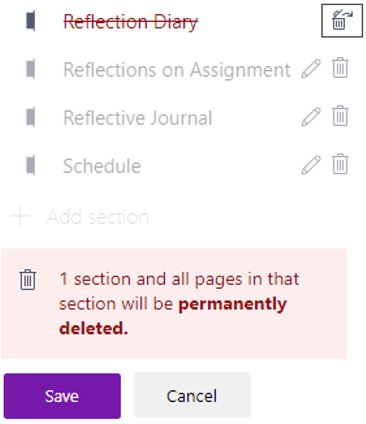
Rename a previously created ‘section title’ inside the Student section by clicking the pencil icon to the right of the section name.
3. Delete a previously created ‘Student section’ by clicking the trashcan icon. Class Notebook will provide multiple checks before executing the requested delete instruction.
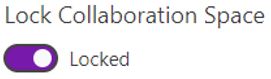
4. Lock the Collaboration section within the Class Notebook; this can be quite useful during assessment dates. The feature can be enabled and disabled at any time, simply by toggling the lock option.
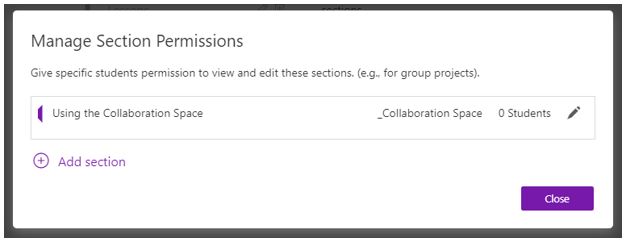
5. Set Collaboration Space Permissions – The ability to give specific students permission to view and edit the Collaboration Space sections.
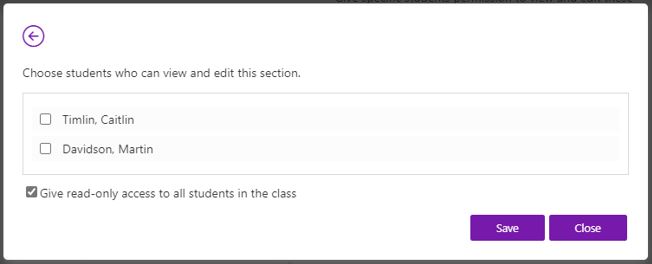
Clicking the pencil icon provides the option to choose students who can view and edit this section.
6. Add additional sections to the Student section.
One of the most useful tools for academic staff, this option allows staff to push out additional sections to student’s Class Notebook areas.
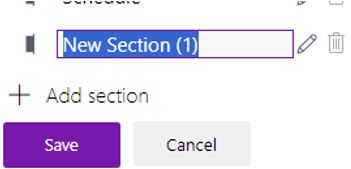
Once the section has been created and sync’d it will be created in each student’s section.