
How to transfer a Microsoft Teams recording into ReView Video Library
It is often recommended to record any sessions delivered via Microsoft Teams. This can allow those students who couldn’t attend to view the video, or to allow students to rewatch more complex material. In addition, you could record content for assessment purposes such as interviews, vivas and so on.
To avoid issues such as permissions, or time limits, you might find it useful to transfer the video into the ReView Video Library of your module. In order to do this, you will first need to download the video from Teams and then upload it to your ReView Video Library. This guide will take you through the process.
Step One – Download the Video
After the session is complete and the recording is stopped, the recording will be processed and saved to your Microsoft OneDrive by default. The recording will become available in the meeting chat and the associated Microsoft Team wall (if linked to the meeting).
To access this video, through Teams, you can access your OneDrive space via the left hand menu ribbon. From here, select My Files and then you will see a folder called Recordings. Within this folder you will find any recordings you have instigated. From this space, you can directly download the video onto your device by selecting it via the radial button and then selecting Download.
Alternatively, if you open the video, it will most likely open via the Microsoft account associated with the setup and recorded of the meeting.
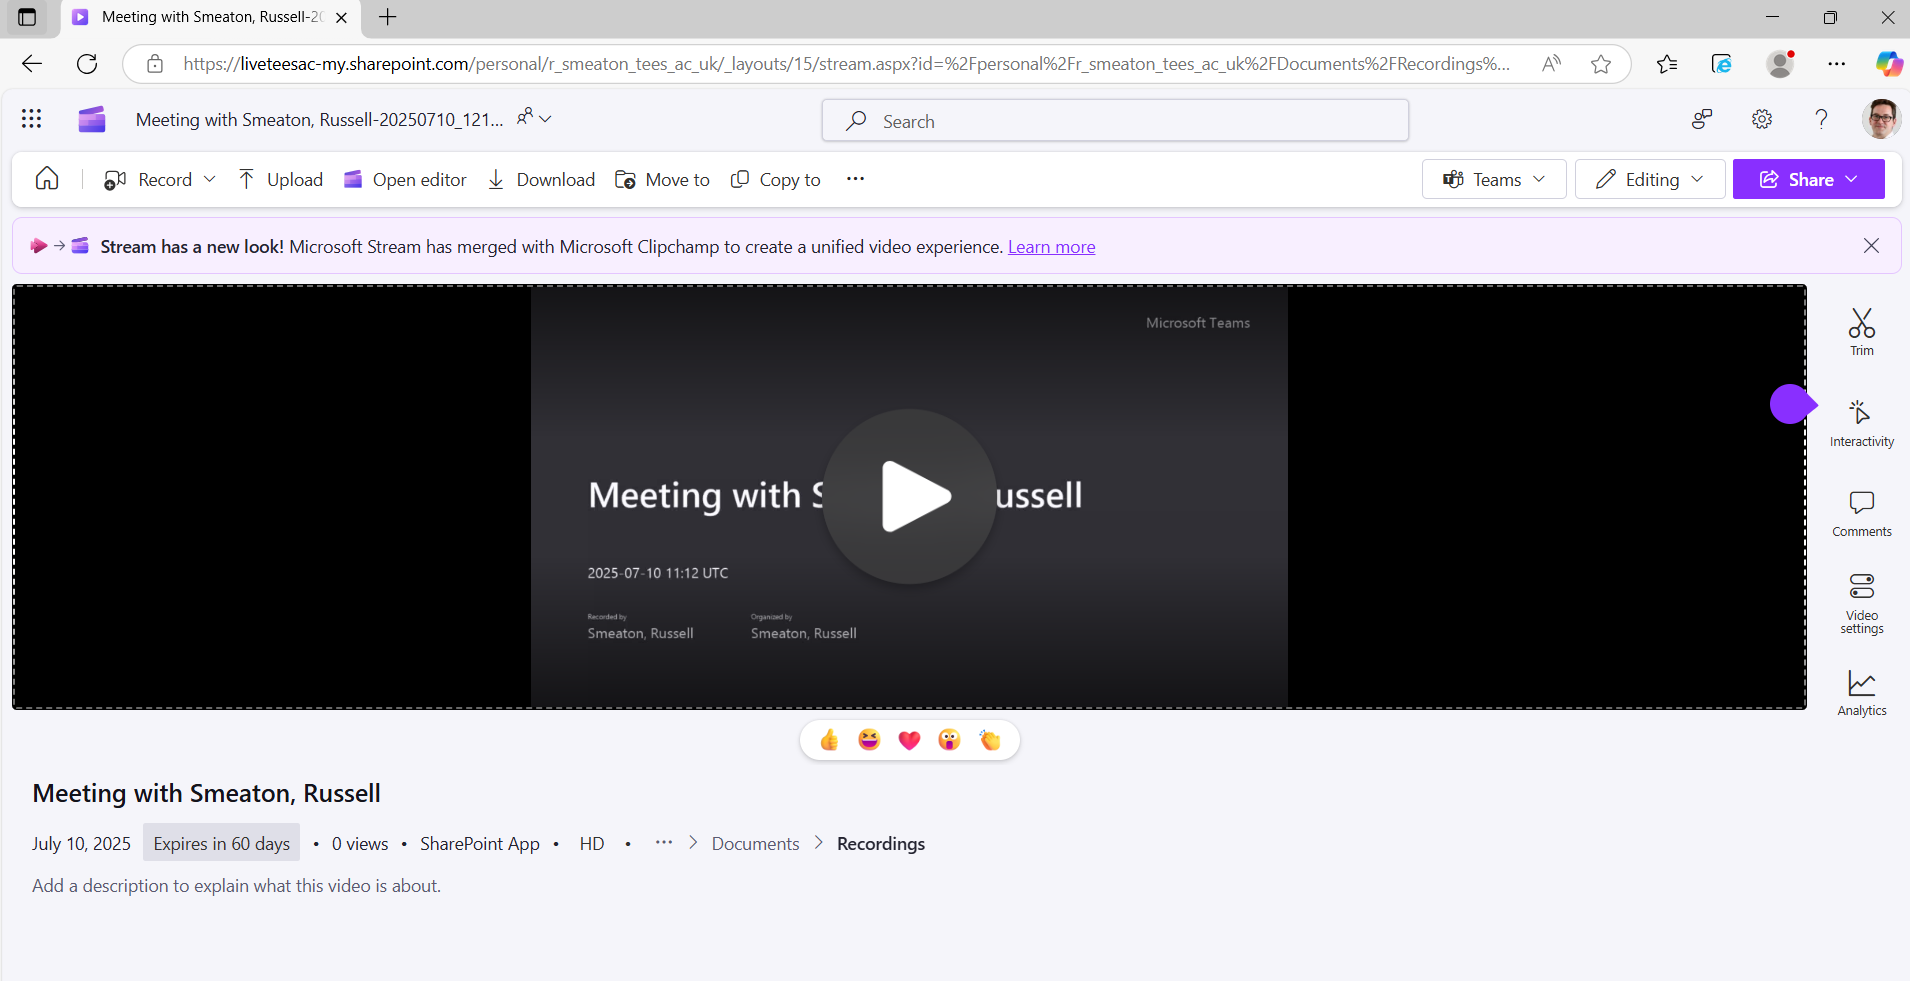
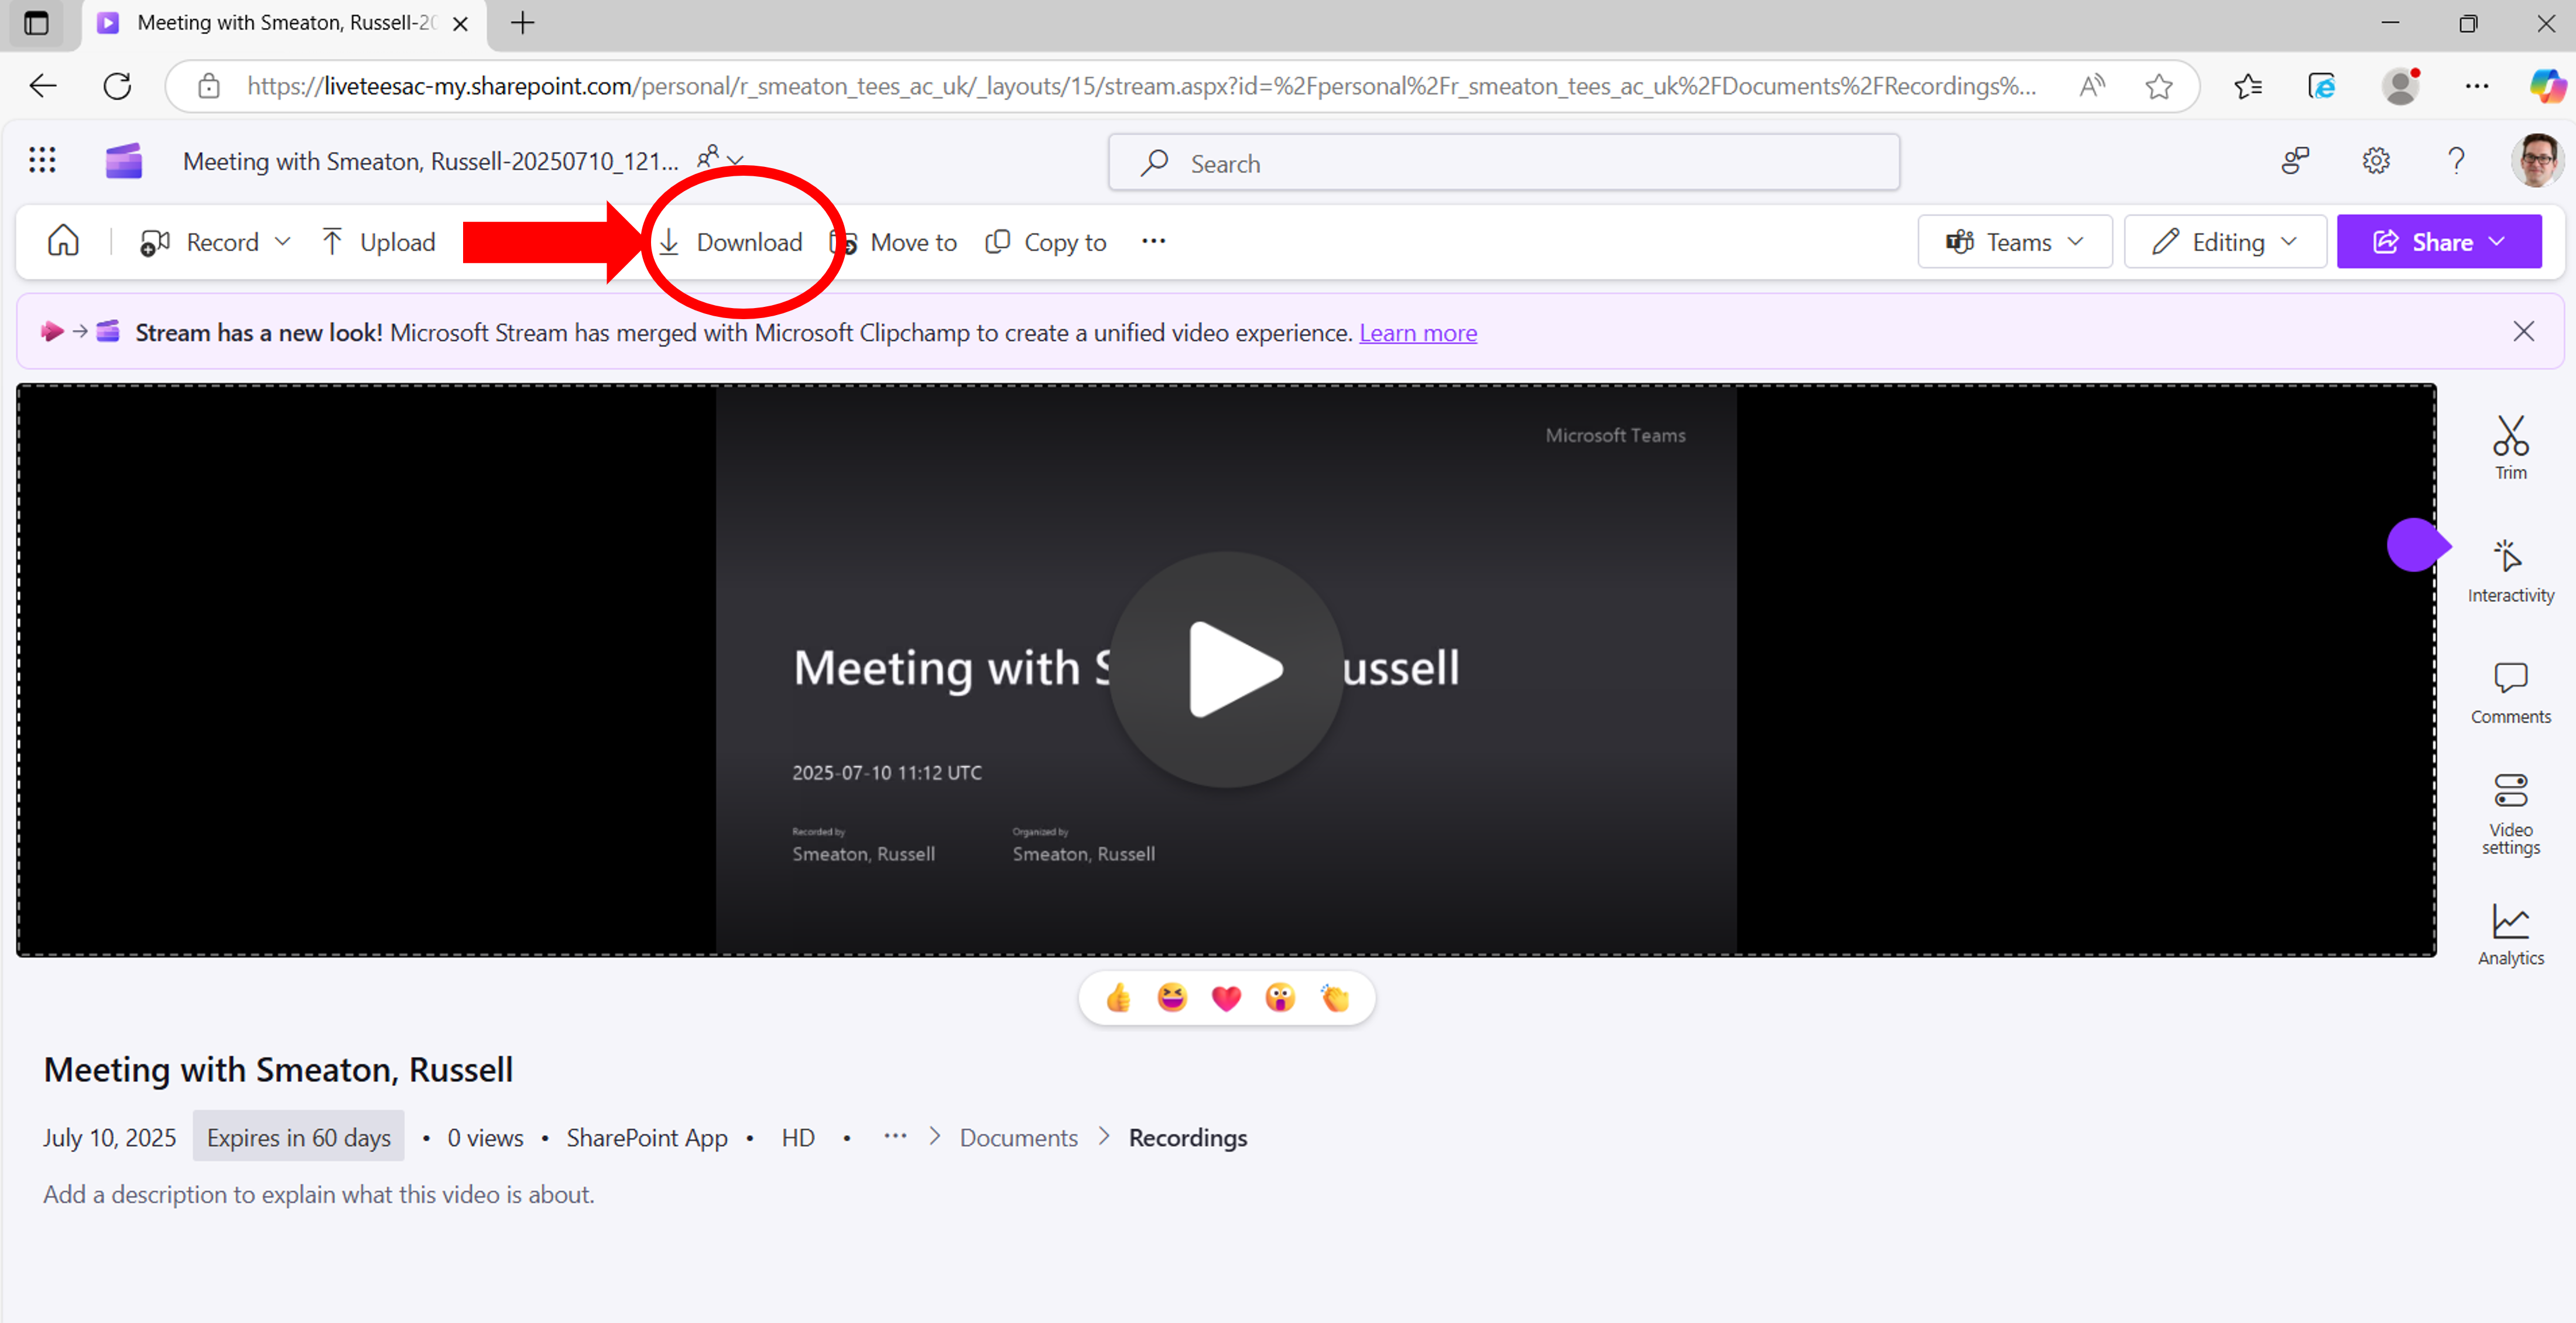
From here, you can also download the video. Click the Download button, as shown below and follow the prompts to download the video onto your device.
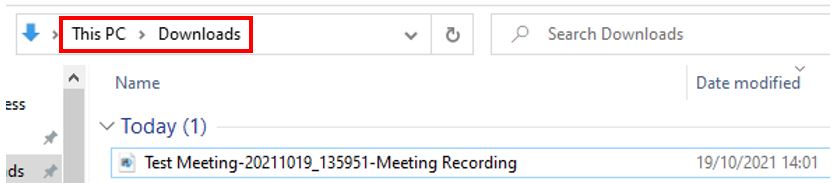
By default, all downloaded files will save in the Download folder associated with the user currently logged into the computer system.
Step Two – Upload the Video To ReView
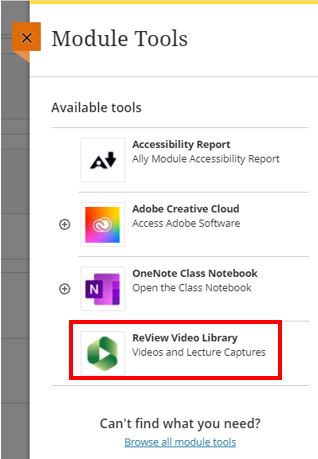
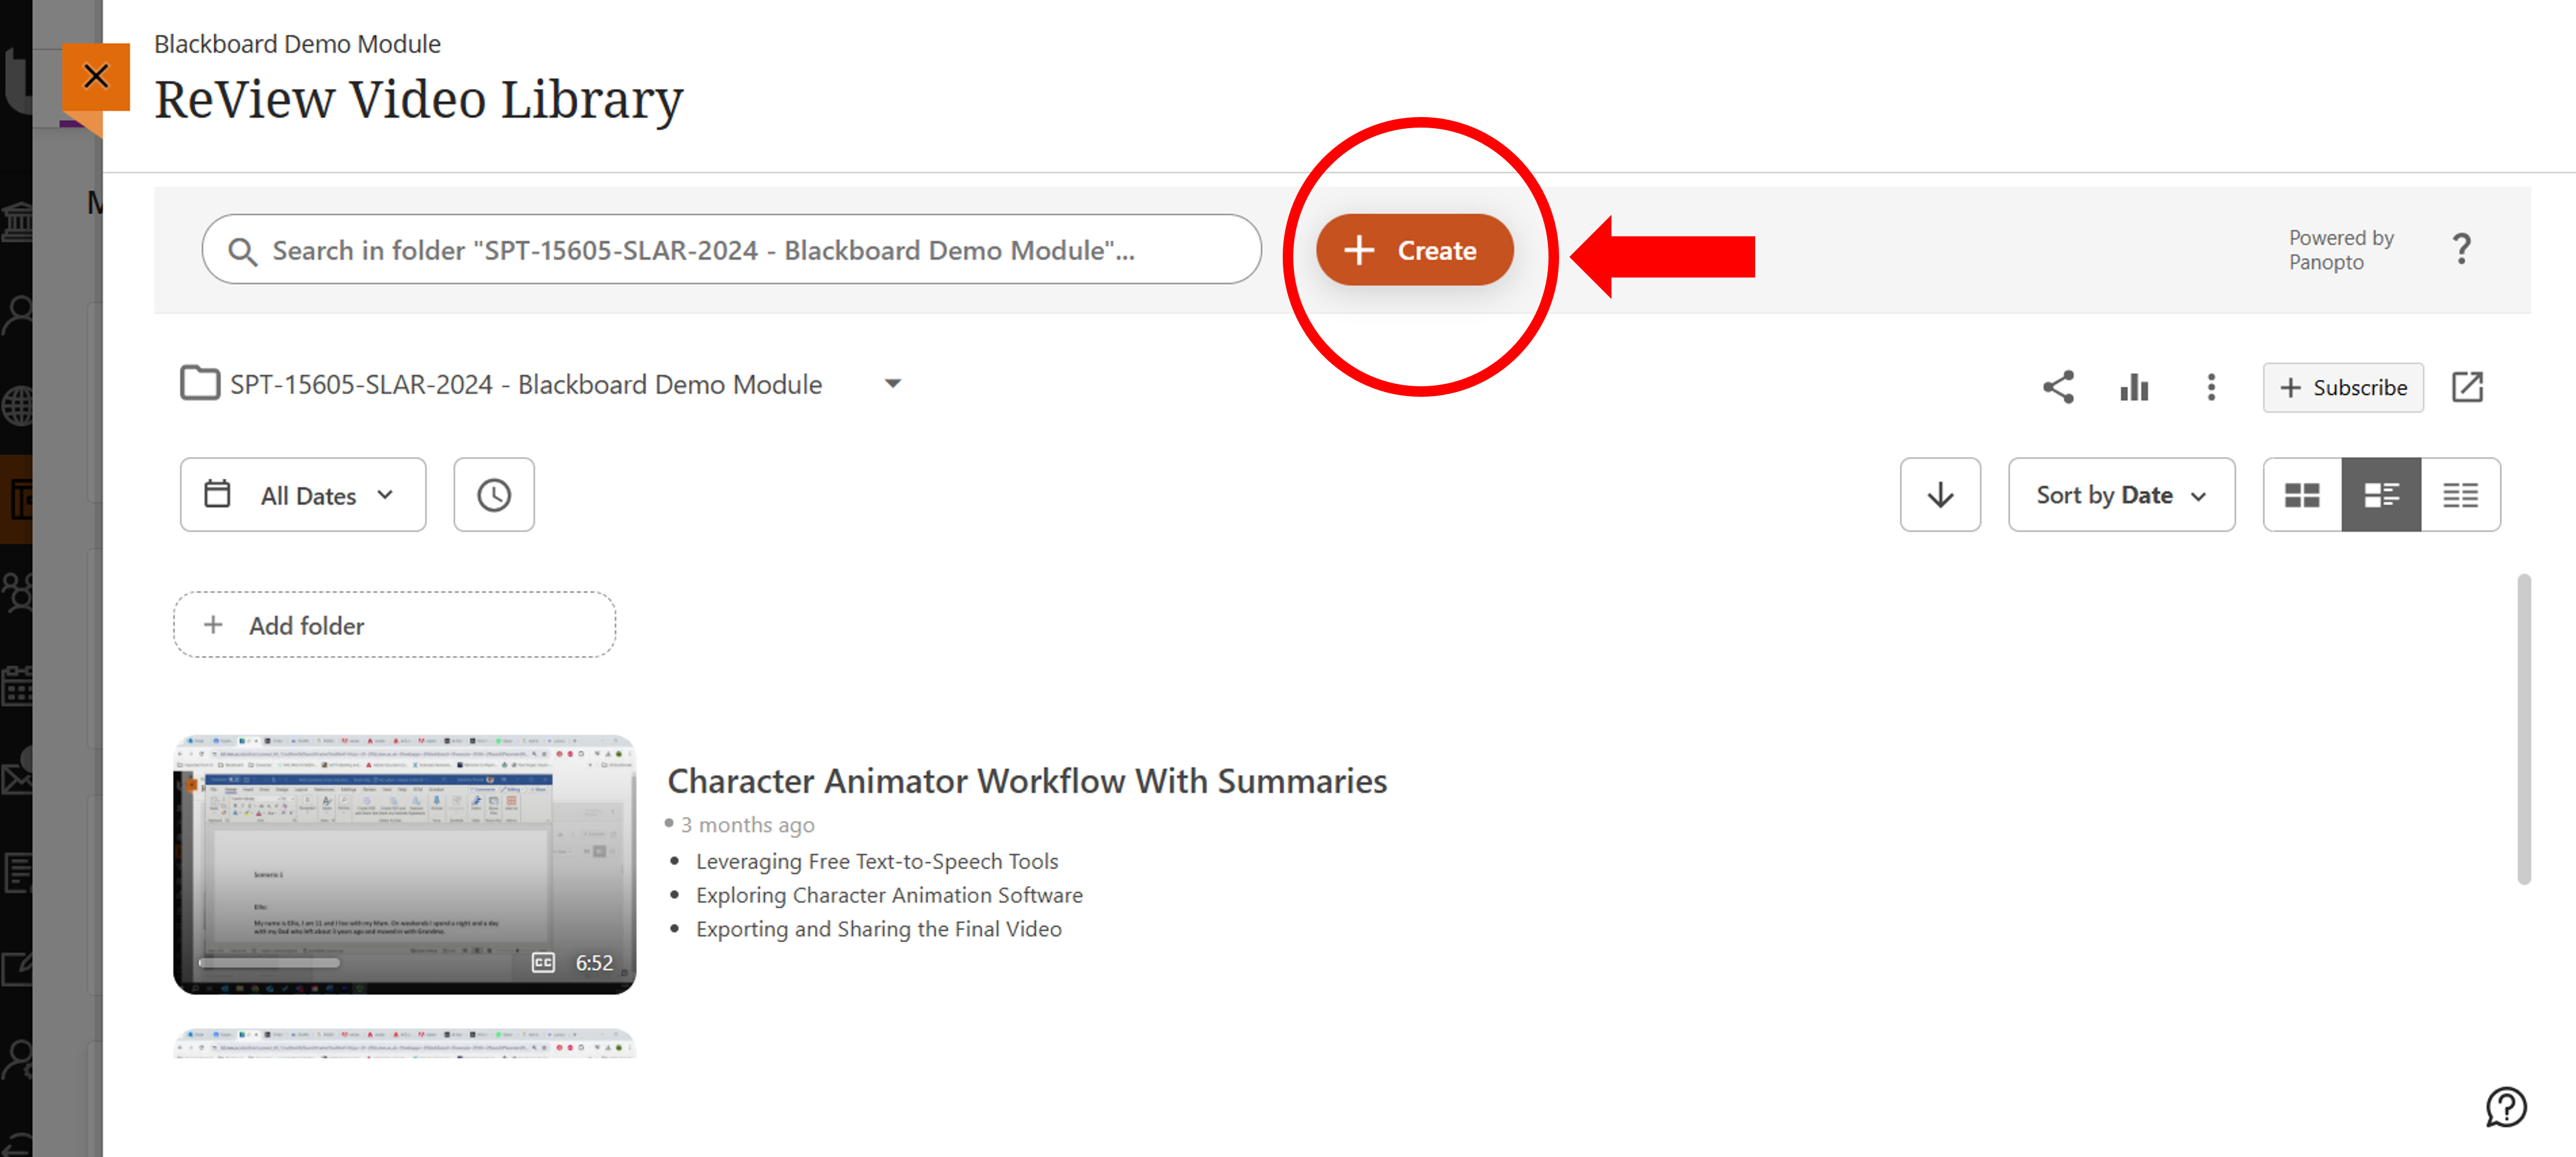
Now that you have downloaded the video onto your device, you can continue the process by uploading this video file to your ReView Video Library. Start the process by opening the specific module in Blackboard Ultra, access Module Tools via the Details and Actions panel, and open up the ReView Video Library
Click on the Create button and select Upload Media
Either drag and drop the video into the box, or click on the box to open the Add Files dialogue box to browse directly to the saved video file.
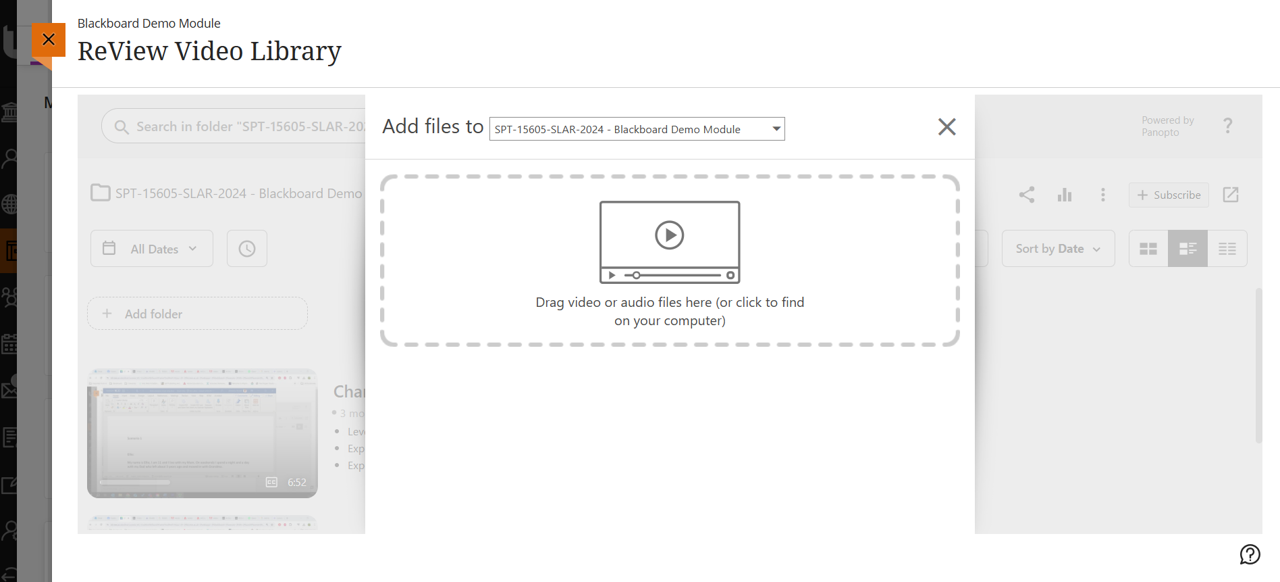
Once the file is uploaded it will be processed.

Once processing is complete it will appear as shown below. You can now close the Add Files window.

The recording now appears in the ReView Video Library. From here, you can edit the video if required, and then embed the video in the module for student access.
* Once the recording has been uploaded to ReView it should be deleted from within your Download folder on your device. Video files, especially long recordings, can be very large in file size and over time can fill up your local disk drives available storage space.
