
Embedding files from OneDrive online
This guide introduces a rationale for using embedded Office documents such as PowerPoint presentations within Blackboard Ultra modules and guides its readers through the process of achieving this.
All staff and students at Teesside University have access to a cloud storage service called Microsoft OneDrive. Microsoft OneDrive allows users to store and share files. OneDrive also allows users to edit Microsoft Office files in a web browser using Office. Microsoft Office files stored on OneDrive can be embedded in a number of different online tools, including Blackboard and blogs.tees
A PowerPoint presentation added as a link in a Blackboard Ultra document would require the student to download the document before being able to view it. This can create accessibility issues:
- Students may not have the correct office applications on their phones to view the presentation
- Students may find the process of downloading and opening the document too technical, time-consuming or may not have the storage capacity to download multiple office documents.
- You might currently use the same PowerPoint presentation in 3 different Blackboard modules. This means that you’ll most probably upload a separate copy of it to each module on Blackboard. If you want to make a change to the presentation you need to edit it and then upload it back to the 3 modules on Blackboard.
- When making changes to your teaching material (such as a PowerPoint presentation), using the inline technique detailed in this guide means you will not have to change the local document and re-upload it into your Blackboard Ultra module. By working and editing directly from OneDrive, changes that are made are instantly available to the inline copy of the document.
 The image shows a PowerPoint presentation saved to a document as a link
To resolve the above-mentioned problems, you can instead edit the behaviour of the Office document (or in this case, the presentation) so that it is displayed inline within the Blackboard Ultra document. Also, if you make a change to the presentation stored on OneDrive and used in multiple modules, those changes will instantly be reflected across any modules on Blackboard.
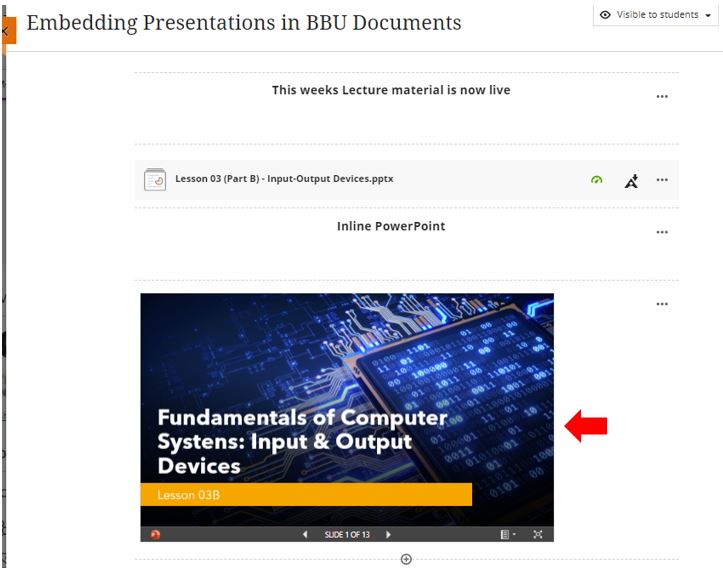
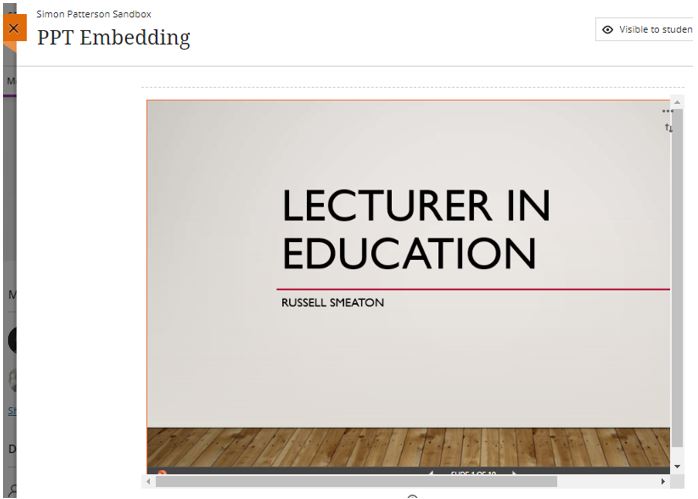 The image shows a PowerPoint presentation inline within the Blackboard Ultra document.
To set up an inline PowerPoint presentation within a Blackboard Ultra module use the following steps:
OneDrive
First, the file that you want to embed needs to be saved in OneDrive.
Access your Teesside University Microsoft Office online account by going to https://office.com
Click Sign in in the top right corner of the page and enter your Teesside University email address. If you’re on campus, you’ll be logged in automatically if you’re off campus you may have to enter your username and password.
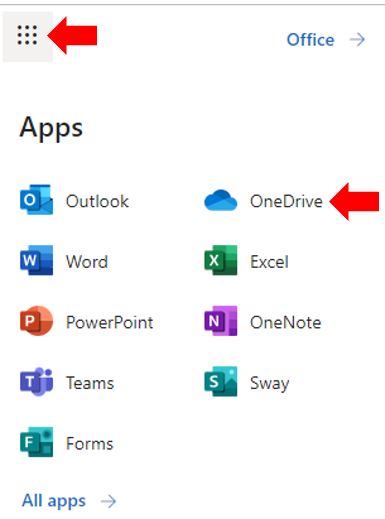
In the top right corner, click the App Launcher icon and select One Drive (you might see some files already listed).
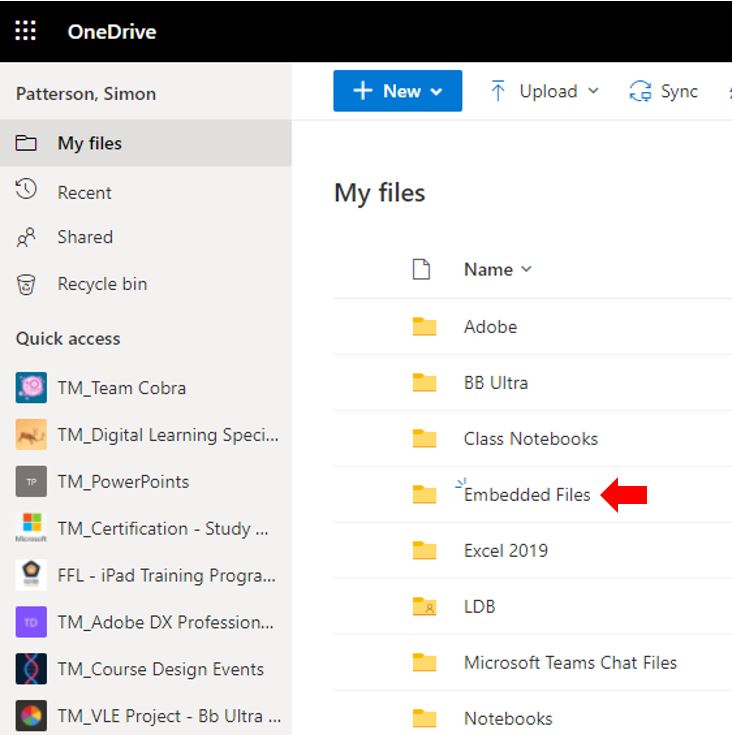
Just like with your standard folder structuring, It is good practice to keep all the files you want to share and embed in a separate folder, this way you know that all of the files you’ve embedded somewhere are organised for you to manage in one place.
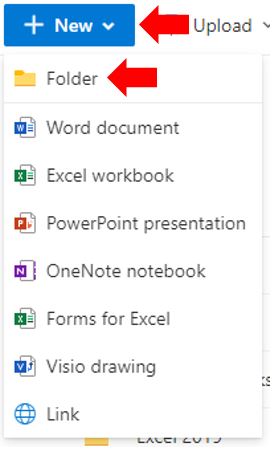
Using the links at the top of the page choose New > Folder
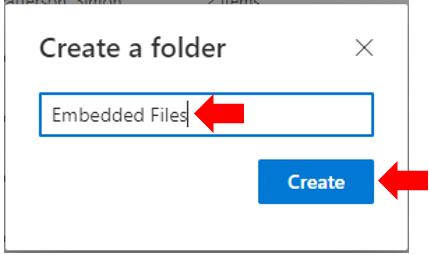
Enter a name such as Embedded Files.
Once you’ve created the folder you’ll see it in your list of files, click on it to go inside the folder.
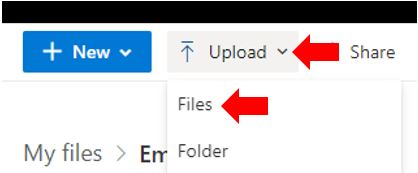
You can upload files to OneDrive in two ways, you can either drag and drop them onto the browser window and they’ll be uploaded into the folder you’re in on OneDrive or you can choose Upload > Files at the top of the page and select the file(s) you would like to upload.
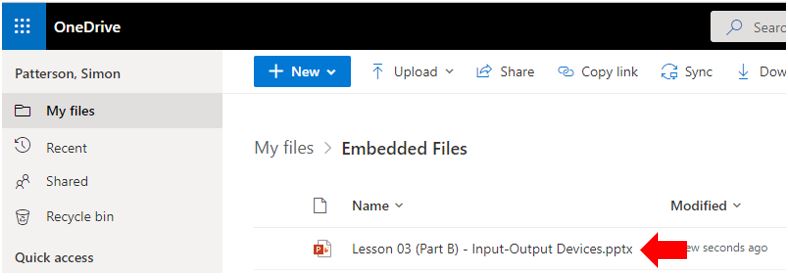
Once you’ve uploaded at least one Microsoft Office file to your new Shared Files folder, you’ll see something like this.
Managing Access to your OneDrive content
All files stored on OneDrive are private by default and only you can access them. However, because we are going to embed them in a Blackboard Ultra document, OneDrive needs configuring so that other people at Teesside University are also able to access them. OneDrive can be configured to give other users:
- Read-only access so that people can only view the information inside the file.
- Read/Write access so that people can make changes to the file.
It is best to change the access permissions on the whole Embedded Files folder so that instead of it being private it’s available to anyone at Teesside University, but as Read Only, this will stop students and even other staff from making changes to it or the files inside it.
In OneDrive navigate out of the Shared Files folder by clicking the My Files hyperlink at the top of the page.
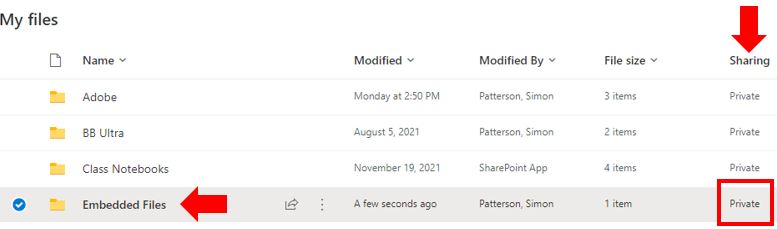
This should take you back to the root of your OneDrive where you will once again see the Embedded Files folder that you recently created. Find your Shared Files folder in the list, from the Sharing column click on the word Private.
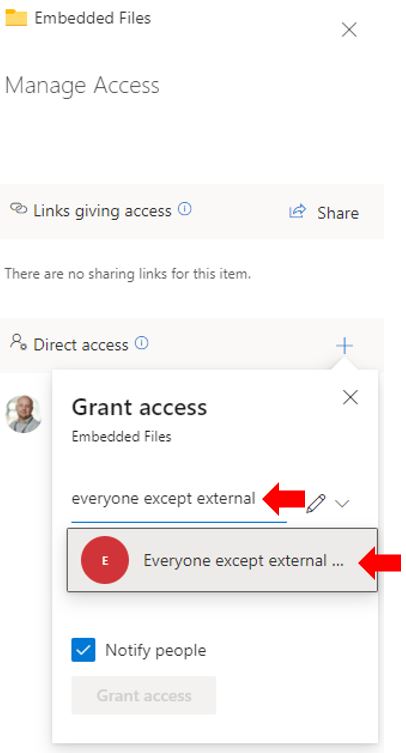
Select Grant Access from the panel that appears on the right of the page.

When the Grant Access box appears, you’ll see a prompt that displays the text To: Name, group or email, enter the following “Everyone except external users”. As you start to type, you’ll notice that OneDrive will start to automatically suggest the group name. Confirm the suggestion by clicking on it.
IMPORTANT: Click on the Can Edit (pencil icon) and make sure that the Can View option is selected as this will stop students editing the shared office documents such as your lecture PowerPoints.
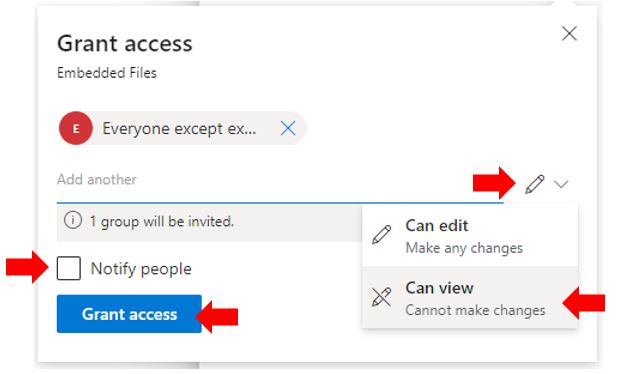
Un-tick the Notify People check box and click Grant Access.
You have now set up your OneDrive shared folder, all Office documents that are added to this folder will inherit the permissions you have set above.
PowerPoint Online
In this example, we’ll be embedding a PowerPoint file into a Blackboard module, but the same steps could be used to embed a Word document or an Excel file.
In OneDrive, go into your Shared Files folder and click on the name of the file you want to embed in Blackboard. This will launch Office Online.
If it doesn’t, click on the file and choose Open > Open in PowerPoint Online from the top of the page.
From the ribbon at the top of the page, choose File > Share > Embed
Sometimes the Embed option is not available, if this is the case simply click close and repeat the above instruction (File > Share > Embed)
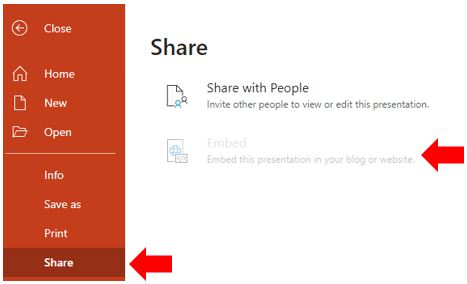
Embed option is unavailable
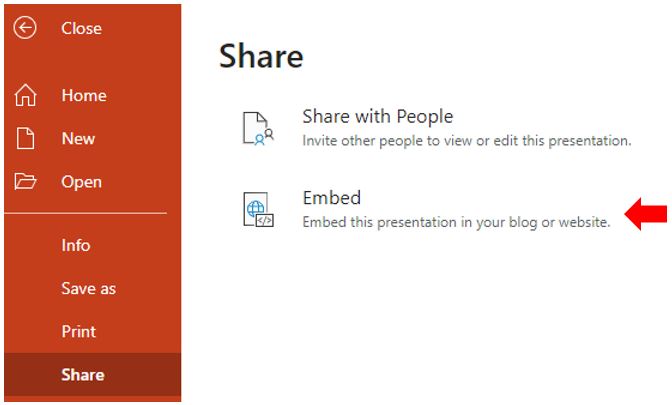
Embed option is now available
An Embed window will appear, in the Dimensions settings choose the dimensions you think would be best (some examples are included below).
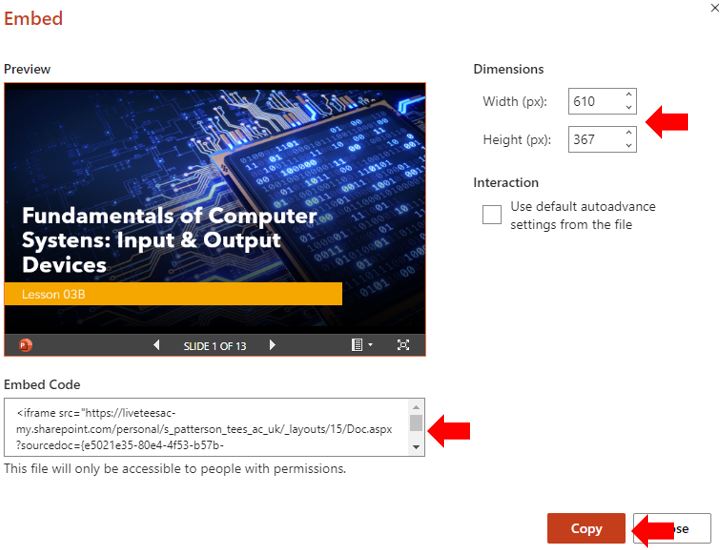
It is a good idea to try out each of the dimensions on various devices (including mobile devices to ensure the document is viewable. A good default size to use is 610 x 367.

Click the Copy button or select and copy the text in the Embed Code section.
Blackboard
The final step is to create an item in Blackboard using the Embed Code you just copied, the file that you’re embedding will appear in the module and allow students to view inline as well Download a copy for themselves or Print to PDF.
In Blackboard Ultra go to the area within the module where you would like to embed the PowerPoint presentation file. If you haven’t already you will need to create a new Blackboard Ultra document.
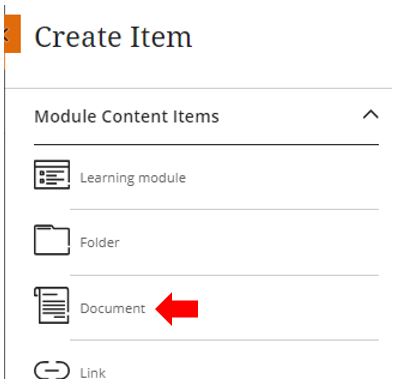
Click on the plus icon and select Create from the context menu.
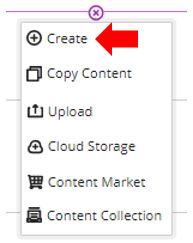
Select the Document item
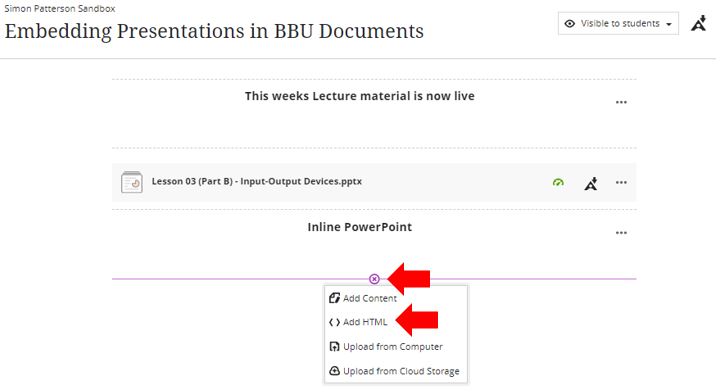
Inside the new document, click on the plus icon and select the Add HTML option.
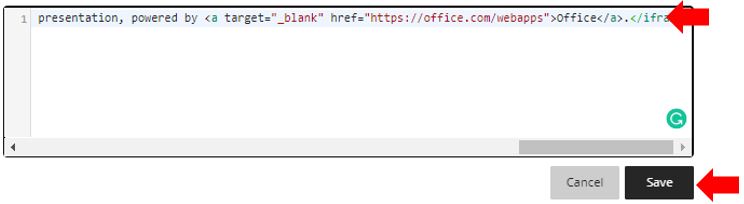
In the HTML Code View window that appears, paste the Embed Code that you copied earlier and click the Save button.
You’ll then be returned to the Blackboard Ultra document where the embedded version of the file is displayed in the Blackboard module.
That’s it, you’ve done it! You can use the embed code in as many modules as you want, and if you edit the file on OneDrive using the Office Online tools your changes will automatically be reflected in the modules you’ve embedded the file in.
No more uploading edited files to multiple modules and files stored in OneDrive don’t count towards your Blackboard module quota!
Some important things to be aware of
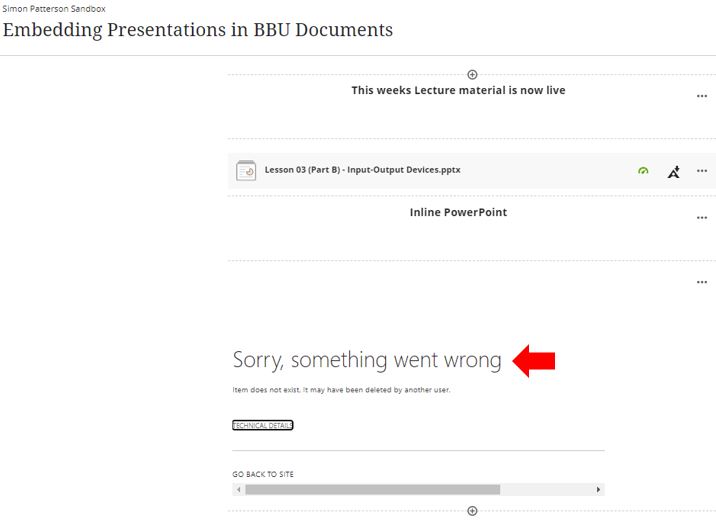
It is important to remember that in your Microsoft OneDrive if you remove the office document (such as the PowerPoint presentation in this guide) the inline blackboard resource will no longer be available. Renaming the document in your OneDrive does not impact the availability of the inline documents.
Because we shared the files in OneDrive with Everyone except external users when your students go to a Blackboard module with embedded files they will have to “Sign In”.
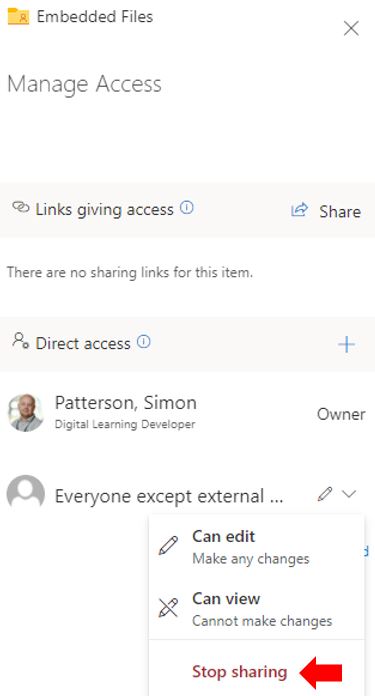
If you want to stop sharing either an individual file or the entire Shared Files folder you can go back to the Grant Access settings for a file or folder. In the Direct Access section of the panel, click the drop-down arrow next to the Everyone except external users’ group and change the setting to Stop sharing. This will immediately stop users from accessing the files everywhere you have embedded them.
For more information please watch the video tutorial below.