
Creating managing and using Groups in Blackboard Ultra
Groups behave differently in Blackboard Ultra compared to the previous Blackboard Learn. The main difference is we no longer have the concept of Group Tools (discussion board, file exchange, etc.).
This method of creating groups and assigning tools led to the creation of groups without a clear purpose for its existence, other than to provide students with access to these group tools, in case they needed them.
In Ultra, groups are much more closely aligned to the content of the course/module. Using this method, we create the content ‘item’ and then attach the groups (so create a discussion board, then assign groups to that board).
To create a group or set of groups a group set must first be created. A group set is a container that will hold all the groups you intend to create to give relevance to those groups. Once you have created a group set you will then need to create the required groups within the set. The following post will guide you through this process.
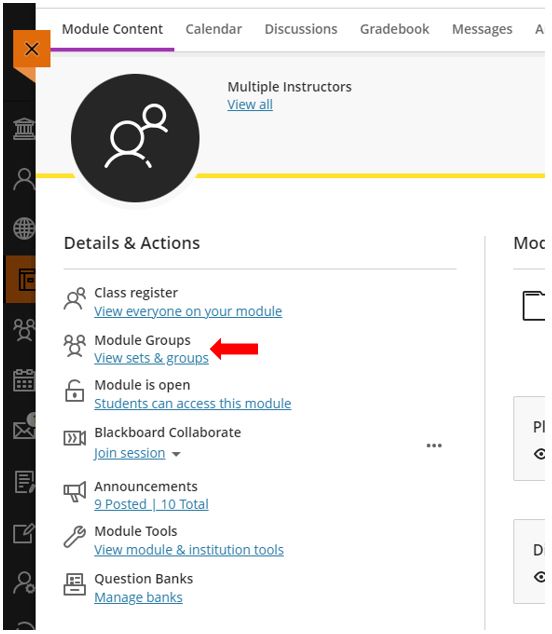
You start the group creation process on the Course Content page. In the Details & Actions section under Module Groups, select Create and manage groups. If you have already set up course groups, the menu shows View sets & groups.
 To create a new group, you will first need to create add a new group set.

Select the plus symbol to create a New Group Set.
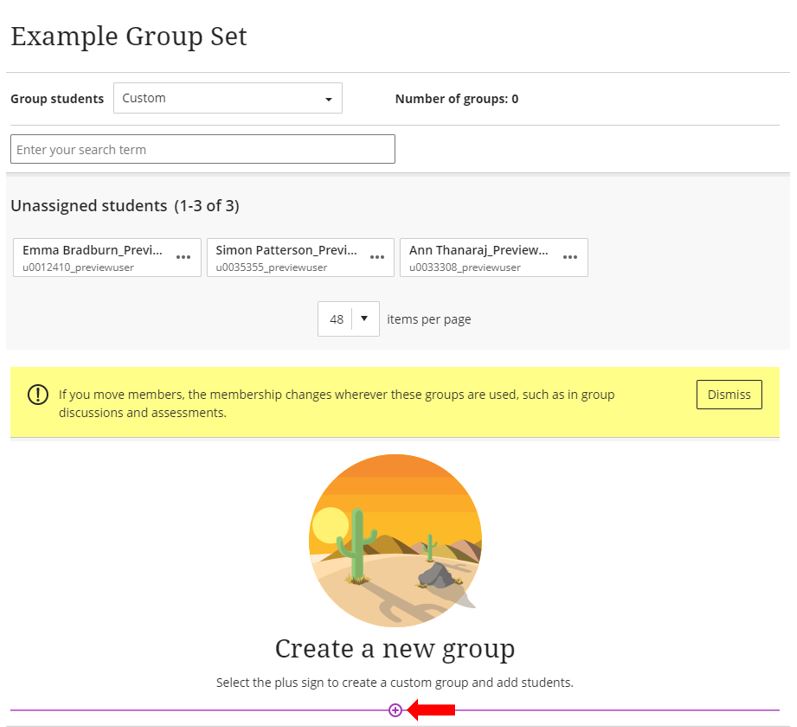
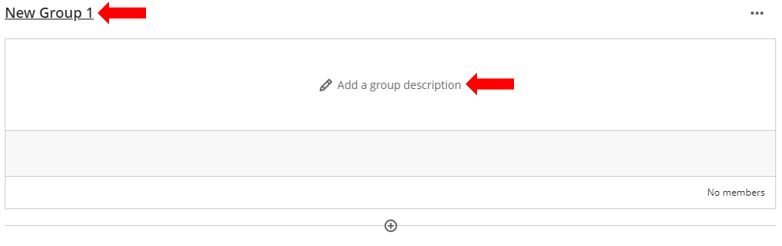
Give the group an intuitive name, add a group description and select the students you wish to include within your groups.
Add which students you want to each group that you have created.
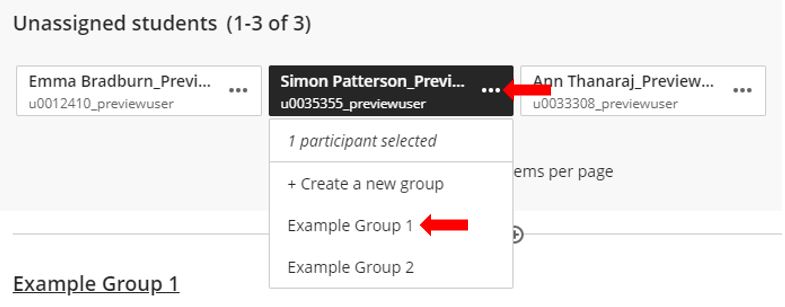 Once you have added the required learners to the group, you can select Save once you have finished.
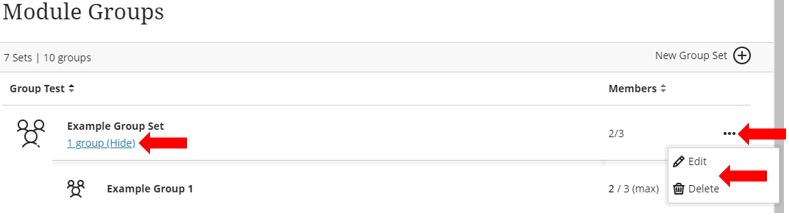
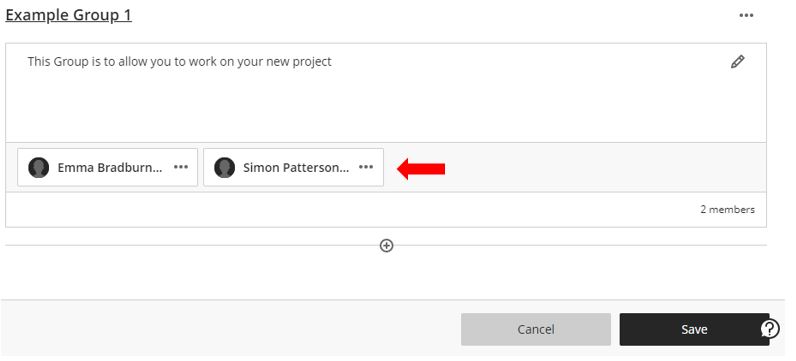 Once a group has been setup you can also un-assign students from the group if needed or even delete the entire group. Click on the ellipses above the specific group and choose to Edit or Delete.
You have now successfully created a new group and added student students to the group.
Self-enrolment Group Set
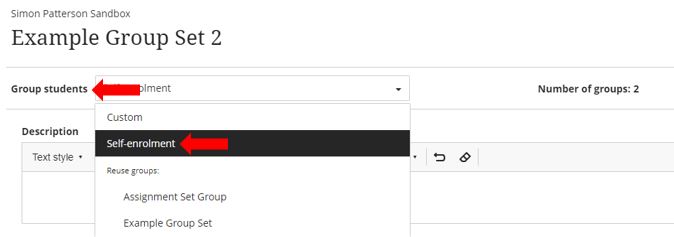
You can also create a group set that allows students to enrol themselves. To create a group set that allows learners to self-enrol use the same process as detailed above and but instead of using the Custom enrol option, instead choose the Self-enrolment option. The size and number of the groups, as well as the ability to view other group members before making their group selection is controlled by the teacher.
Using the self-enrol option you will need to add the Enrolment start date and time and Enrolment end date and time. This controls when the Self-enrolment option will become available to students. If students haven’t joined a group by the time the enrolment period ends, they are assigned automatically.

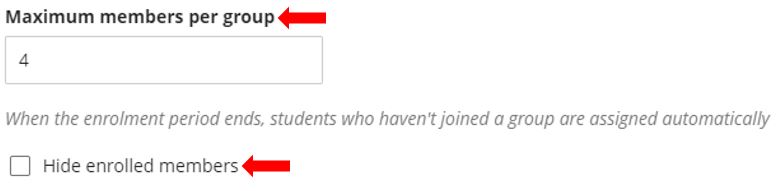
You can also control the maximum number of students that can be in one group together using the Maximum members per group option. There is also an option to Hide enrolled members.
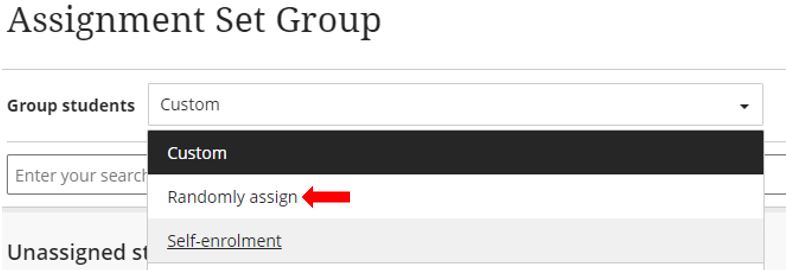
 Randomly assign Group Set
You may also wish to create a group set that allows students to enrol themselves. As above, to create a group set that randomly enrols students, use the same process as detailed above and but instead of using the Custom or Self-enrolment option, instead choose the Randomly assign option. It is worth noting that this option will only become available if you have a minimum of four students in the group set.
Once you have selected the Radom assign option, you will also need to assign the Number of Groups to be created, this will populate each group with the appropriate number of learners will automatically be created and the students will be randomly assigned to these groups. For example, if 24 learners are enrolled in the course, request 4 groups and the system will randomly enrol 6 learners per group.
