
Introduction
This knowledgebase article provides a guide on leveraging the powerful ‘Animate Character’ feature within Adobe Express. Designed to offer users an innovative way to bring content to life, Animate Characters allows you to seamlessly transform your voice or uploaded audio files into animated avatars. Whether you’re an academic or a student, this feature opens up exciting possibilities for creating engaging and interactive multimedia content.
Contents
Adobe Express: Animate Character
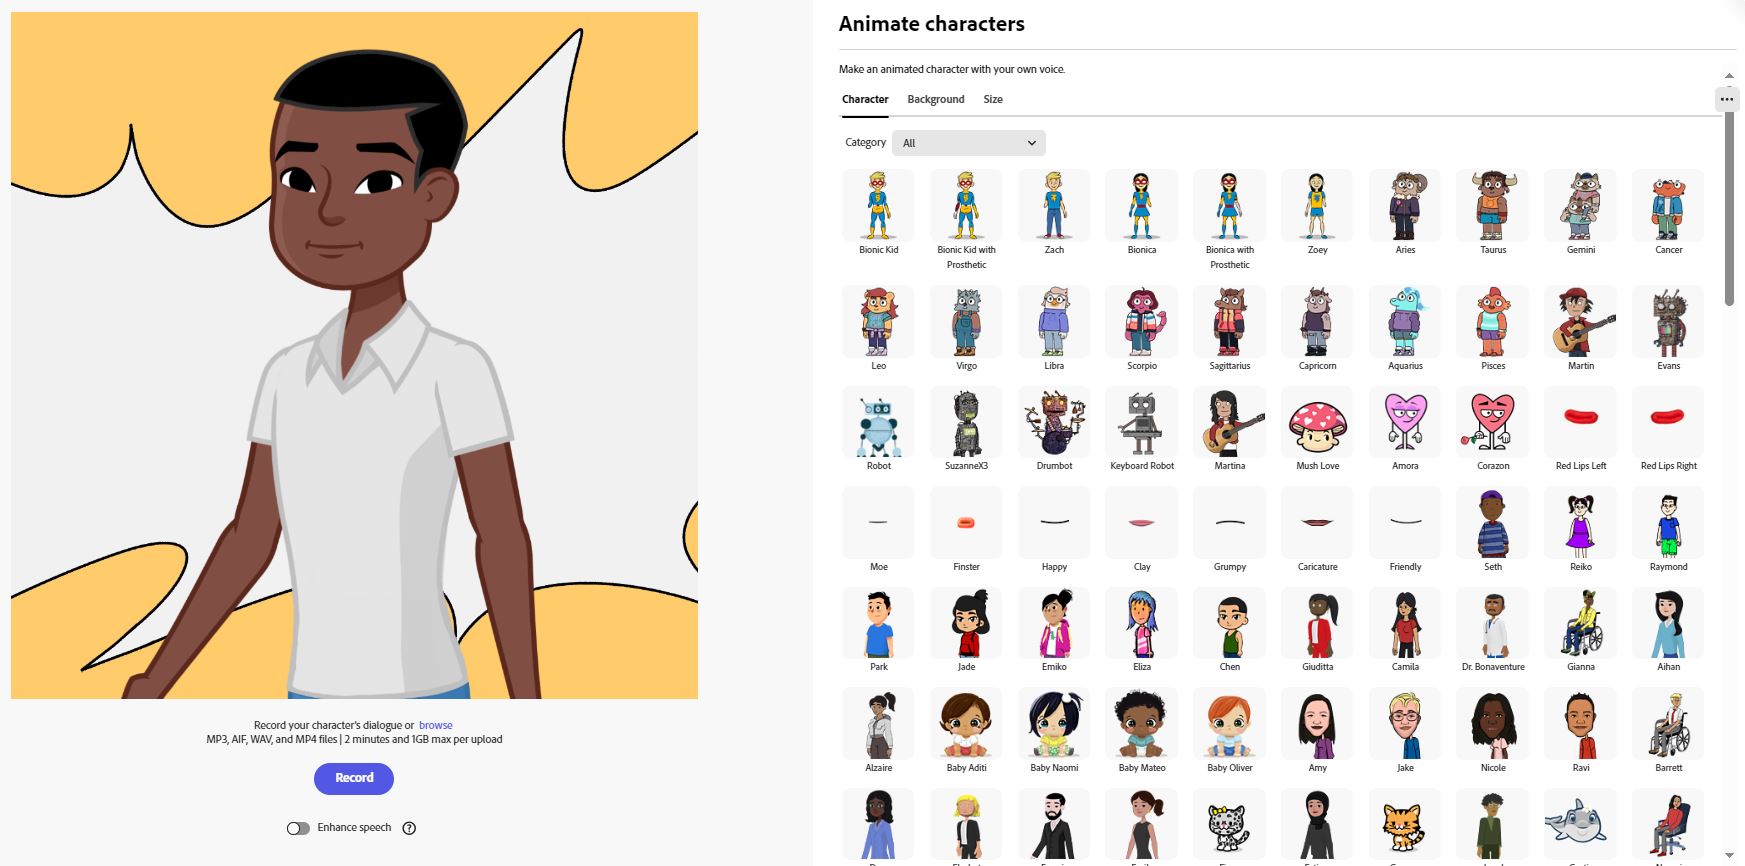
With the Animate Character, you can effortlessly generate animated characters that mirror your voice or the audio input you provide from over 200 pre-created characters. Once complete, the project can then be downloaded in video format and shared with your audience, or seamlessly integrated into your designs within Adobe Express. The use of these animated characters adds a personalised touch to your content, enhancing its visual appeal and engagement potential.
This guide will show you how to use the Animate Character feature, from selecting an animated character to exploring its various customisation options.
Animate Character with Audio Workflow
The following is a step-by-step guide to creating a character that is lip-synced to a voice recording in Adobe Express.
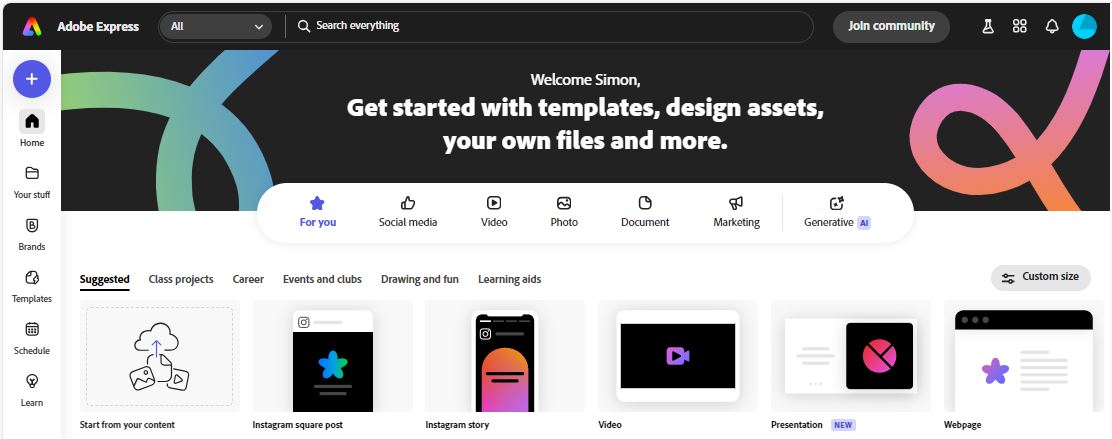
1. Navigate to the Adobe Express home page and click on “Video” under the “Welcome Message” at the top of the page.
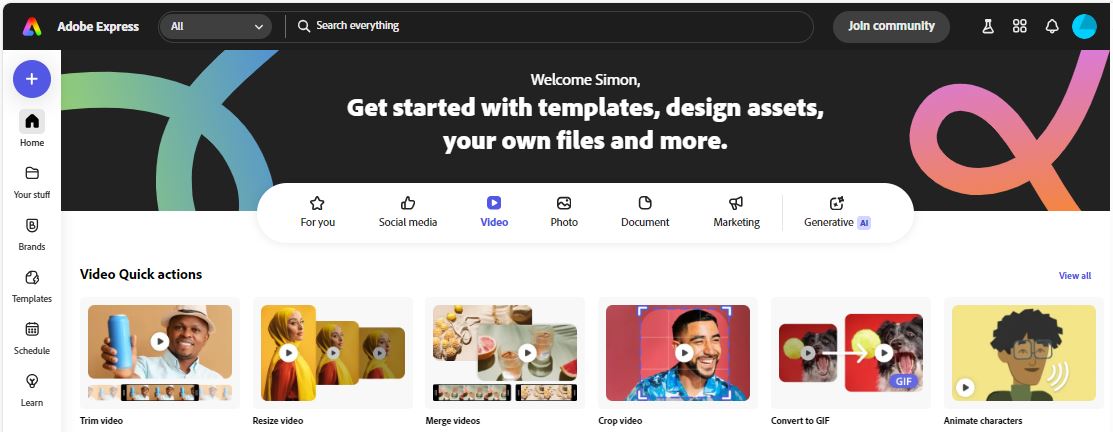
2. Search the “Video Quick Actions” menu and click on “Animate characters“.
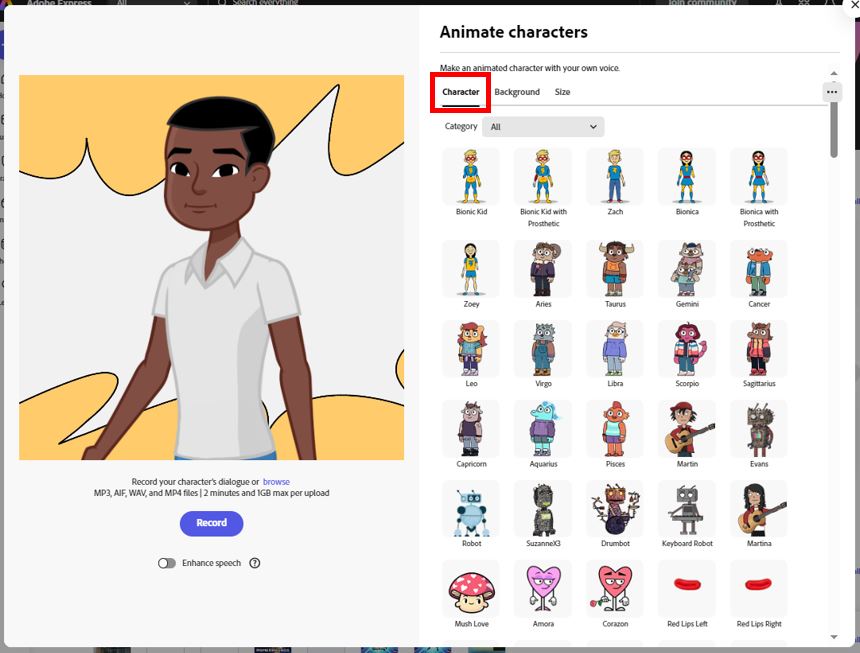
3. Choose a character by clicking on “Character” from the options available.
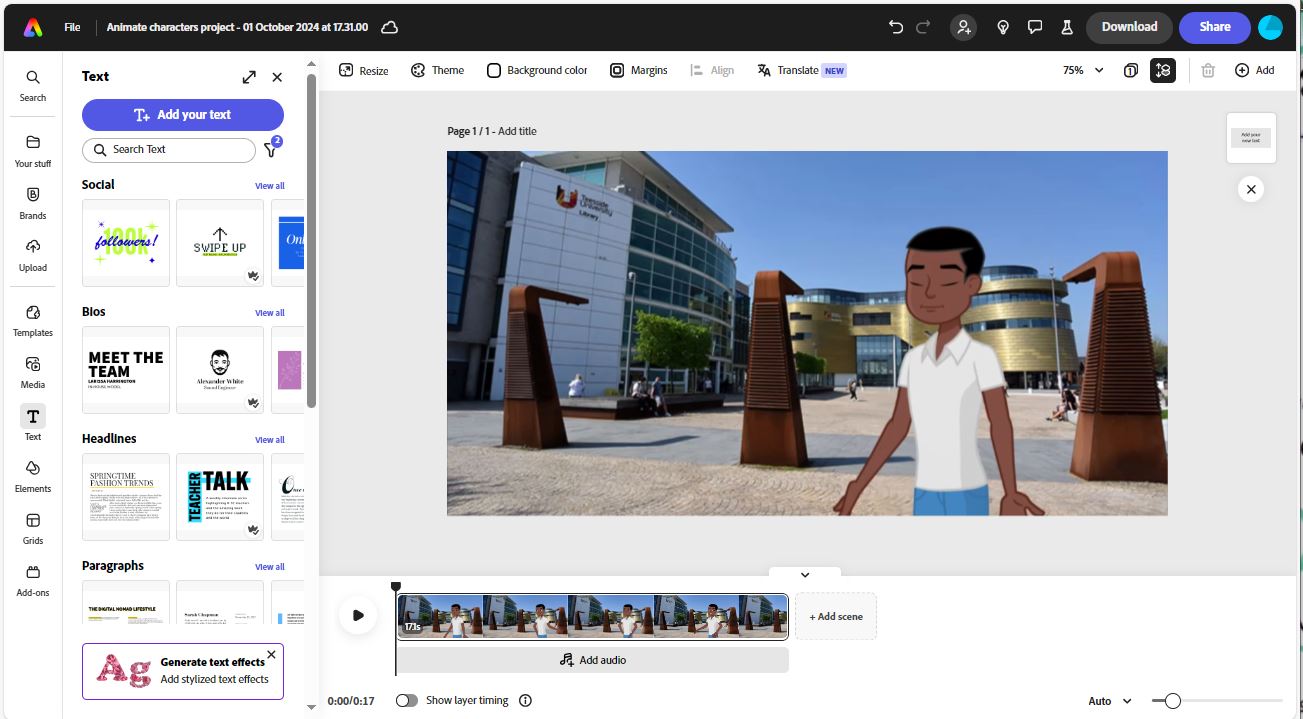
4. Customize your video by selecting a background image or uploading one from your device under “Background“. It should also be noted that the character can be resized and moved around the screen
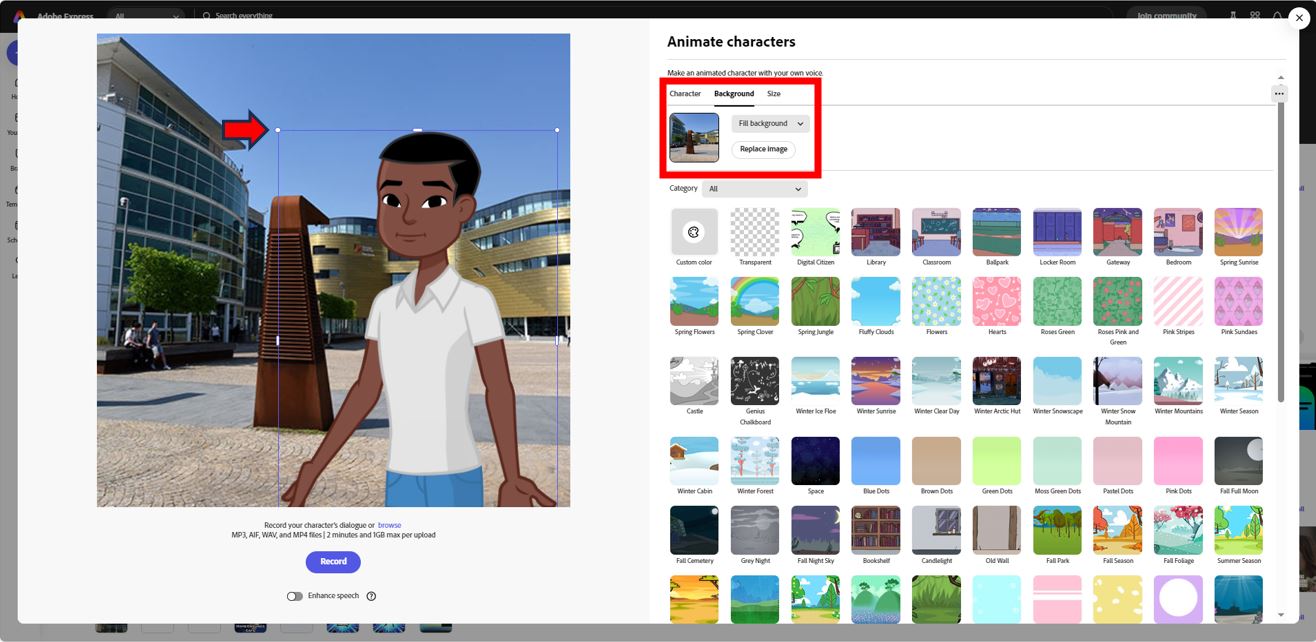
5. Determine the size of your video by selecting “Size“. Opt for auto-sizing for social media platforms or choose the “Custom” option to set specific dimensions.

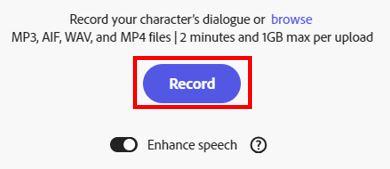
6. Begin the recording process by selecting “Record“. Alternatively, you can import an audio file from your device by clicking on “Browse” (Adobe Podcast is recommended for separate audio recording).
 |
 |
| When ready to record, press the Record button. Toggle on Enhance Speech to make use of GenAI to make the recording sound more professional. | You can pause a recording and restart it. When complete, click the Done button. |
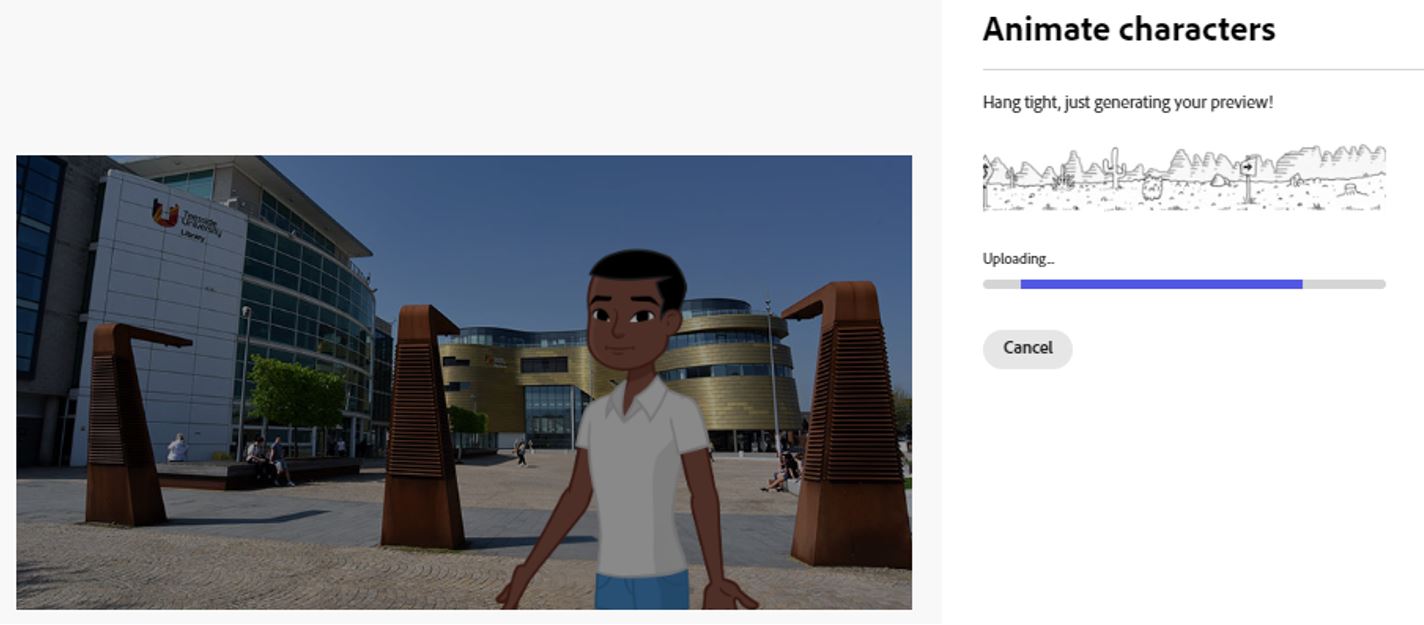
7. Depending on the length of the video you recorded (maximum 2 minutes), audio will take some time to process the outputted character.
8. Once you’re satisfied with your creation, click on “Download” to save the file.
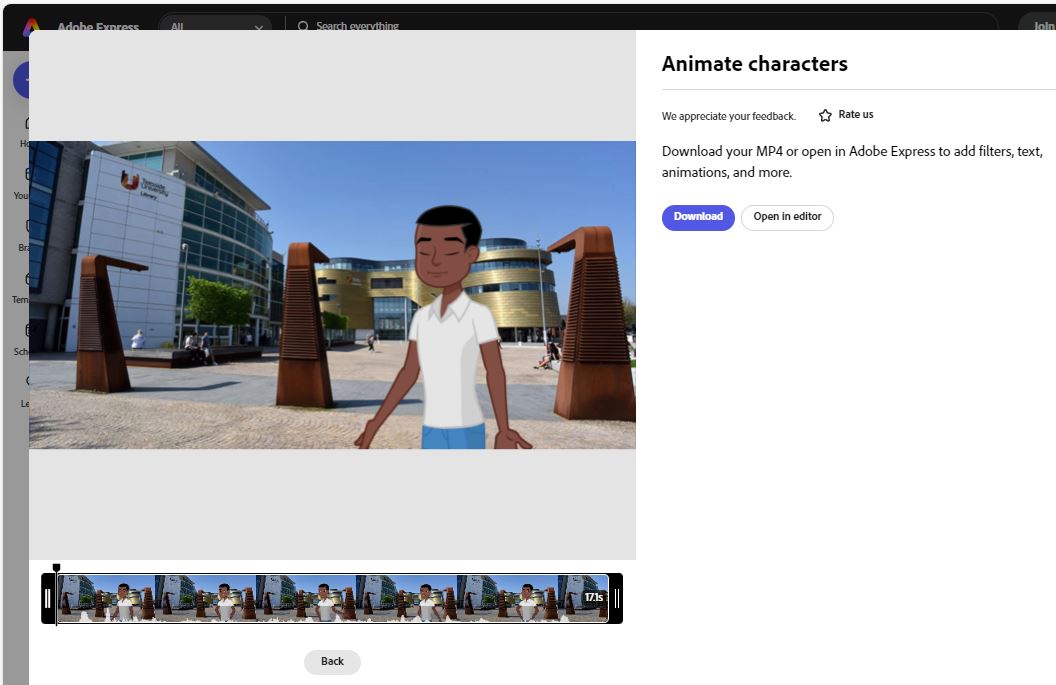
9. Alternatively, choose “Open in Editor” to further enhance your animated character.
This guide was created on 23rd April 2024. Please note that due to regular SaaS updates, some features or instructions may differ slightly from the current version.