
Introduction
Content design is key to creating an engaging course that supports learner needs. The Document feature is a useful option for creating and presenting a variety of visual elements. You can add a wide range of content, making it an engaging space for students. In addition, Documents fully utilise Blackboard’s responsive design, allowing students on a wide range of devices to engage with the content in a meaningful way.
The following screenshot shows an example of how a document in Blackboard can look.
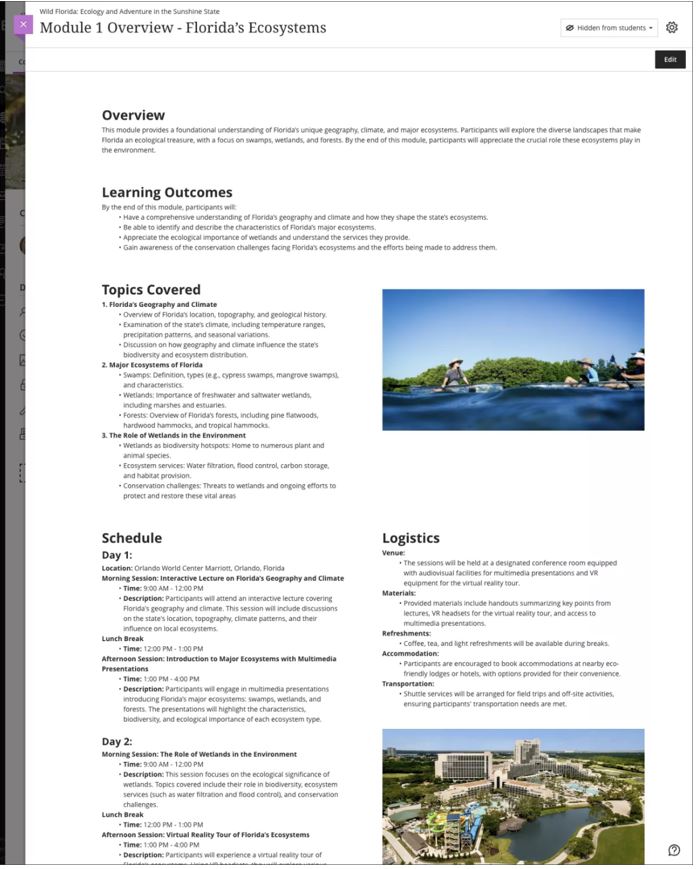 Enhanced Document with diverse content laid out in rows and columns
A document can include diverse content blocks, allowing module leaders to design ‘Documents’ with no web development skills.
Begin the process by deciding where to create your document. Hover your mouse over this space, and click the purple line. Select Create, and then select Document from the side panel to the right of the screen. The following will appear:
![]()
Give your Document a name. By default, it will be called New Document followed by the current date. Click your mouse on this default title and rename it as appropriate. You’ll notice it is created in a “Hidden from students” state (top right of the screen), and will remain so until you change the visibility. This allows you to build your document over time before making it available to your learners.
Create Content Blocks
Documents work by creating “blocks” of content, providing you with a wide range of blocks to use. The following “building blocks” can be added to the document:
- Content: Add content via the content editor. Perhaps the most common type of block, you can also use this option to embed video content from the ReView Library, add weblinks, add images and so on.
- HTML: Insert content using HTML or CSS. For example, Microsoft Forms and Padlet both provide embed codes that are served up as HTML. By selecting this option, you can embed live content in your document for students to interact with.
- Knowledge Check: Add a multiple choice question (complete with correct/incorrect feedback)
- File Upload: Upload files from your local machine.
- Cloud Upload: Add files directly from cloud services.
- Content Collection: Select files from the Content Collection.
- Image: Add an image from your device, select from the Unsplash repository or generate an image.
- Divider: Add a dividing line to separate content in the document.
- Convert a File: Convert and insert files (PDF, PowerPoint, Word) into the Document.
You can also open a side menu, showing the same building blocks by clicking the Plus Icon as below: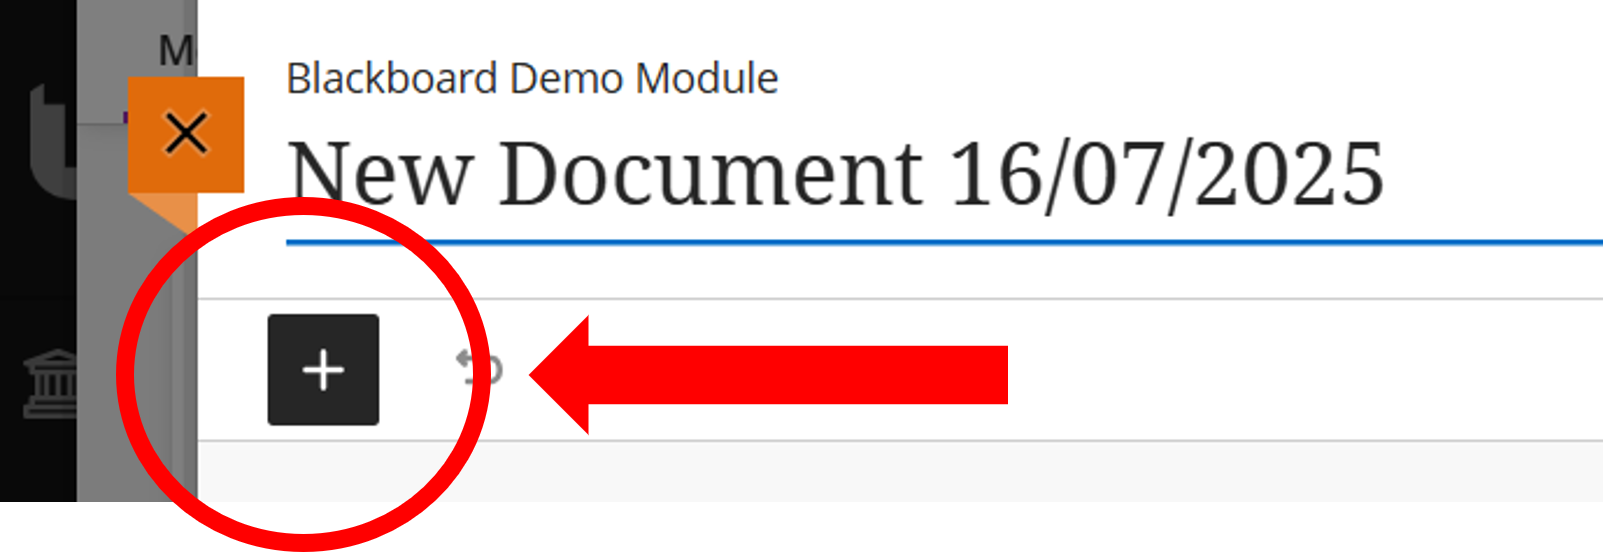
Add blocks of content as appropriate. To add a new block, you can open the left hand menu (as shown above) option to create a new block directly underneath the current block. Alternatively, hover your mouse over the space where you want to create the new block and click the purple plus icon that appears.
Resizing and Moving Blocks
By default, a block is created spanning the entire width of the document. A Document allows you to implement up to four columns, allowing you to create more engaging content. You can adjust the size of a block by dragging the handles located to the left and right of the block, reducing or expanding the size of the block as required.
 Alternatively, you can use the menu to move the block as highlighted below. Click the 6 dots to open the menu, and then choose the desired option. By manipulating either of these options, you can create a rich, engaging space.
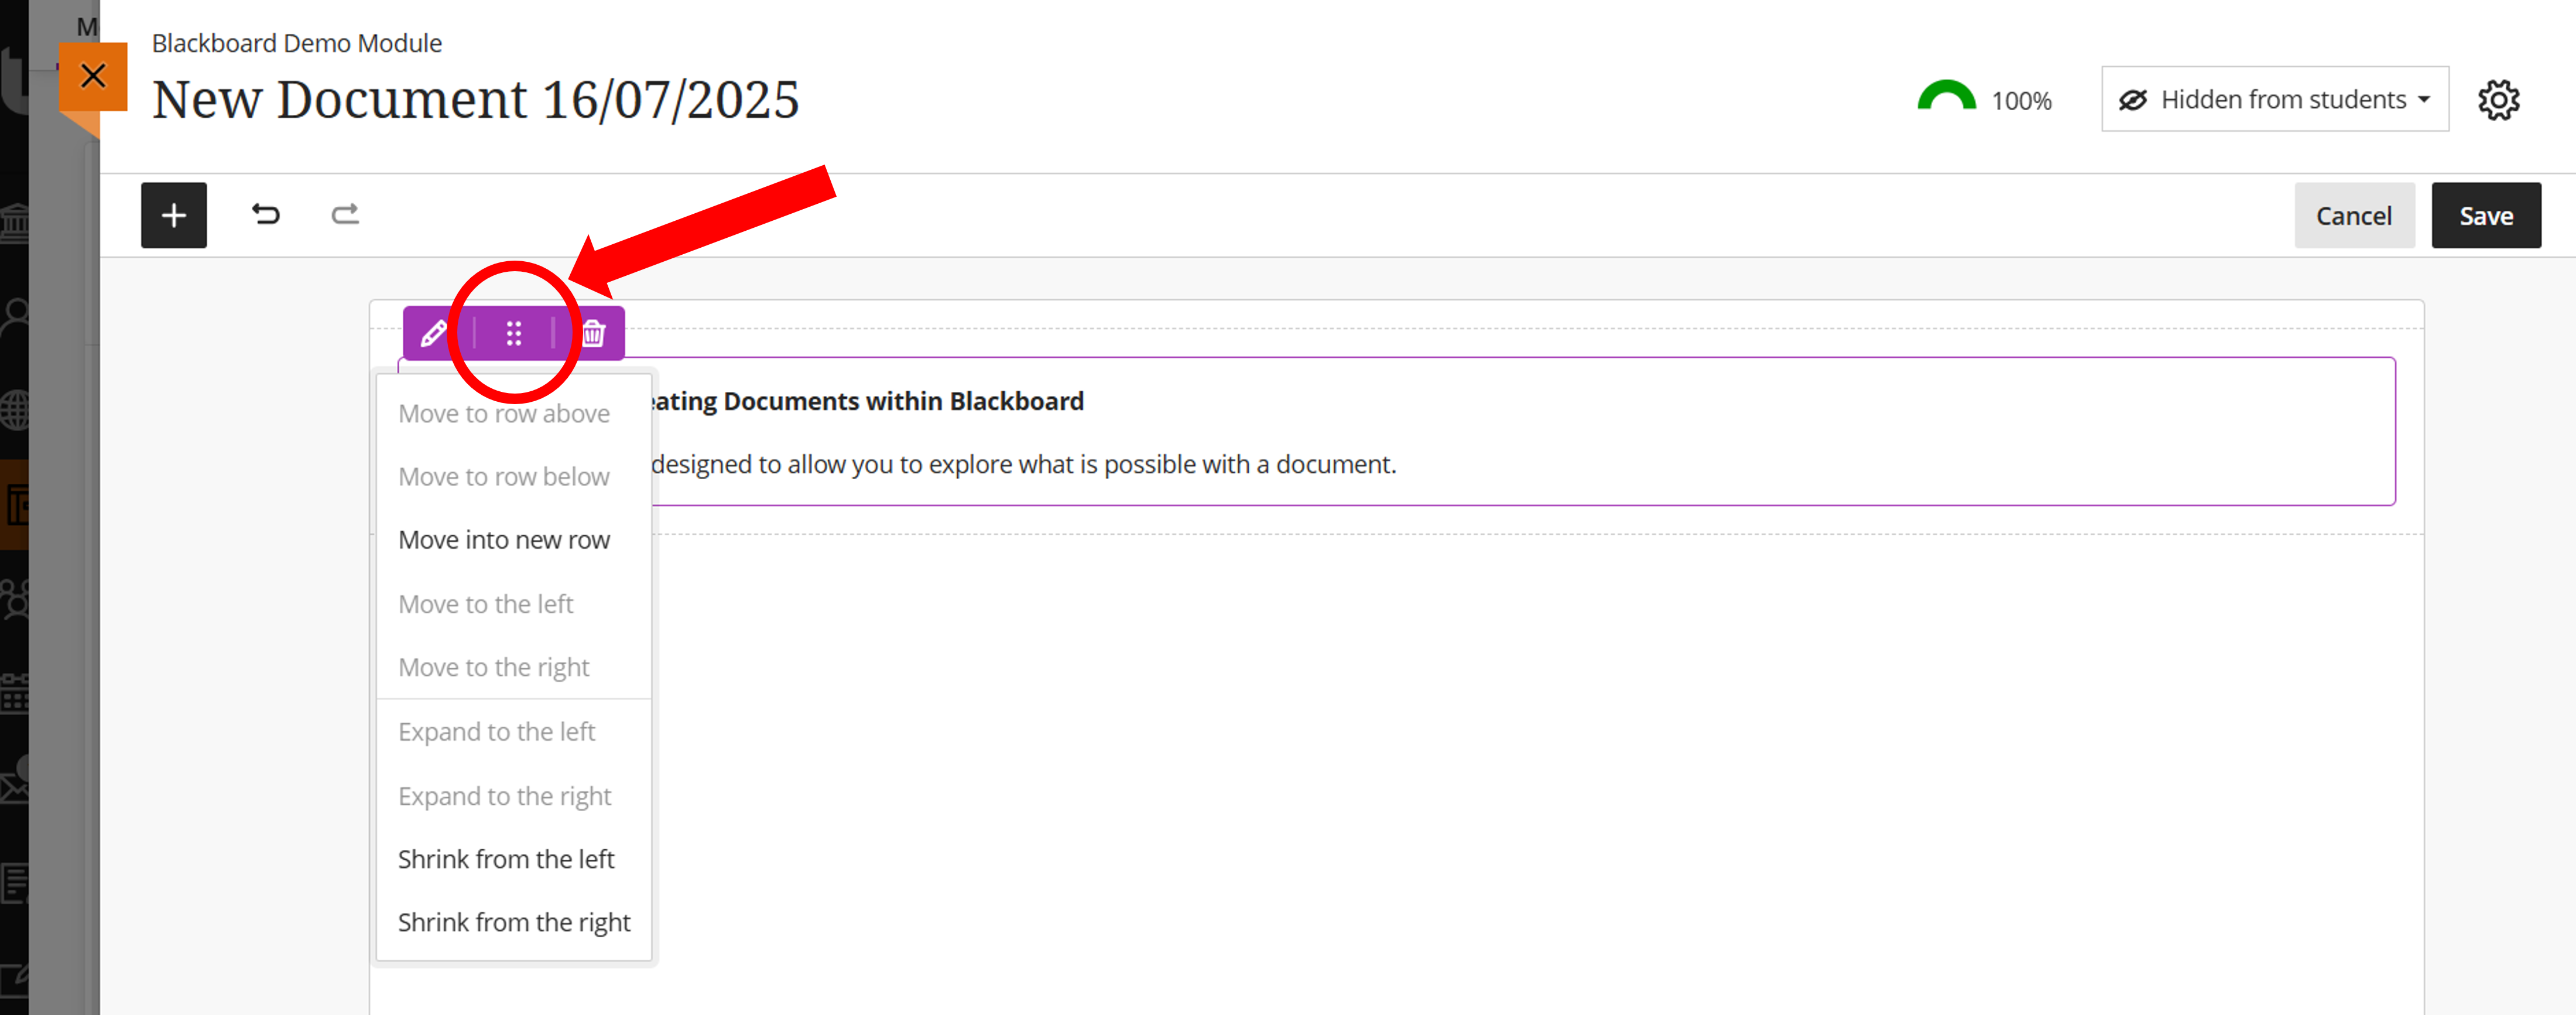
The same 6 dots can also be used to move blocks around, allowing you the flexibility to rearrange existing content in the document. When you hover your mouse over the d dots, you will notice your mouse changes from a pointer to a hand. When the icon changes to a hand, you can then drag and drop the block.
Editing Existing Documents
If a document has been created, and you wish to make changes to it, open it up by clicking on its title. In the top right hand corner, select Edit Content, as highlighted below.

You can now modify any of the existing blocks, as well as add new blocks. Please note, you also need to select Edit Content to rearrange the position of blocks.
Accessibility Rating
Once you have developed your document, it is strongly recommended you review the Accessibility Score. This is visible when you are editing the Document, and can be located from the top right of the page.
 In the above example, the Accessibility Score is 100%, and in green, indicating that no action is required. However, you might find different scores and colours. Click on the score to get a greater insight in what can be done to improve the accessibility rating of the document. The system will highlight any issues and give suggestions on how to change it.
Making It Visible
When you are satisfied with the document, don’t forget to make it visible. By default, the document will be “hidden from students”, as highlighted in the top right hand corner of the screen. You can make it visible, or even apply a release condition if required.