
Introduction to Turnitin QuickMarks
QuickMarks is a feature within Turnitin’s Feedback Studio that allows academic staff to assess student work submitted via Turnitin and create and use a library of reusable comments to provide feedback. This tool streamlines the grading process, ensuring consistency and saving time.
Contents
- Key Features
- Benefits of using QuickMarks
- QuickMarks video guide
- Accessing Turnitin QuickMark Manager
- Creating new QuickMarks
- Creating a new QuickMarks Set
- Creating new QuickMarks inside an existing set
- Adding existing QuickMarks
- Managing QuickMarks
- Final Thoughts
Key Features of QuickMarks
- Reusable Comments: Create a library (Set) of comments that can be used across multiple assignments and modules.
- Customisation: A QuickMark set can be customised to fit specific feedback needs. There are also pre-existing sets of QuickMarks provided by Turnitin.
- Efficiency: Quickly drag and drop comments onto student work, reducing repetitive typing and reducing the introduction of errors (Spelling mistakes, etc.).
- Integration with Rubrics: Link QuickMarks to rubric criteria for more structured and meaningful feedback.
Benefits of using QuickMarks
- Consistency: Ensures that feedback is consistent across different assignments and assessors.
- Timesaving: Reduces the time spent on repetitive feedback, allowing more time for personalised comments.
- Improved Feedback Quality: Provides students with clear, concise, and actionable feedback.
QuickMarks Video Guide
The following video guides staff through accessing and using Turnitin QuickMarks.
Accessing QuickMark Manager
To access the QuickMark Manager:
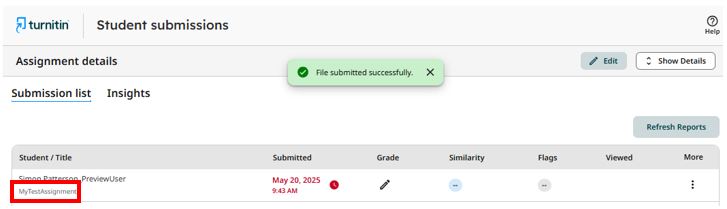
1. Open an existing student submission.
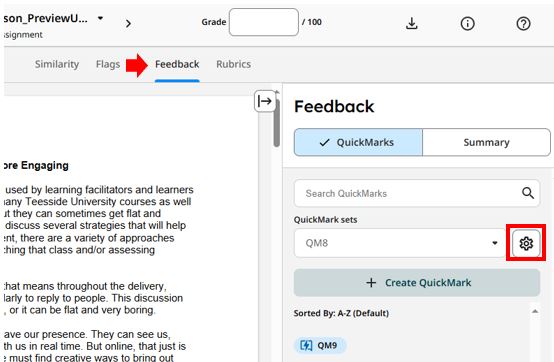
2. Select the gear icon in the Feedback side panel beside the QuickMark sets dropdown.
3. If you have previously created QuickMarks you may be presented with an option to import these into the new QuickMarks manager.

Creating new QuickMarks
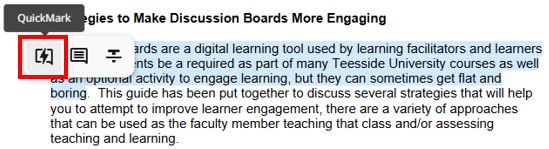
1. Select anywhere on the submission or highlight the section of text to associate with the QuickMark.
2. From the QuickMark menu that appears, select the + Create QuickMark button to create a new QuickMark
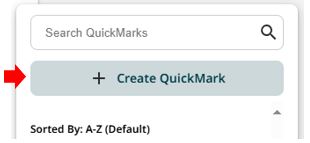 .
.
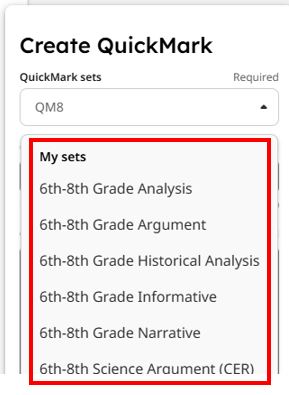
3. If you have previously created a QuickMark Set, use the dropdown to select the QuickMark set you’d like to add the new QuickMark to (There are pre-created Sets included in the My Sets list).
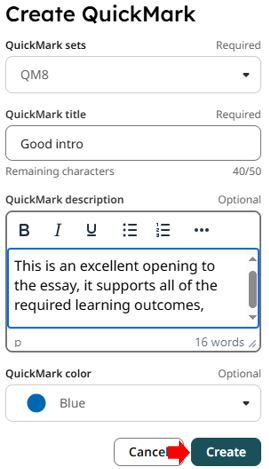
4. Enter a QuickMark title and optionally a QuickMark description and colour (blue, green, and pink). Click the ‘Create’ button to finalise the process.
Creating a new QuickMark set
1. Open an existing student submission. Click on the Feedback tab from the toolbar and select the QuickMarks button. Click on the QuickMark Manager cog icon.

2. Click on the Create QuickMark set button.
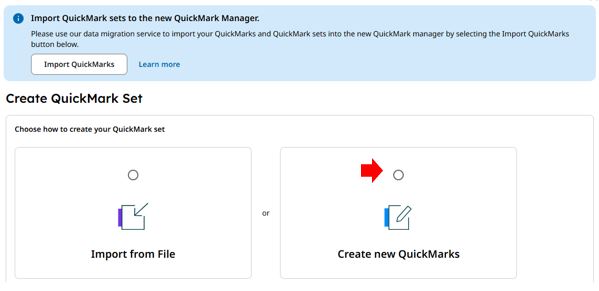
3. Click the Create new QuickMarks option (It is also possible to import previously created QuickMarks from this screen)
4. Enter a QuickMark set title and click Next.

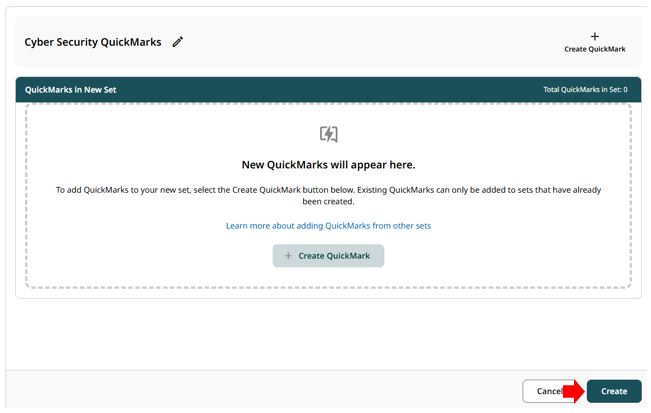
5. Click the Create button (Do not add any QuickMarks at this point)
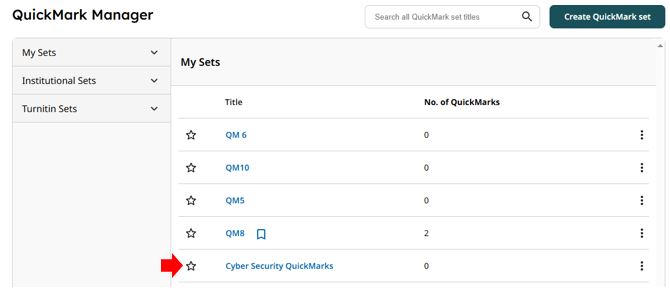
Creating new QuickMarks inside an existing set
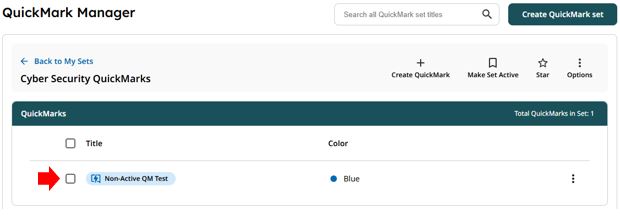
1. Select an existing QuickMark set inside the QuickMark Manager.
2. Select Create QuickMark from the top of the page.

3. Enter a QuickMark title (optionally, add a QuickMark description and/or choose a QuickMark colour). When finished, select the Create button.
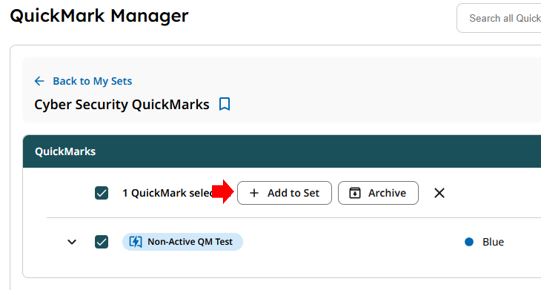
Adding existing QuickMarks
Several different ways exist to add QuickMarks to a submission.
From the submitted student work
1. Select anywhere on the submission, or highlight a section of text to associate with the QuickMark. Choose the QuickMark icon from the on-screen menu.
2. In the menu that appears, search for and select an existing QuickMark you want to use.
From the side panel
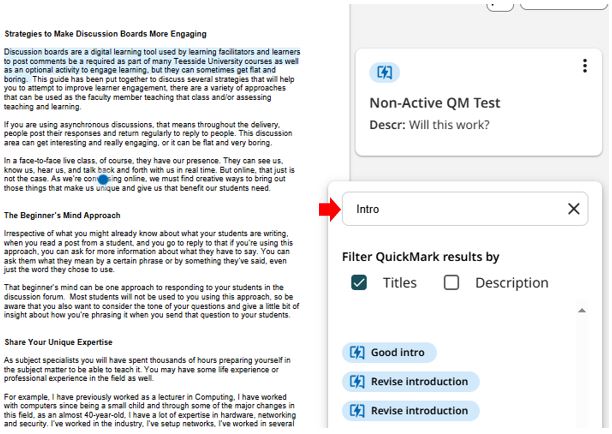
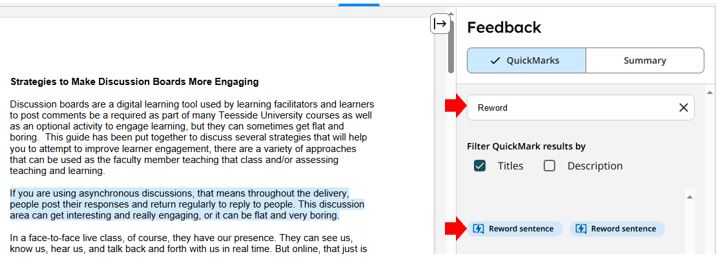
1. Open the Feedback side panel.
2. The currently selected QuickMark set will be displayed here.
3. You can browse additional QuickMark sets from the dropdown menu.
4. You can also use the search box at the top to find a specific QuickMark.
5. To add an already-existing QuickMark to the submission, drag and drop the selected QuickMark to the appropriate location on the submission.
Managing QuickMarks
1. Access the QuickMark Manager to edit or delete existing QuickMarks.
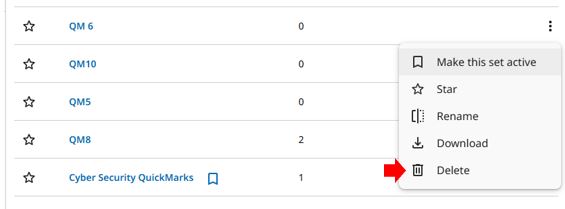
2. Use the search function to quickly find specific comments.
3. Organise QuickMarks into sets based on assignment type or feedback focus.
Final Thoughts…
QuickMarks is a powerful tool within Turnitin that enhances the feedback process, making it more efficient and effective. By utilising QuickMarks, Teesside University academics can provide high-quality feedback that supports student learning and development.
For more information on setting up and using QuickMarks in Turnitin, please follow this link to Turnitin’s QuickMarks and Feedback resource page.
For further support, please contact the Digital Learning Specialist team via elearning@tees.ac.uk.