
This Knowledge Base article has been created to support staff in creating a Microsoft OneNote Notebook template to be used as an e-portfolio that can be shared with students via Microsoft OneDrive. The students can make a copy of the Notebook on their OneDrive and give access to review to their lecturer(s). This can be a good way of ensuring that all students start with the same structure. This will help in ensuring that lecture notes, access to shared resources included in the Notebook etc. are made available to all class members. Using this method is very similar to creating a Microsoft Word form or questionnaire document and sharing it with students to allow them to fill it in.
Contents
- How to create a OneNote Notebook Template (to be used as an e-Portfolio)
- Sharing the OneNote Notebook Template (e-Portfolio) with students via OneDrive
- How students download the OneNote Notebook Template (e-Portfolio) and store it on their university Microsoft OneDrive
- How students share the downloaded OneDrive Notebook Template (e-Portfolio) with an academic(s)
Workflow to create a Microsoft OneNote portfolio:
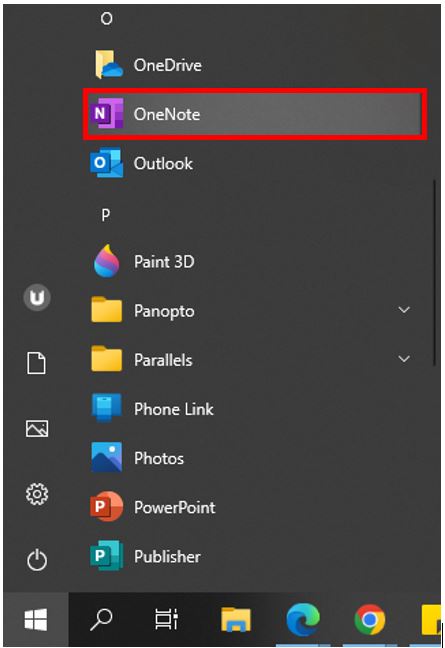
1. Open the Microsoft OneNote desktop version.
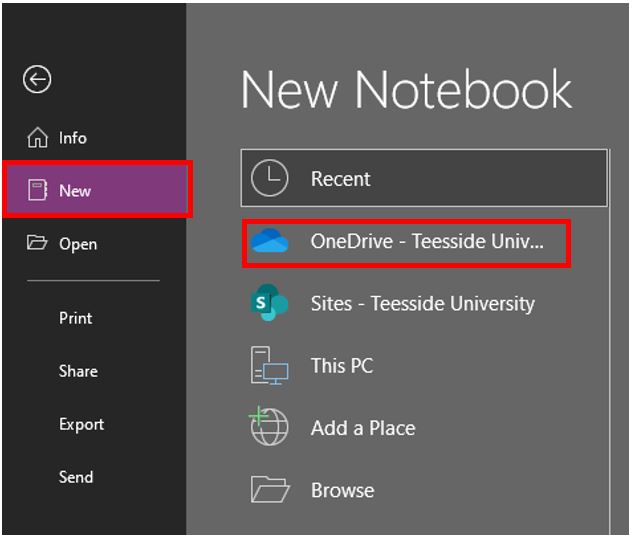
2. Create a new Notebook and save it to your Teesside University OneDrive.
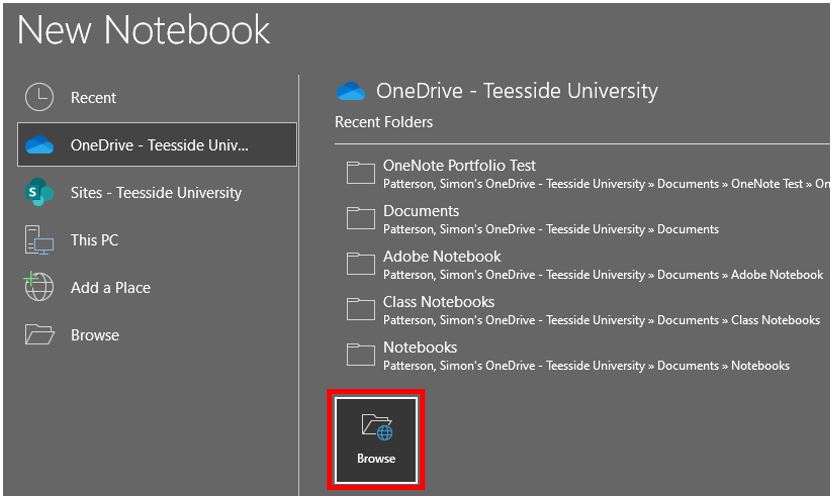
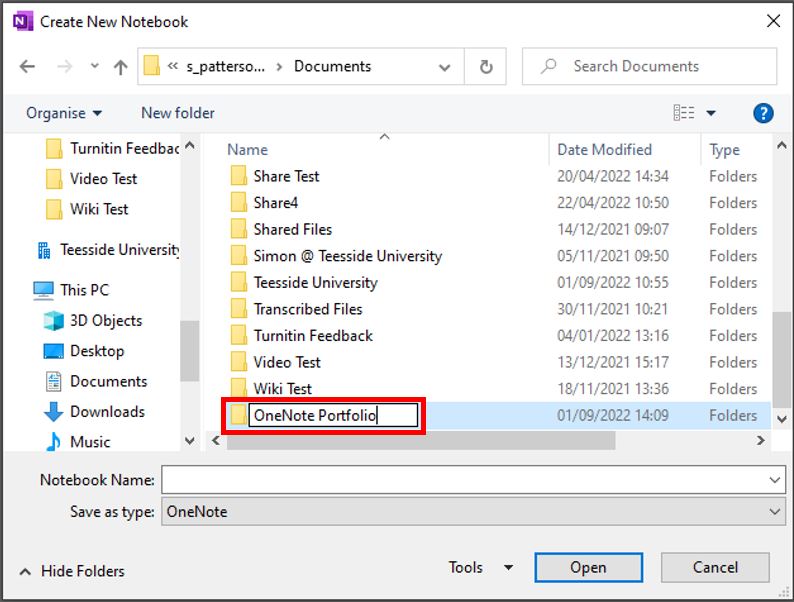
3. Click the browse button to open your OneDrive in Windows Explorer, this will allow you to select where to save the OneNote file and also to create a new folder structure to save the file to.
4. Save the new OneNote Notebook to your Microsoft OneDrive.
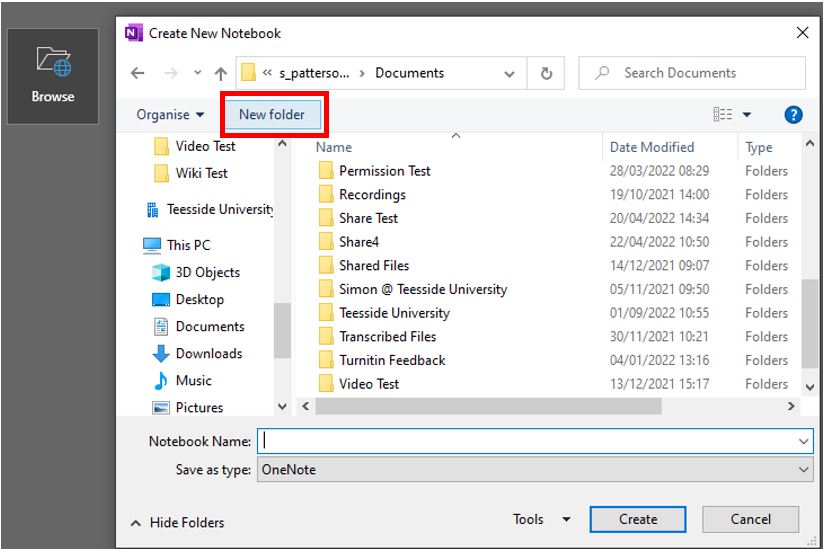
5. Consider creating a new folder such as OneNote Portfolio and then subfolders if you will be teaching multiple modules or groups and therefore have more than one OneNote Notebook (in this example we have only created a single parent Portfolio folder as only one OneNote Notebook will be created).
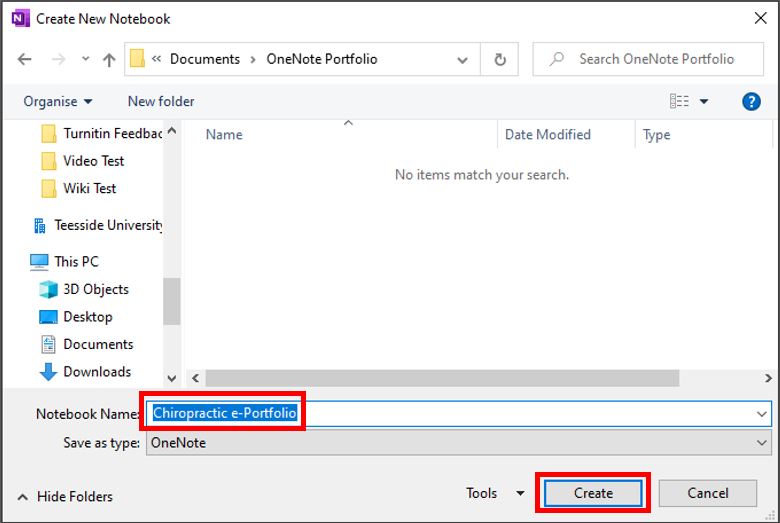
6. Give the Notebook an intuitive name and click Create.
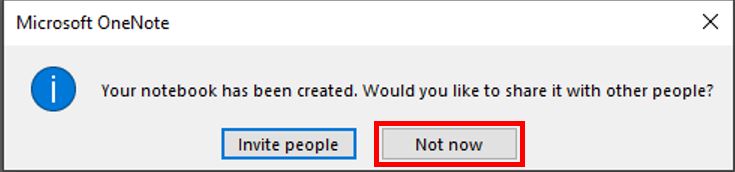
7. Once created you will be asked if you want to share the Notebook with other people, click Not now. The OneNote Notebook will now open and you can build and populate it as per your module requirements.
Sharing a Microsoft OneNote portfolio with students
1. Once you are happy with the OneNote Notebook template (having checked that it meets all the identified course and competency requirements), the OneDrive file will need to be shared so that students can download a copy and store it in their OneDrive as a copy and then populate this version with their content (evidence they will produce and build during the course/module).
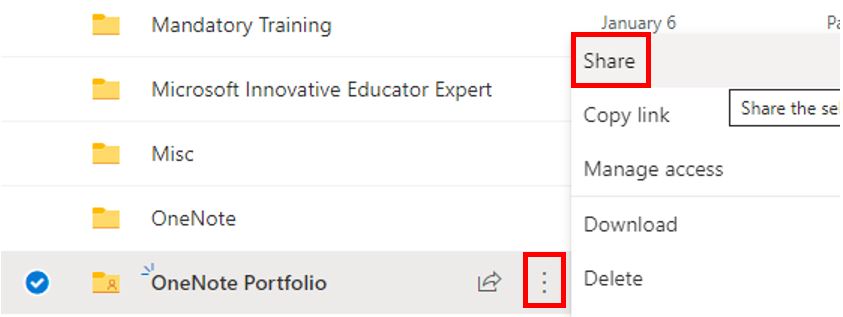
To create a link to allow students to download a copy of the OneNote Notebook template in One Drive. Click on the three vertical dots on the folder where the OneNote file is stored and choose Share from the options menu.
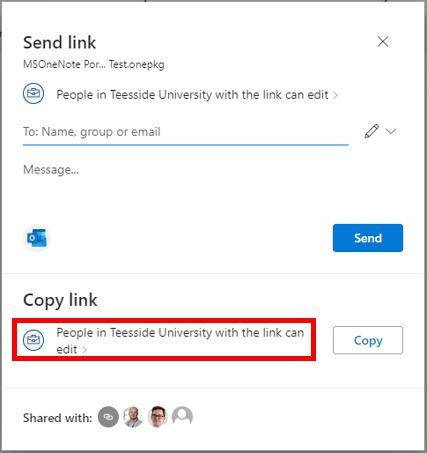
2. Change the allow editing permission to Can View.
 |
 |
| Click on People in Teesside University with the link can edit. | Change the option from Can Edit to Can View. (This will stop students from being able to edit your original OneNote Notebook before they have downloaded a copy.). Make sure that the Block Download option is disabled. Click Apply to save changes and share the file. |
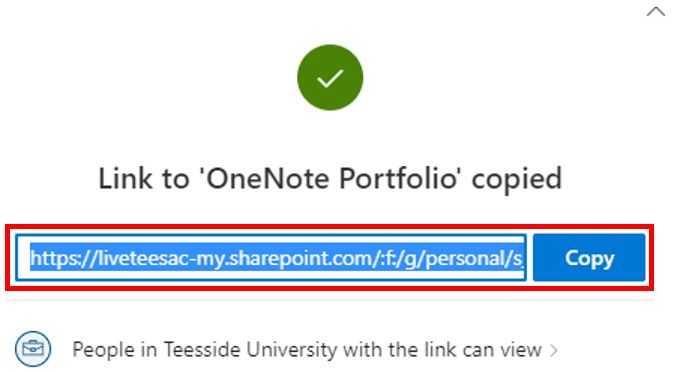
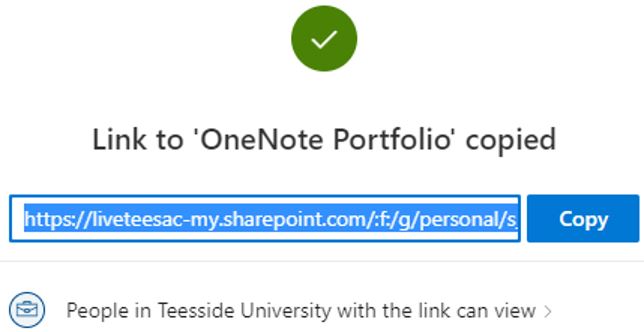
3. A new link will be generated, this can be shared with the students (Via Teams, Blackboard Ultra, email etc.) to allow them to access the folder and download the OneDrive file.
Workflow to support students to download a OneNote template and store it on their university OneDrive.
The module leader will share a link to the OneNote template.
Download the OneDrive file via the shared download link
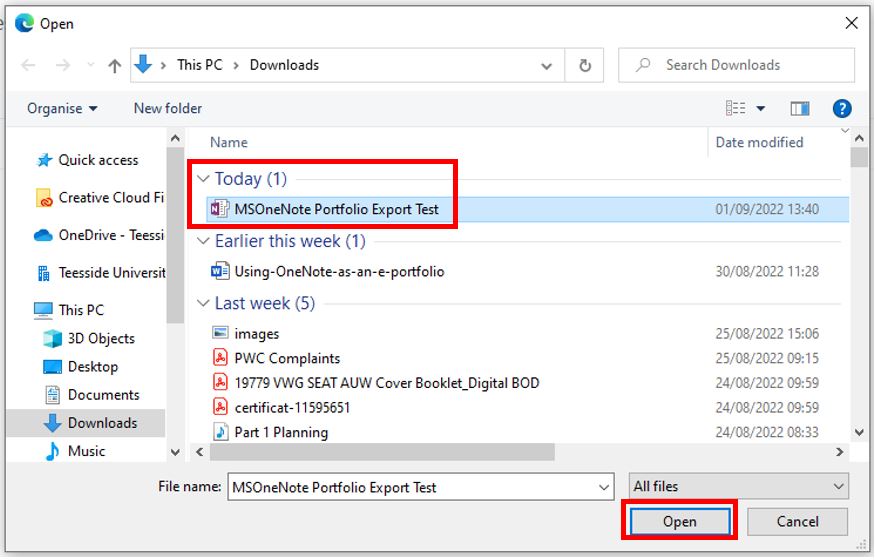
Locate and launch the OneNote template file that was downloaded (by default this will be saved to the Downloads folder).
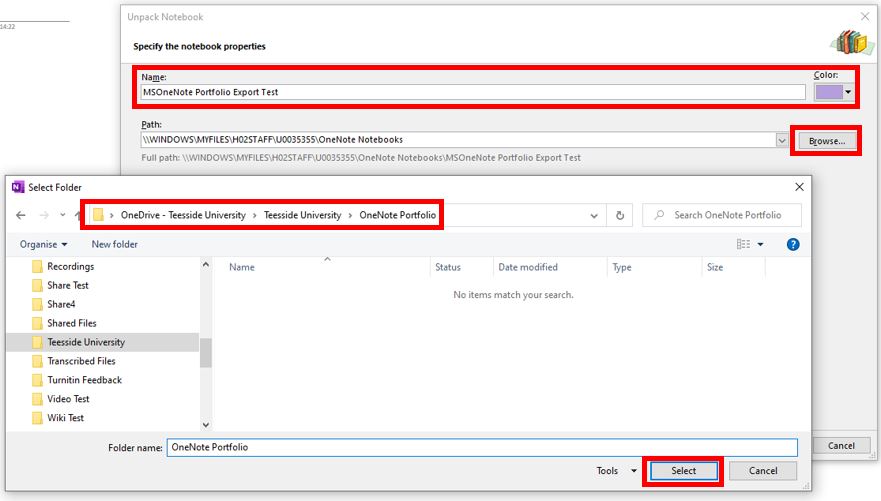
By default, OneNote will ask you what name to call the new copy of the OneNote template and where to save it. Students must save the file to a location on their own OneDrive. Use the Browse button to navigate to the location to save the file. Click Select and then Create to confirm. The student has now created their own copy of the OneNote Notebook template.
Workflow to share a downloaded OneDrive Notebook
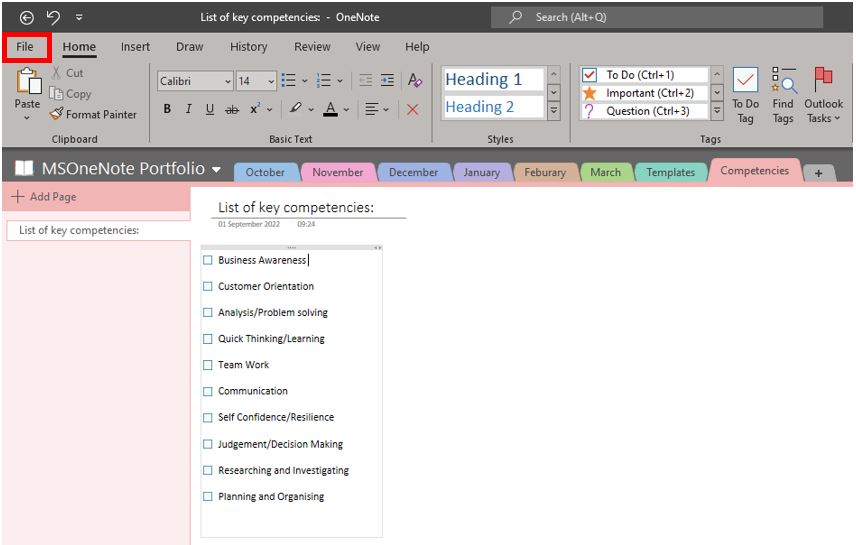
To share the downloaded OneNote Notebook with all teaching staff and external assessors (via their university associate accounts), students need to click on the File menu and choose Share.
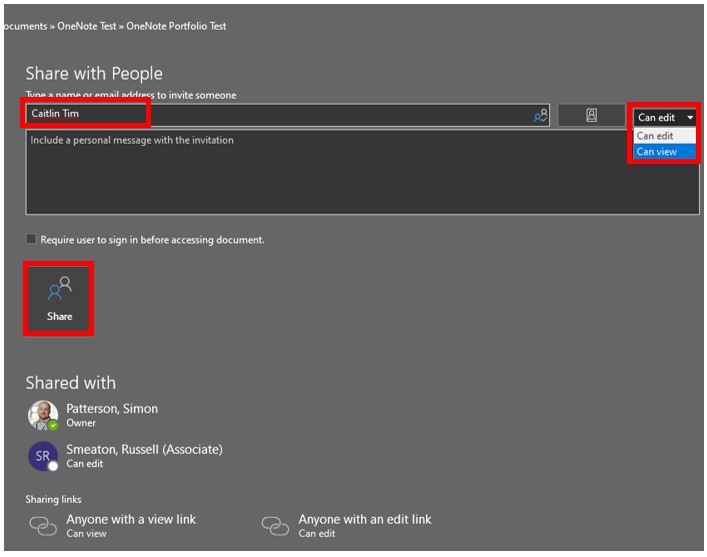
Students will need to type the names of the university staff with whom the OneNote e-portfolio is to be shared, depending on the assessment requirements, they may need to configure the access level to Can Edit or Can View. This is especially important if sharing the document with an external assessor. Once the required accounts have been added and permissions set, click the Share button.
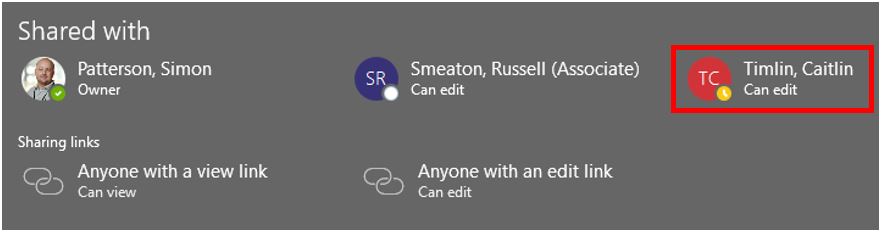
The user(s) that the students are sharing the OneNote Notebook with, in this case, both Simon Patterson and Caitlin Timlin as the Module Leaders) and Russell Smeaton as the External Assessor will receive emails informing them of the new resource that they have shared with them.
Staff might decide to keep all the emails in a specific folder to allow them to re-open in the future and access the link to each student’s shared OneNote or may instead create a Word document that includes the student names and links to each of their shared OneNote Notebooks.