
As an educator, using Microsoft OneNote Class Notebook can enhance classroom workflows and optimise the learning experience.
This guide introduces a feature that is available in Microsoft OneNote Class Notebook which allows formative assessment work to be distributed to students and once complete, can be reviewed and feedback provided.
Contents
- Distribute page(s) to students that include set work in a Class Notebook.
- The Class Notebook Review Student Work feature.
- Providing Feedback.
All workflows and associated screenshots in this guide are based on the web version of Microsoft OneNote Class Notebook which can be accessed at https://office.com and selecting OneNote from the App Launcher.
1. Distribute page(s) to students that include assessed work in a Class Notebook
- Open the Class Notebook you’d like to distribute work for students to complete. In OneNote, select the page(s) that have been created with tasks to complete and that need to be distributed to the student(s)
- Select the Class Notebook tab, then select Distribute Page.

- Choose the Notebook section where the selected page(s) is to be copied. For example: Homework. (All students will get a copy of the homework task in their notebook’s Homework section).

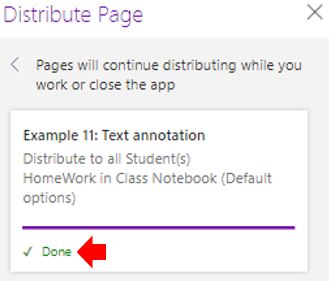
*Note: Select View distributed pages to view status updates on pages you’ve distributed to students. You can close the distribution window at any time and pages will continue distributing in the background.
2. The Class Notebook Review Student Work feature.
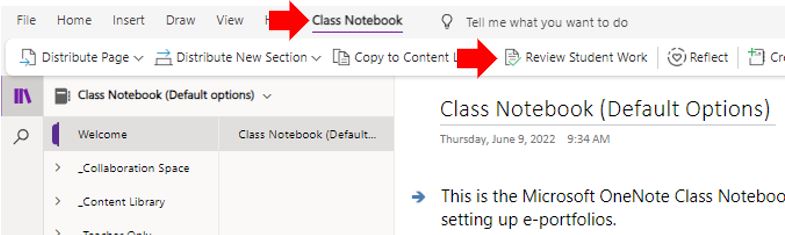
1. Open the Class Notebook you’d like to review.
2. Select Class Notebook in the OneNote ribbon and select Review Student Work.
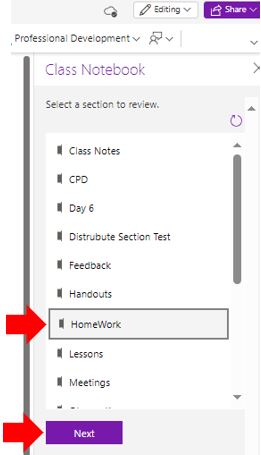
3. Select the section of the student’s private workspace where the page with the task for them to complete has been distributed that contains the work you want to review and click the Next button.
For example, the task that was previously distributed to the ‘Homework’ section.
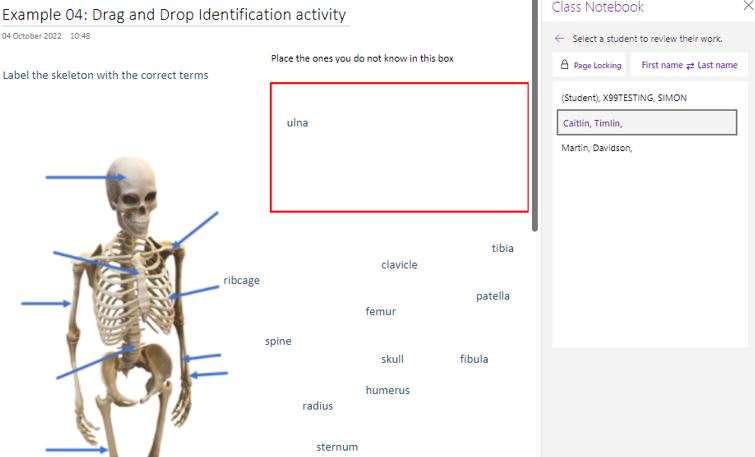
4. Select the page to be reviewed and click the Next button.
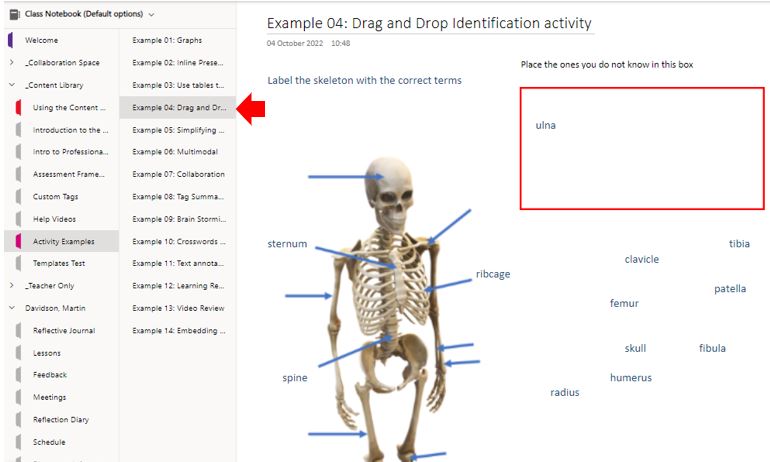
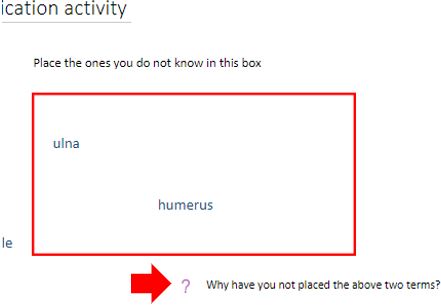
Even when setting students freeform tasks, it is recommended to distribute a blank page to ensure that all student work to be reviewed is labelled the same, allowing the use of the Review Tool to identify and collect it.

5. A list of all students added to the Class Notebook will appear and clicking on any of these students will open their task page where the work can be reviewed.
It is possible to sort this list by first name or last name.
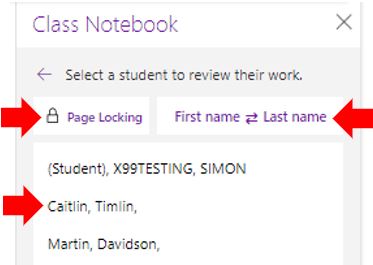
It is also possible to lock the student’s page so that they can not make further edits to the page whilst you are marking the work or afterwards. Click on the Page Locking button, select the student(s) to lock their work and click the Apply button.
Locked student work can be unlocked by clicking on the Page Locking button, removing the lock from the student and clicking the Apply button.
6. Selecting a student from the class list will open that student’s work to be reviewed. After you review a student’s assignment, their name will no longer appear in bold unless they return to edit the assignment later.
7. Close the Review Student Work sidebar when you’re done.
3. Providing Feedback
When assessing work completed by students and wanting to provide feedback, there are multiple ways that this can be accomplished.
The following are four commonly used techniques:
Digital inking refers to the process of handwriting content, such as text or drawings directly onto a piece of digital work. This is almost identical to giving hand-written feedback on a paper-based task. Using the digital inking feature is especially useful if using a stylus and touchscreen device such as a tablet, Smartphone or touchscreen monitor.
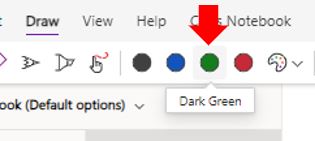
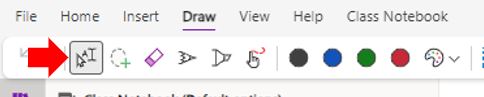
- Select the Draw ribbon from the top menu

- Select an inking device such as ‘Pen’

- Select a colour of digital ink to use
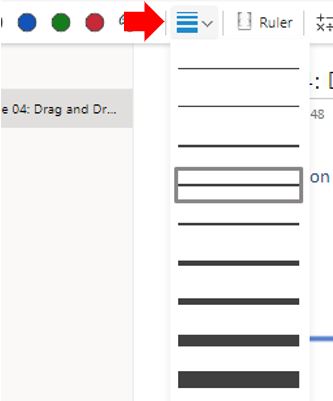
- If required, the thickness of the inking device can also be changed.
- Add the handwritten comments to the student’s work.

- Any feedback added to the page is automatically saved. When finished, move to the next student by clicking on their name in the menu, click the back button to select a different section or page to assess more work, or close the Review Student Work menu.
Similar to leaving feedback using the Digital Inking feature, for staff who prefer not to use handwritten feedback or do not have access to a stylus and touchscreen device, it is possible to type feedback directly into the student’s work that is being assessed.
Using this method also means that OneNote automatically tags the added text comment with the author’s initials and a timestamp of when the comment was added.
- Select the Draw ribbon from the top menu.

- Select the Type icon.
- Click on a location on the student’s work and type the required feedback.
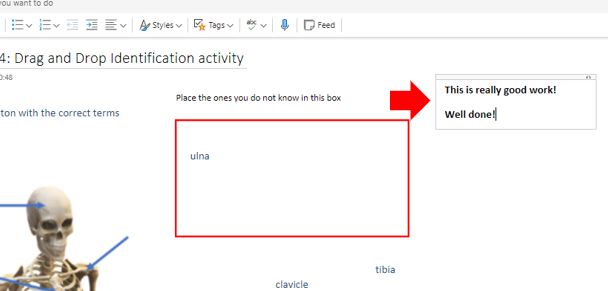
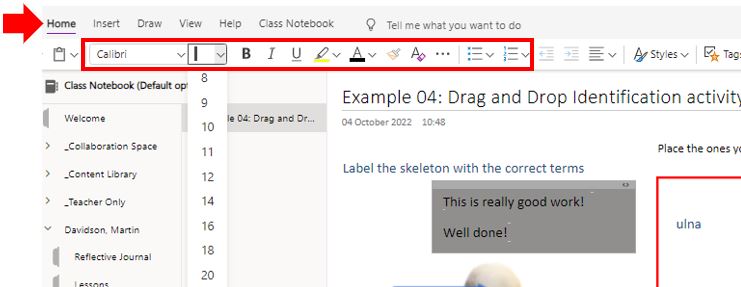
- Once the feedback has been typed, the text box can be dragged to a different area of the screen, by clicking on the Home menu, text formatting can be updated such as size, colour, font etc.
- Any feedback added to the page is automatically saved. When finished, move to the next student by clicking on their name in the menu, click the back button to select a different section or page to assess more work, or close the Review Student Work menu.
Tags can be used to add tags to student work as a form of feedback.
Tags in Microsoft OneNote are visual markers or labels that can be applied to specific notes or sections within your notebooks. They serve 4 main purposes:
- Organisation: Tags help categorise and organise notes based on their content or status. For example, you can use tags to mark important points, to-dos, questions, ideas, or deadlines.
- Searchability: Tags make it easier to find specific information within OneNote. Students can search for specific tag types given as feedback from the assessor.
- Action Items: OneNote includes tags specifically designed for managing action items or tasks such as to indicate when a task is complete, pending, or requires attention. They can also be used as a means of alerting students to the feed for corrections.
- Visual Cue: Tags provide a visual cue within your notes, making it easy to identify important points.
To use tags as a form of feedback:
- Click the location on the page where the tag is to be inserted and select the Home ribbon from the top menu.
- Click on the drop-down menu option on the Tags icon.
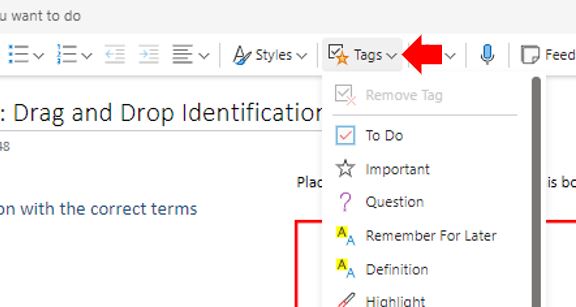
- Select the tag that meets the feedback requirement.

Custom Tags (only available in the Desktop version of the Application)
Custom tags can also be set up to meet feedback requirements.
- Open OneNote Desktop and the Notebook in which to create the custom tags.
- Select the Home ribbon from the top menu and expand the Tags section.

- At the button of the dropdown list, select the ‘Customize Tags’ option
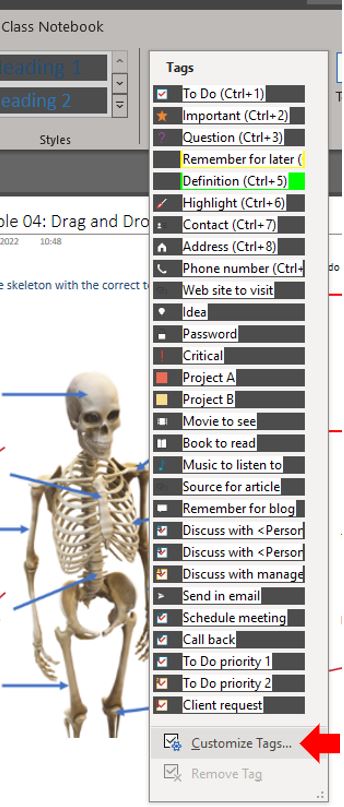
- Click the New Tag button to create a new tag (or the Modify Tag, to modify a pre-created or newly created tag).
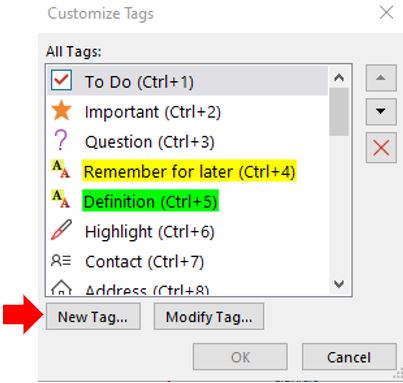
- Enter the Display name (Text to be included on th new tag). Optionally, it is also possible to set up the Symbol, Font Color and Highlight Color.
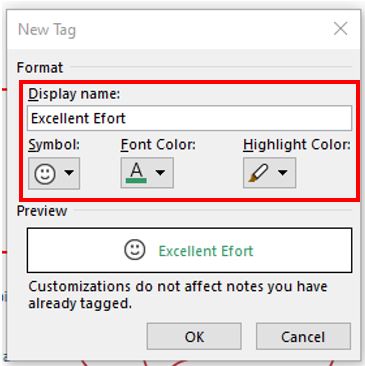
- Click the OK button to complete the new tag setup process.
- Check if the new custom tag is available from the drop-down tag list. The tag can be used like any other tag.

Like ‘tags’, stickers can also be used to provide visual feedback to students.
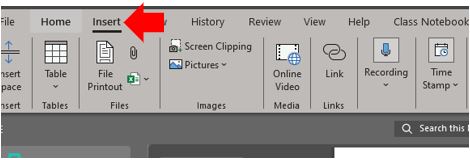
- With the student’s work open that requires feedback, click the location on the page where the ‘sticker’ is to be inserted and select the Insert ribbon from the top menu.
- Select the Stickers icon from the menu (the first time this is done, OneNote might need to download the sticker’s content and functionality).

- Select the category of sticker that is required. The ‘Fruit Salad’ and ‘Mixed Vegetables’ sticker categories provide useful written feedback and visual feedback cues.

- Select the sticker to be used to give feedback. These sticker types allow the suggested written message to be customised.

- Click the Submit button to insert the sticker onto the student’s work.

- Click the close window button to close the sticker screen.