Each module in Blackboard has a storage quota of 1024Mb or 1Gb. If you receive a warning that your module has reached your allowed quota, this guide will take you through the process of decluttering your module.
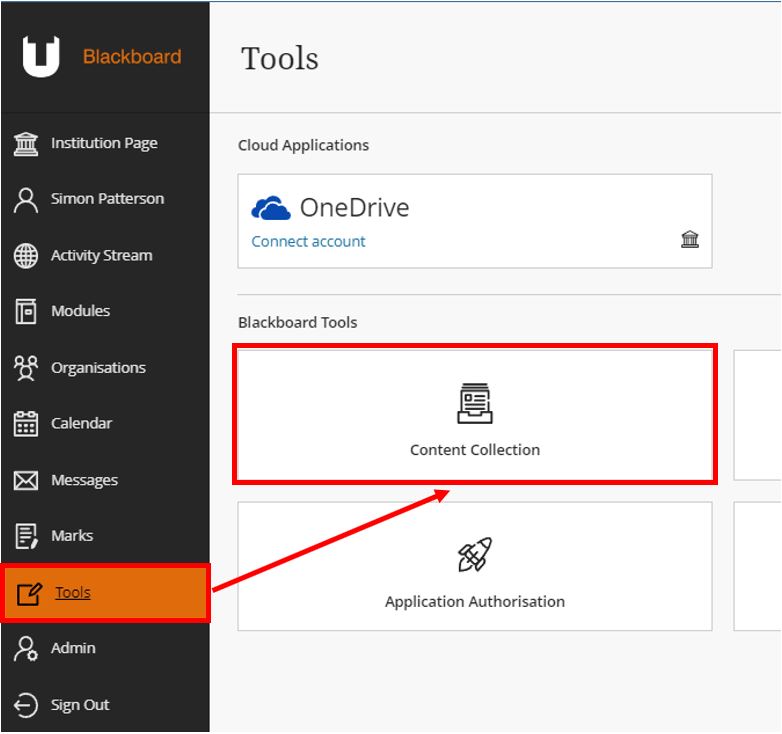
In Blackboard, access Tools from the left-hand menu and then click on Content Collection.
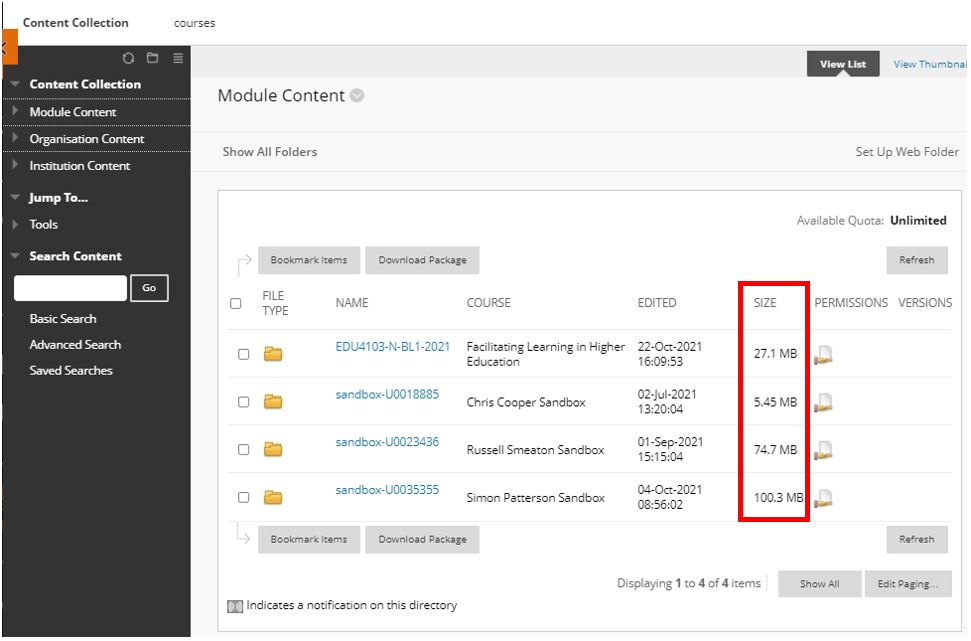
You will be presented with a list of all your modules, and you can see at a glance how much storage space is in use for each. Click on the name of the module that you want to reduce in file size.
 * Remember, each module in Blackboard has a storage limit of 1024Mb. *
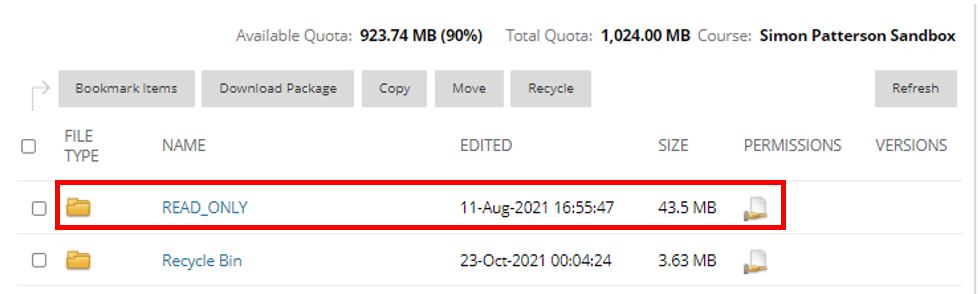
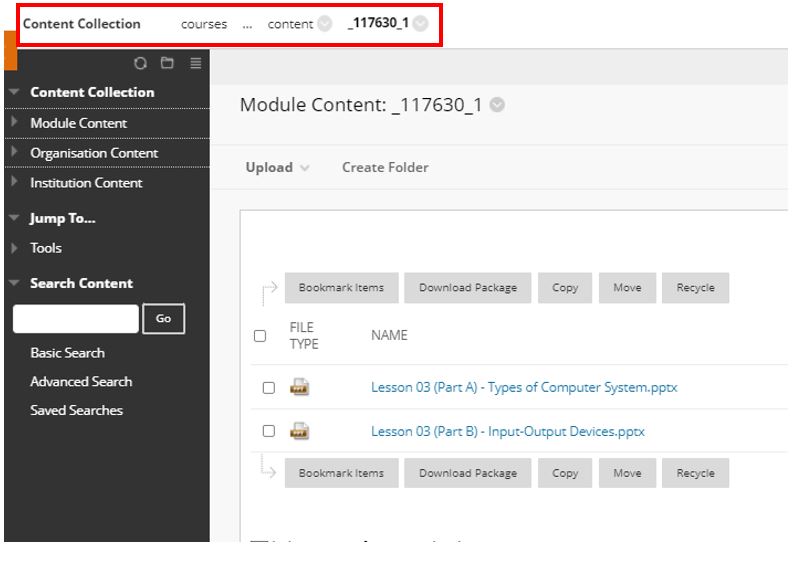
You will see a series of folders that make up the contents of the selected module. One is called READ-ONLY. Click on it to open it up.
Click on the folder labelled Content. This folder contains all of content that has been uploaded to your module such as Microsoft PowerPoint and Word files as well as images and videos.
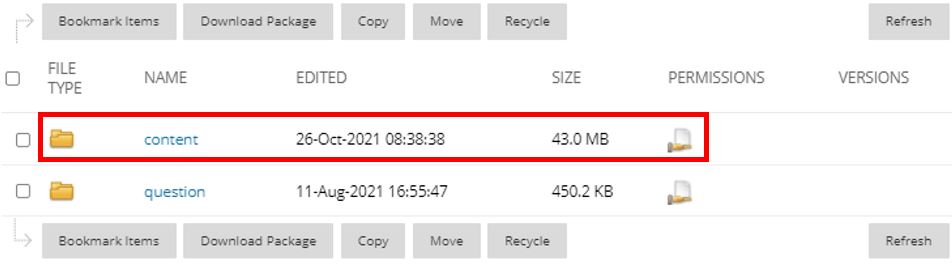
You can identify folders that are large. By clicking on the title Size you can re-order the folders and quickly identify which ones are taking up space.

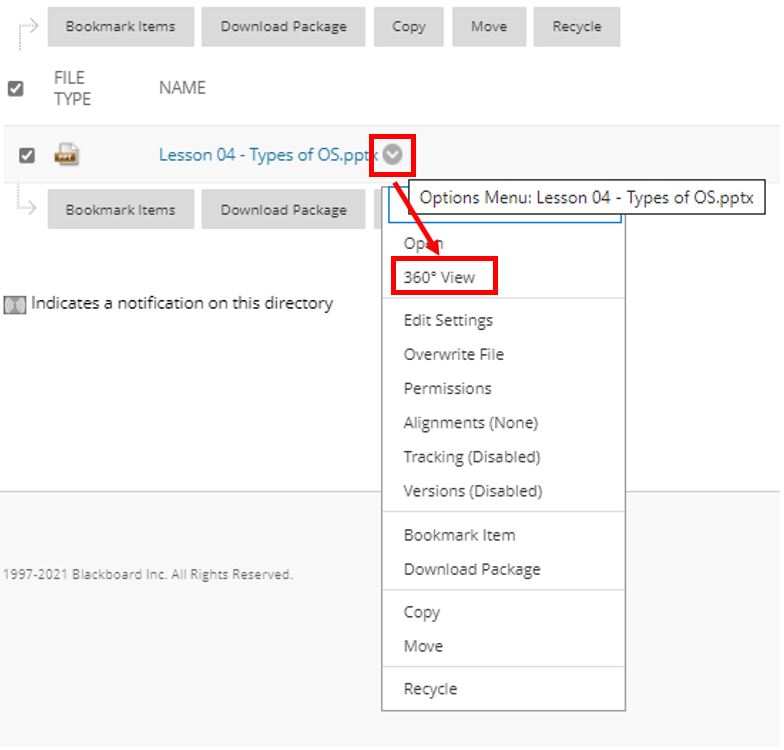
Hovering your mouse over the file name, click the small grey circle to the immediate right of the file name and select 360o View.
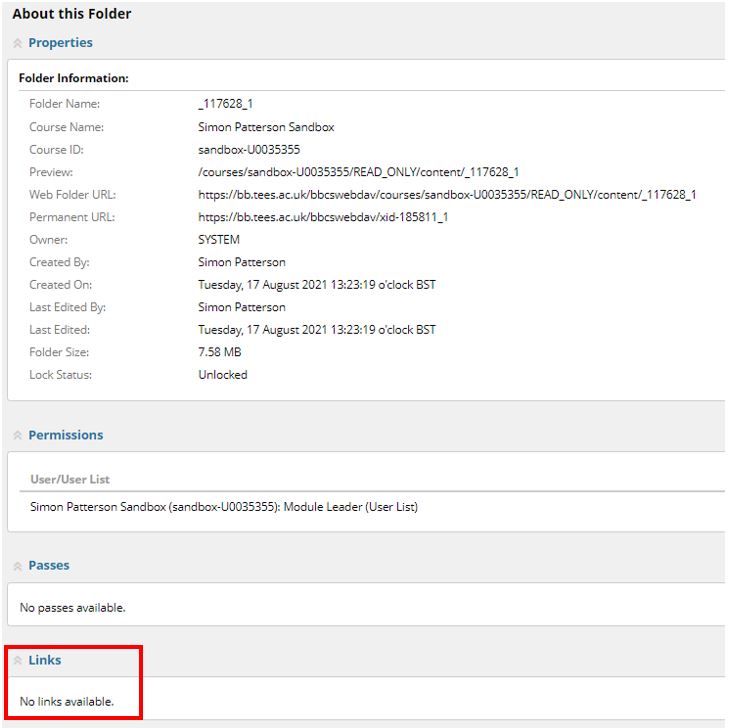
This opens a new browser page and provides you will a range of information relating to the file. Locate the section of the report labelled Links. If the status of Links is listed as No links available this file is NOT in use and can therefore be deleted. See the example in the following image.
Once you have identified an unused file to be deleted, you can close the browser window for the 360o View report.
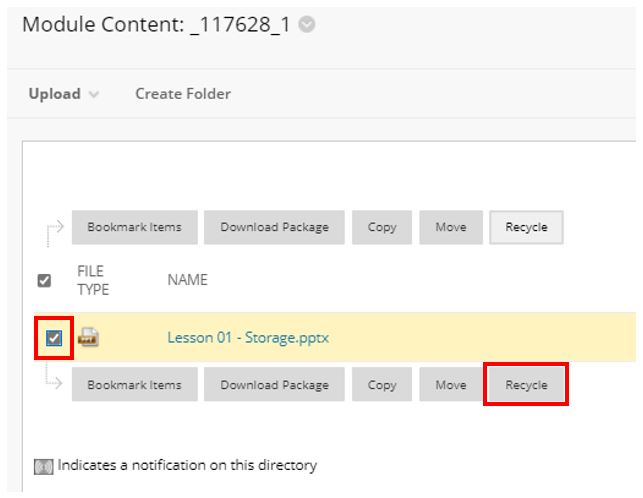
The process for file deletion is a two-stage process. First (from the Content Collection area), select the file to be removed (you can use the check box to select more than one file at a time) and then select Recycle.
Once this is done for all files that are not in use, you can then access the Recycle Bin area of the module, located in Courses. To navigate back through folders in the Content Collection to Courses use the top breadcrumb trail.
Once in the Course are you can access the Recycle Bin. All those files that you’ve Recycled will be here and you can those that you are sure are to be deleted and click the Delete button, thus freeing up the space in the module.
* Please note that once a file has been deleted from the Recycle Bin it cannot be recovered.*
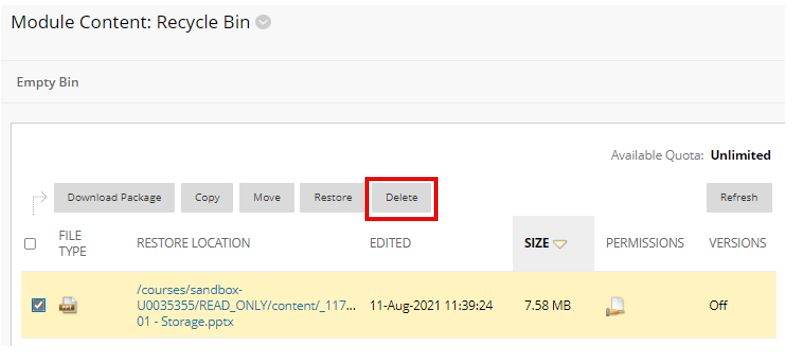
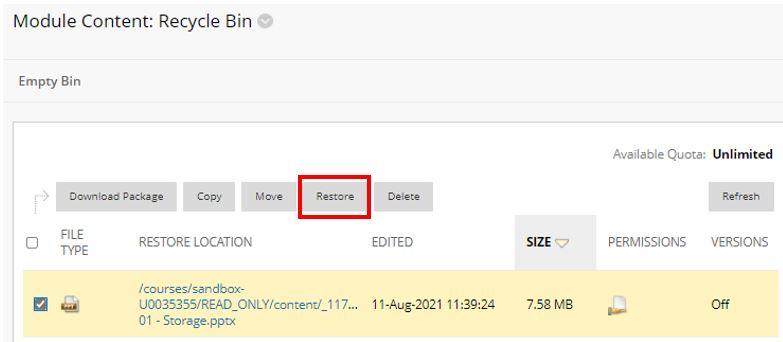
If a recycled file is identified as being required to be restored (before being permanently deleted), similar to the above instruction, you can select the file/s in question and instead click the Restore button.