Introduction
In this article, we will explore how Blackboard Design Assistant can help populate your module with images. There are several options to inserting images into your module:
- Upload from Device
- Stock images from Unsplash
- Generate images
Upload from Device refers to using images you have stored on your own device that you have created yourself.
Stock images from Unsplash provides access to a wide range of royalty free high-resolution images. These have been created by professionals, and usually come with alternative text embedded within them.
Generate images makes use of Generative AI. By supplying the assistant with some information (often referred to as a “prompt”), it can generate high quality images to reflect the subject matter.
At the time of writing, Image Generation is possible from within multiple Blackboard items. These include:
- Announcements
- Learning Modules
- Blackboard Documents
- Assignments/Tests/Forms
- Discussion Boards
- Journals
The main exception is the Course Image (sometimes referred to as Module Images or Module Banners). Currently, you can make use of Stock Images from Unsplash for course images, but there are no options to create automated images.
Video Tutorial
Step One – Select/Create the image
From the above sections in Blackboard, identify the Insert Image icon:![]() If you are inserting an image in a Blackboard Document, you can identify the same icon in the toolbar (located over on the right):
If you are inserting an image in a Blackboard Document, you can identify the same icon in the toolbar (located over on the right):![]()
Click the Insert Image button to start the process.
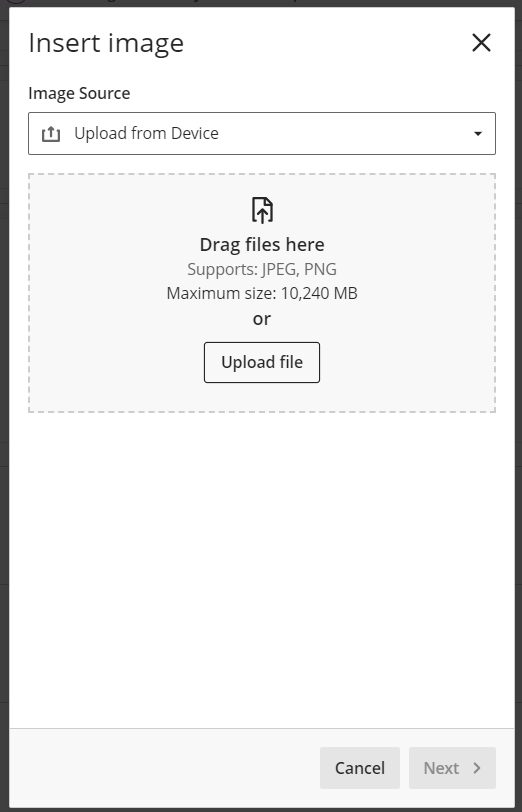 Change the image source option to either Stock Images from Unsplash or Generate Images (remember you cannot generate images for Module Images, and so the option will not be there)
Stock images from Unsplash
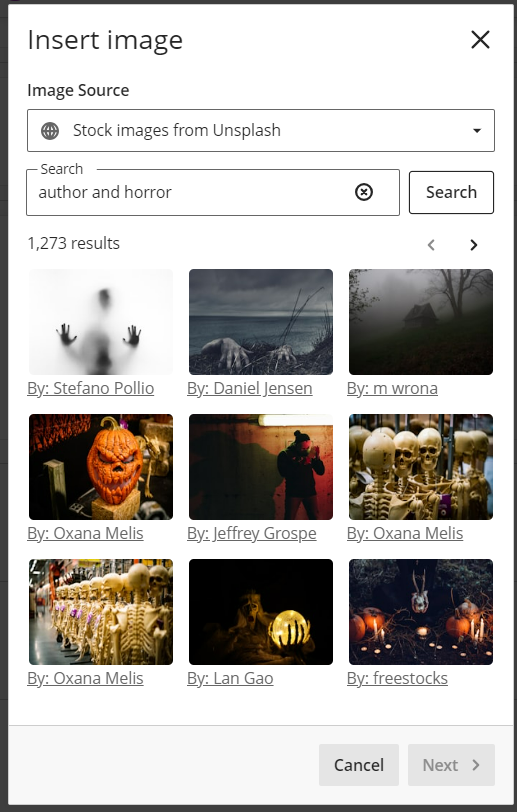
Selecting this option starts with a Search box. The Design Assistant will automatically add search items based on any text it can find from where you start the process. In the example below, the Insert Image option was started from within a Learning Module that discussed horror writers in general, and you can see it has automatically populated the Search box with “Author and horror”. You can also type in your own search criteria and click Search.
Once you have found an appropriate image, click it once to select it and click Next to continue the process, as detailed in Step Two below.
Generate Images
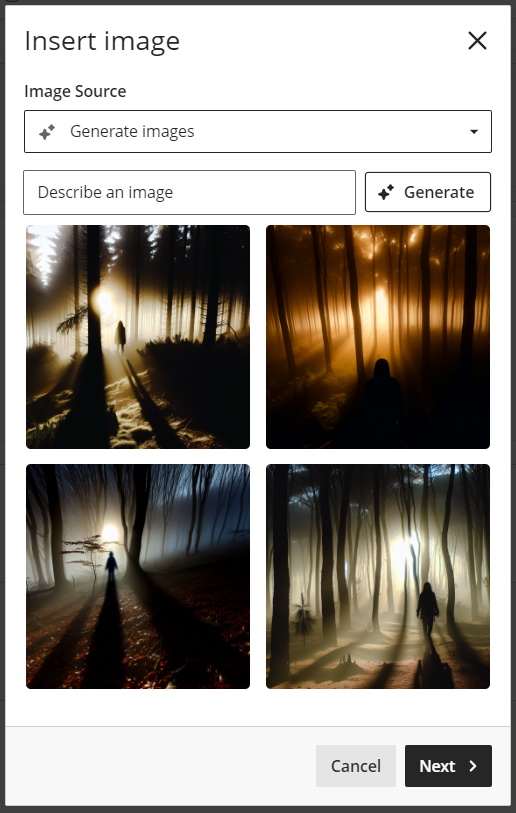
If you are adding images to a space that already has text-based content, the Design Assistant tool will attempt to automatically generate appropriate and relevant images for you. In the example below, you can see there is nothing in the Describe an image box, but it has automatically generated four images. As the space in question was discussing authors and horror, you can see it has attempted to generate appropriate images automatically.
If you are not satisfied with the automatically generated images, you can use the Describe an image box, giving you more control over the process. Type in a description of the image you want to create, and click Generate. You can type in as much detail as you want for your prompt in order to obtain a suitable image.
Once you have generated an image you are satisfied with, click once to select that image, and select Next to add the image to your content.
Step Two – Adding the image
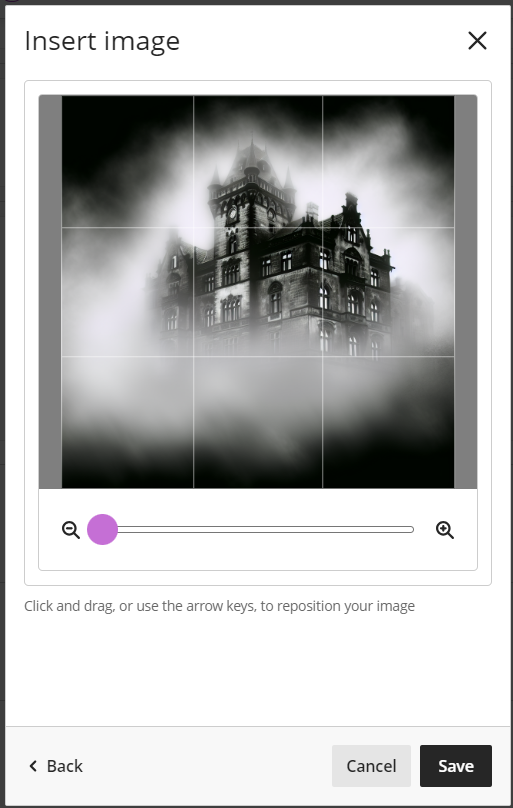
Once you have selected your desired image, you can now manipulate how you add the image into the module. The image chosen will be displayed in the Preview Pane, and you can now fine tune the appearance of the image.
Depending on the type of image you are inserting, you may have the option to change the Aspect Ratio, zoom in or out of the image, and even move the image around to suit your needs. The Preview Pane will respond in real time, allowing you to see how the final image will look.
If you are adding a Course Image or Learning Module image, click Save to complete the process. If you are adding an image to a Blackboard Document, rather than Save, it will say Next – click Next to take you to the File Options.
Step Three – File Options
The following applies if you are adding an image to a Blackboard document. For other image places, you will not get this option (such as adding an image to a Learning Module).
Display Name
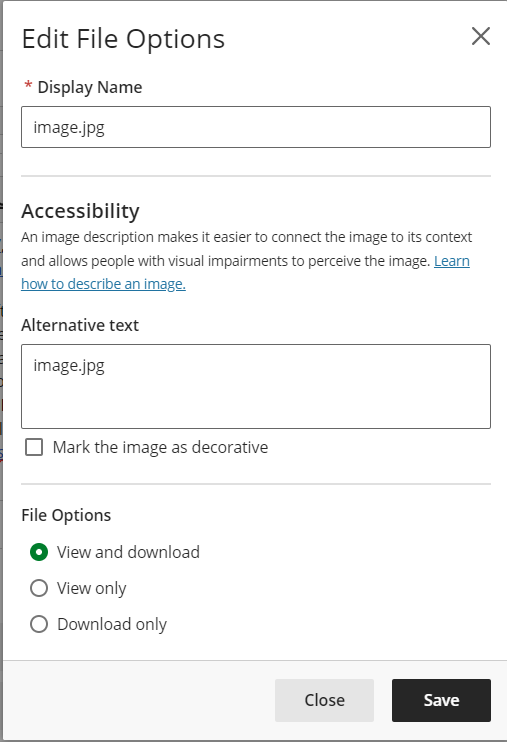
If you have searched for an image via Unsplash, the display name is the search text you used to find the image. If you have used the Generate Image option, this will be something generic like “Image(1).jpg”. If you wish, you can rename this into something meaningful.
Accessibility and Alternative Text
If you have selected an image from Unsplash, alternative text will be supplied. This allows greater engagement with the image as it allows students with visual impairments to perceive the image. However, if you have created an image using the “Generate” option, the alternative text is the same as the display name. It is strongly recommended to include Alternative Text where appropriate.
There are times when Alternative Text is not required, and if this is the case, you can select the option to “Mark the image as decorative”. Please contact the Digital Transformation team for more information about leveraging the full capabilities of Blackboard Ultra for Accessibility.
File Options
Here you can provide students with the option to download the image if needed, or the option to only view the image.
Click Save when you are ready, and the image will be available in the desired space.

