
Introduction
You can create engaging, interactive presentations using Adobe XD, as well as take existing PowerPoint Presentations to add sticky menus, animated components and much more.

Some examples of XD for learning and teaching:
- Create interactive presentations
- Create and mock up user interface designs for digital products, such as websites. mobile apps and games
- Turn flat graphics into 3D objects with the transform feature
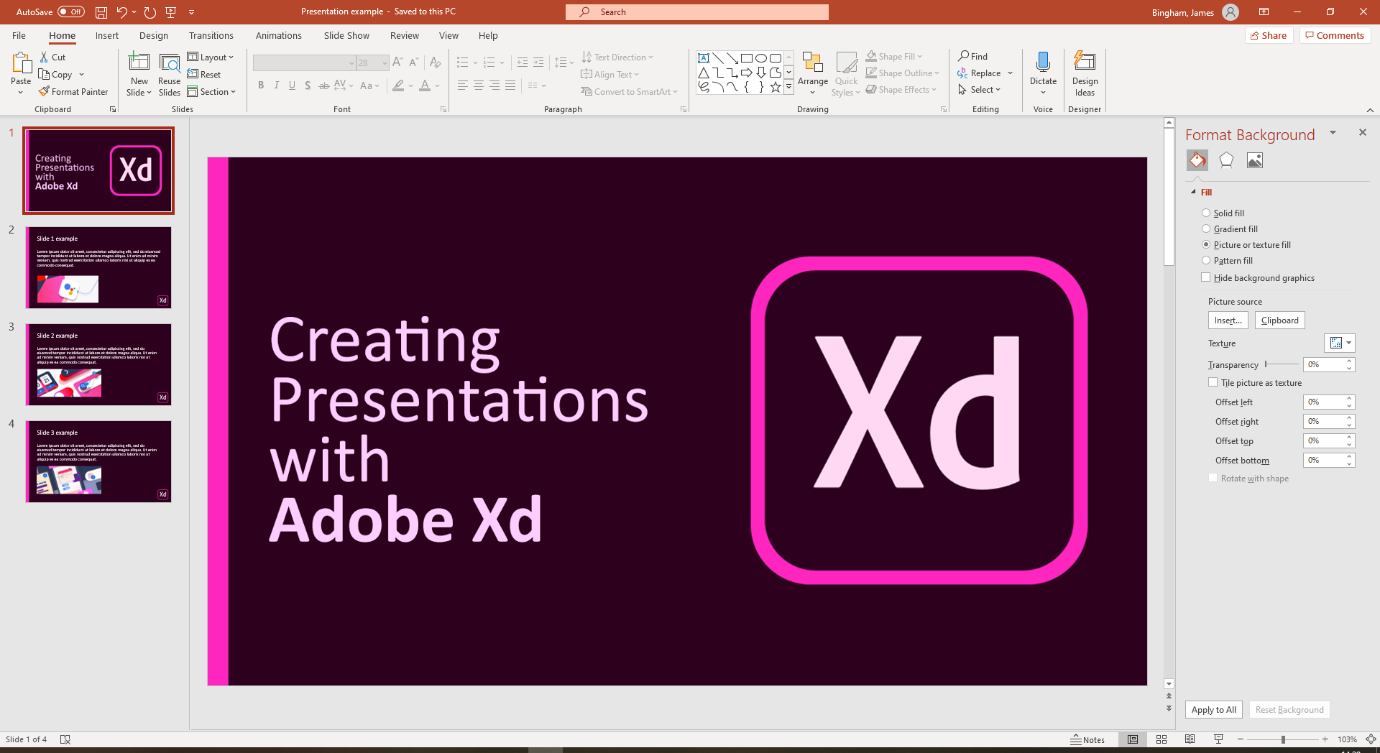
Creating an Adobe XD presentation from an existing Microsoft PowerPoint presentation.
Currently, there is no way to directly import PowerPoint slides into Adobe XD. The PowerPoint slides will need to be exported as images and then imported in to Adobe XD.
Step 1
Open the PowerPoint file that you want to re-create in Adobe XD
Choose File > Save as. Choose PNG Portable Network Graphics Format (*.png) from the menu:
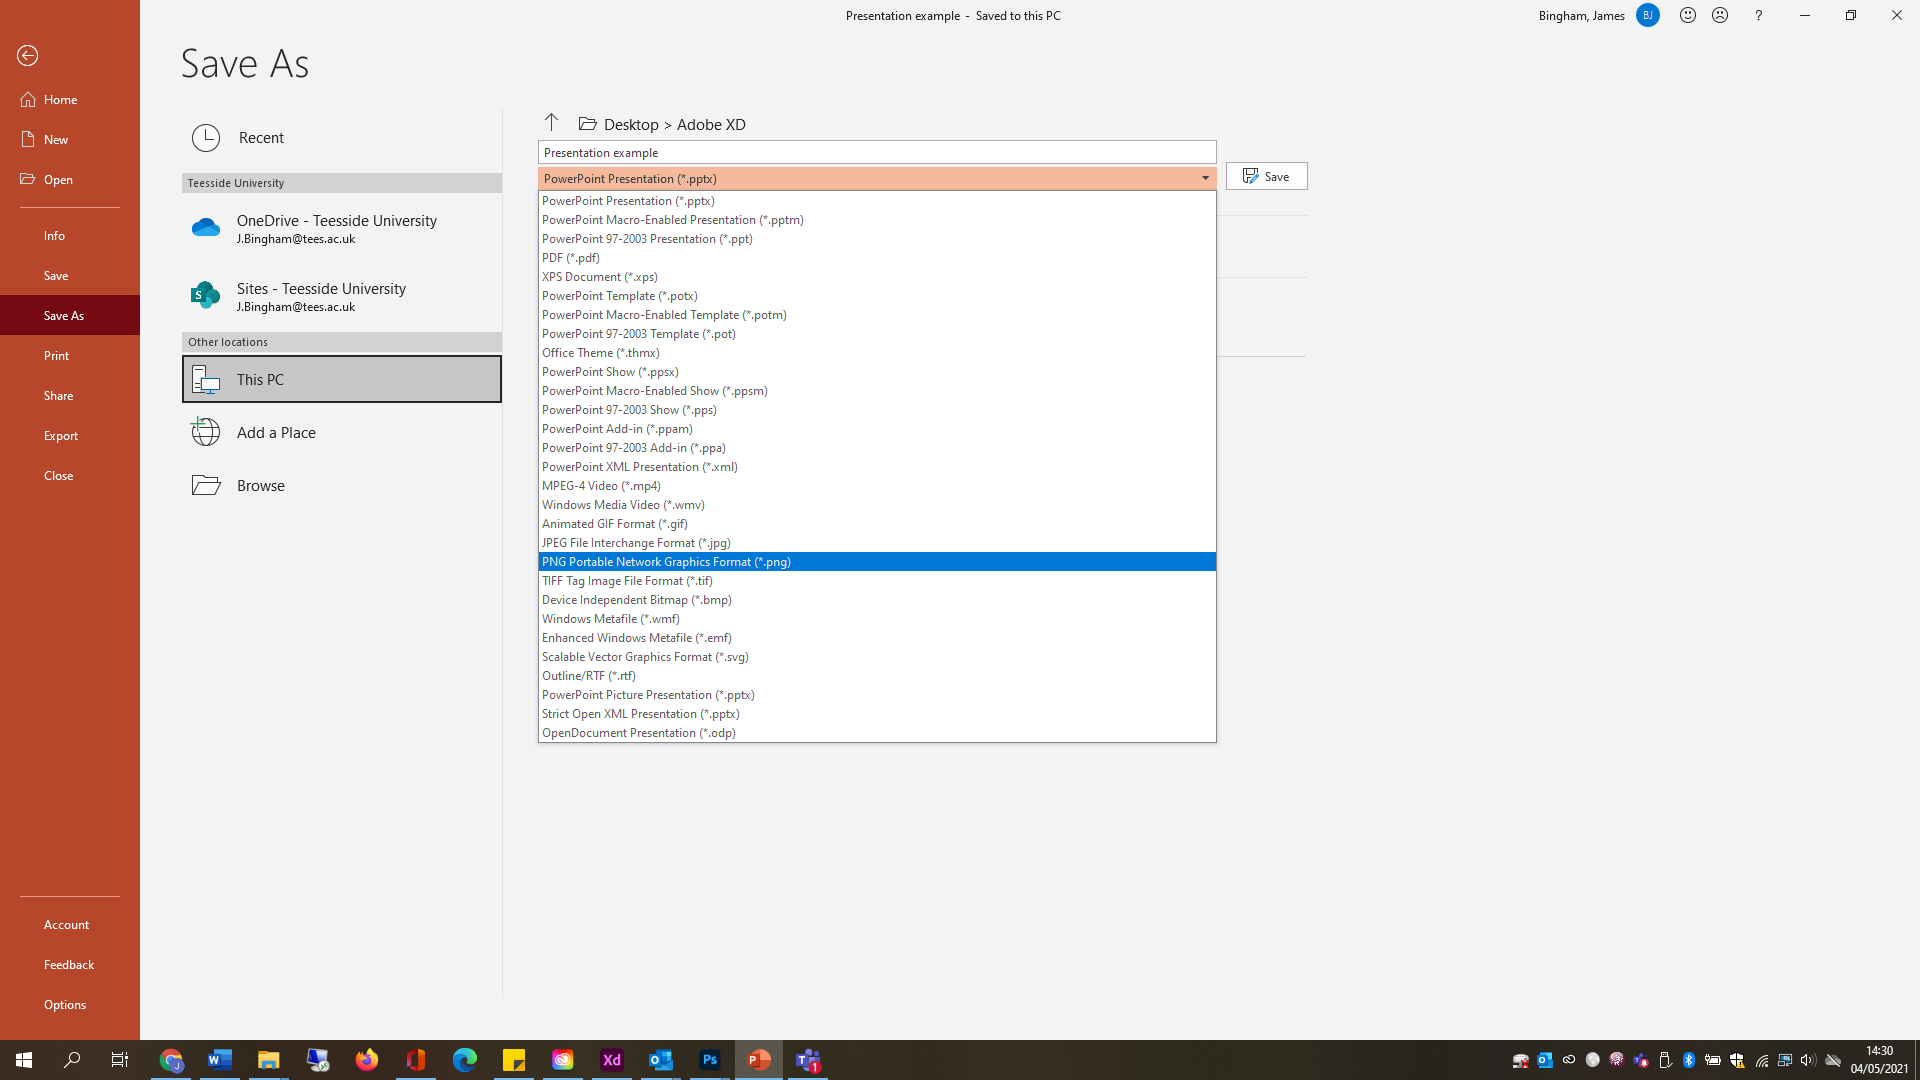
When prompted, choose ‘All Slides’ to export:

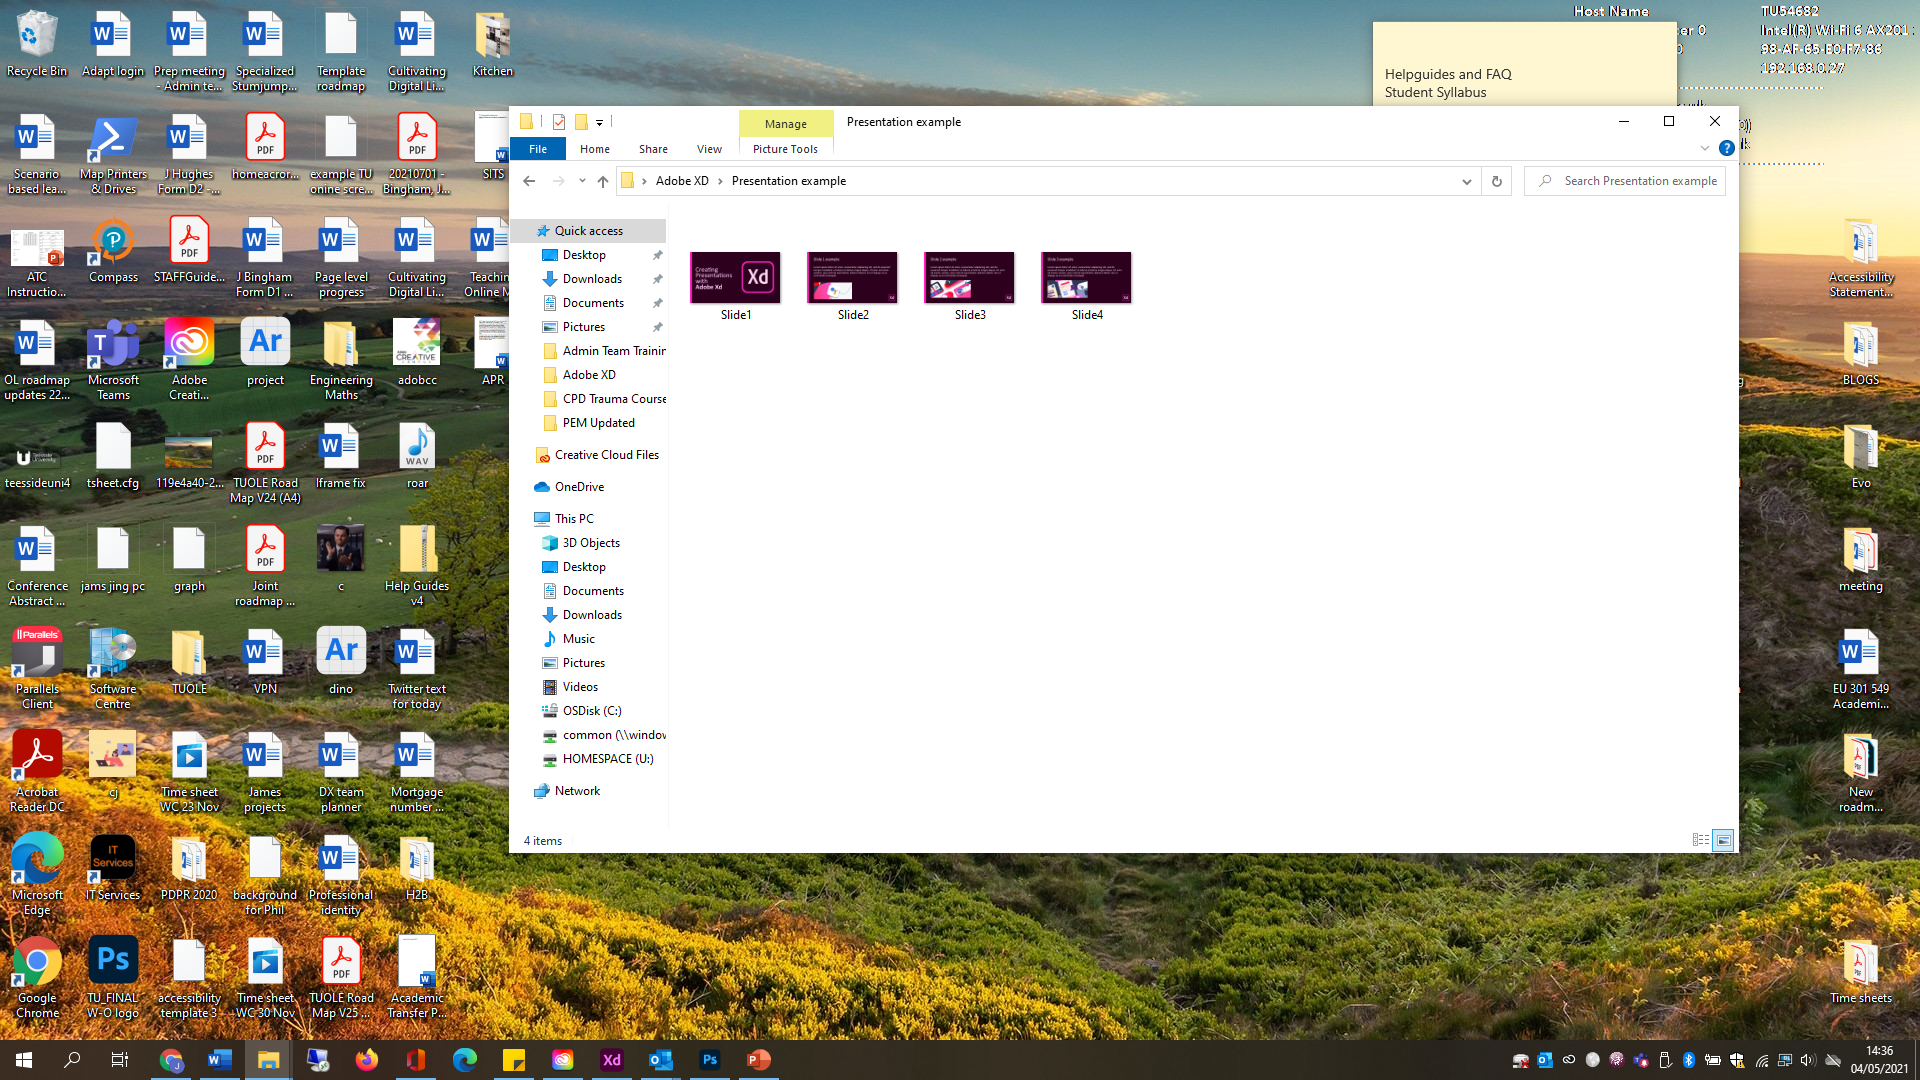
Each slide will be saved as a separate image:
Step 2
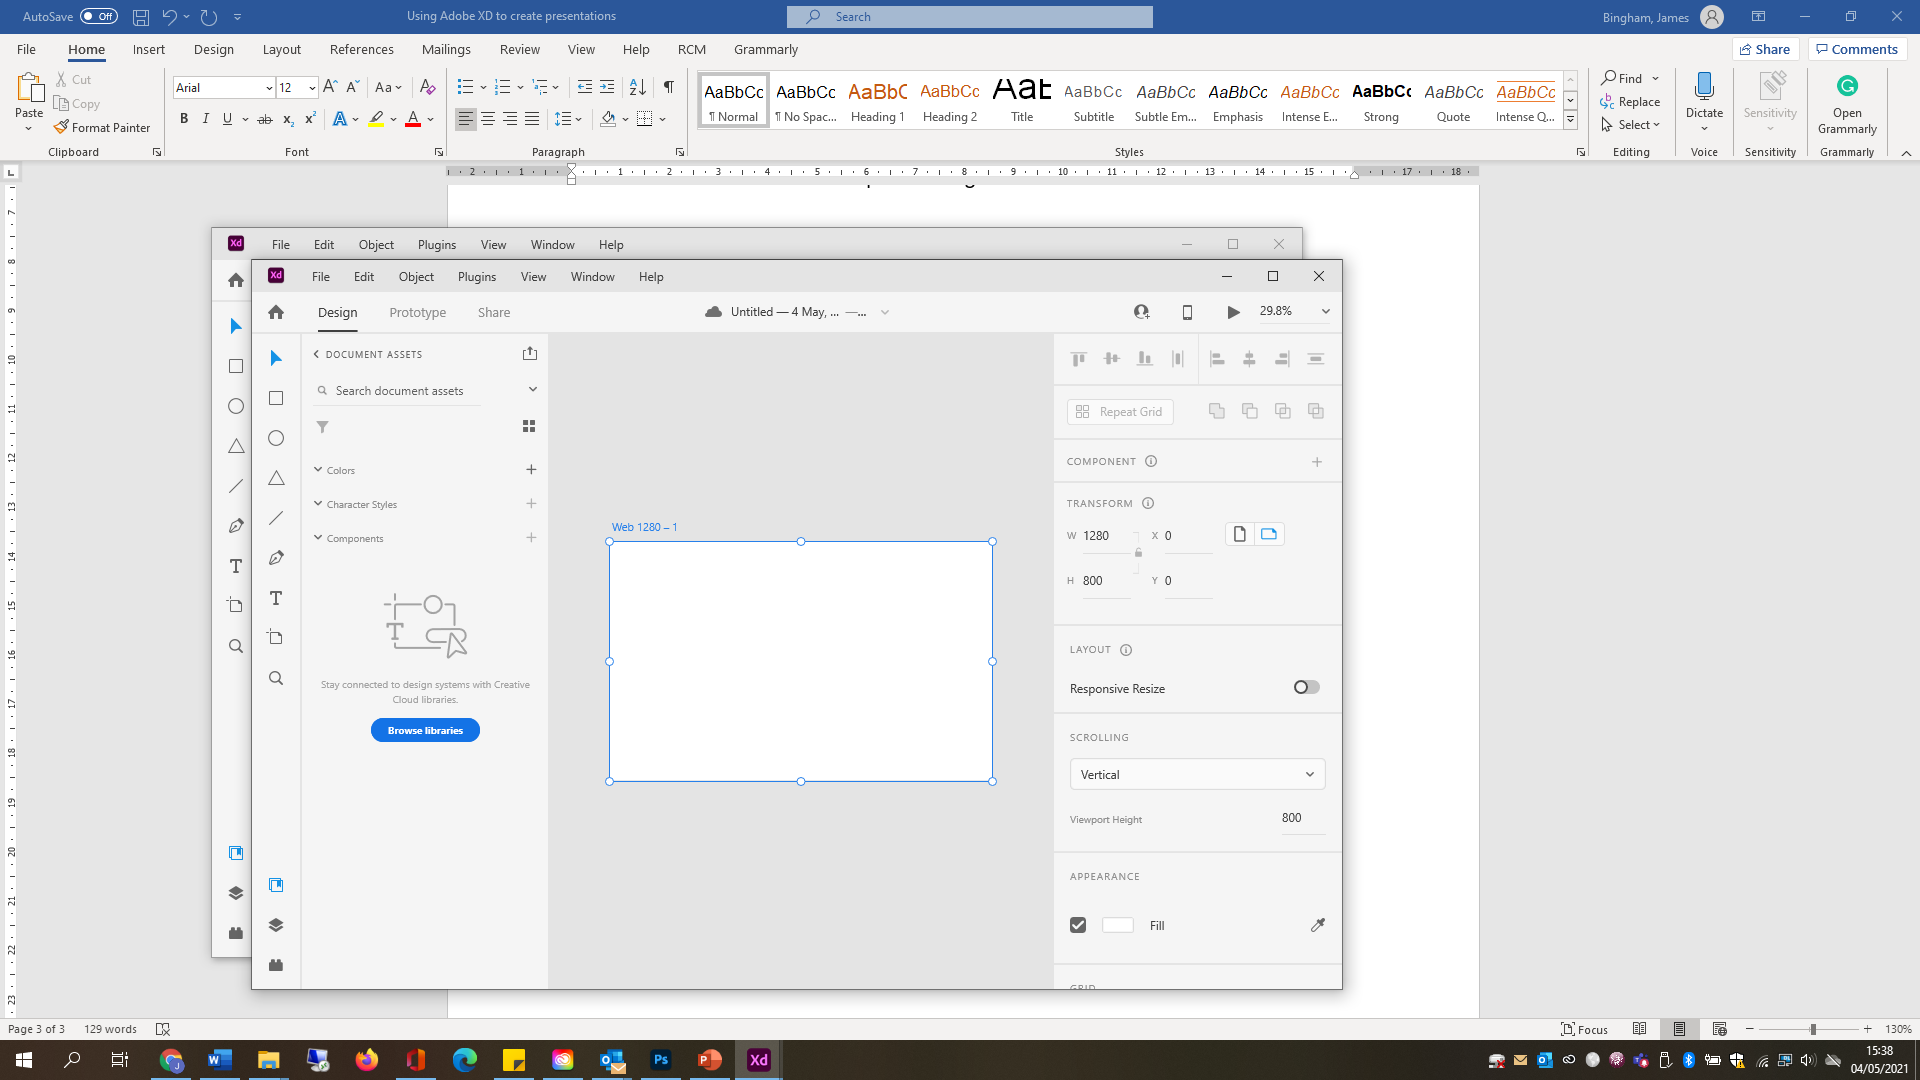
Open Adobe XD. Choose Web 1280 as the artboard size:

Step 3
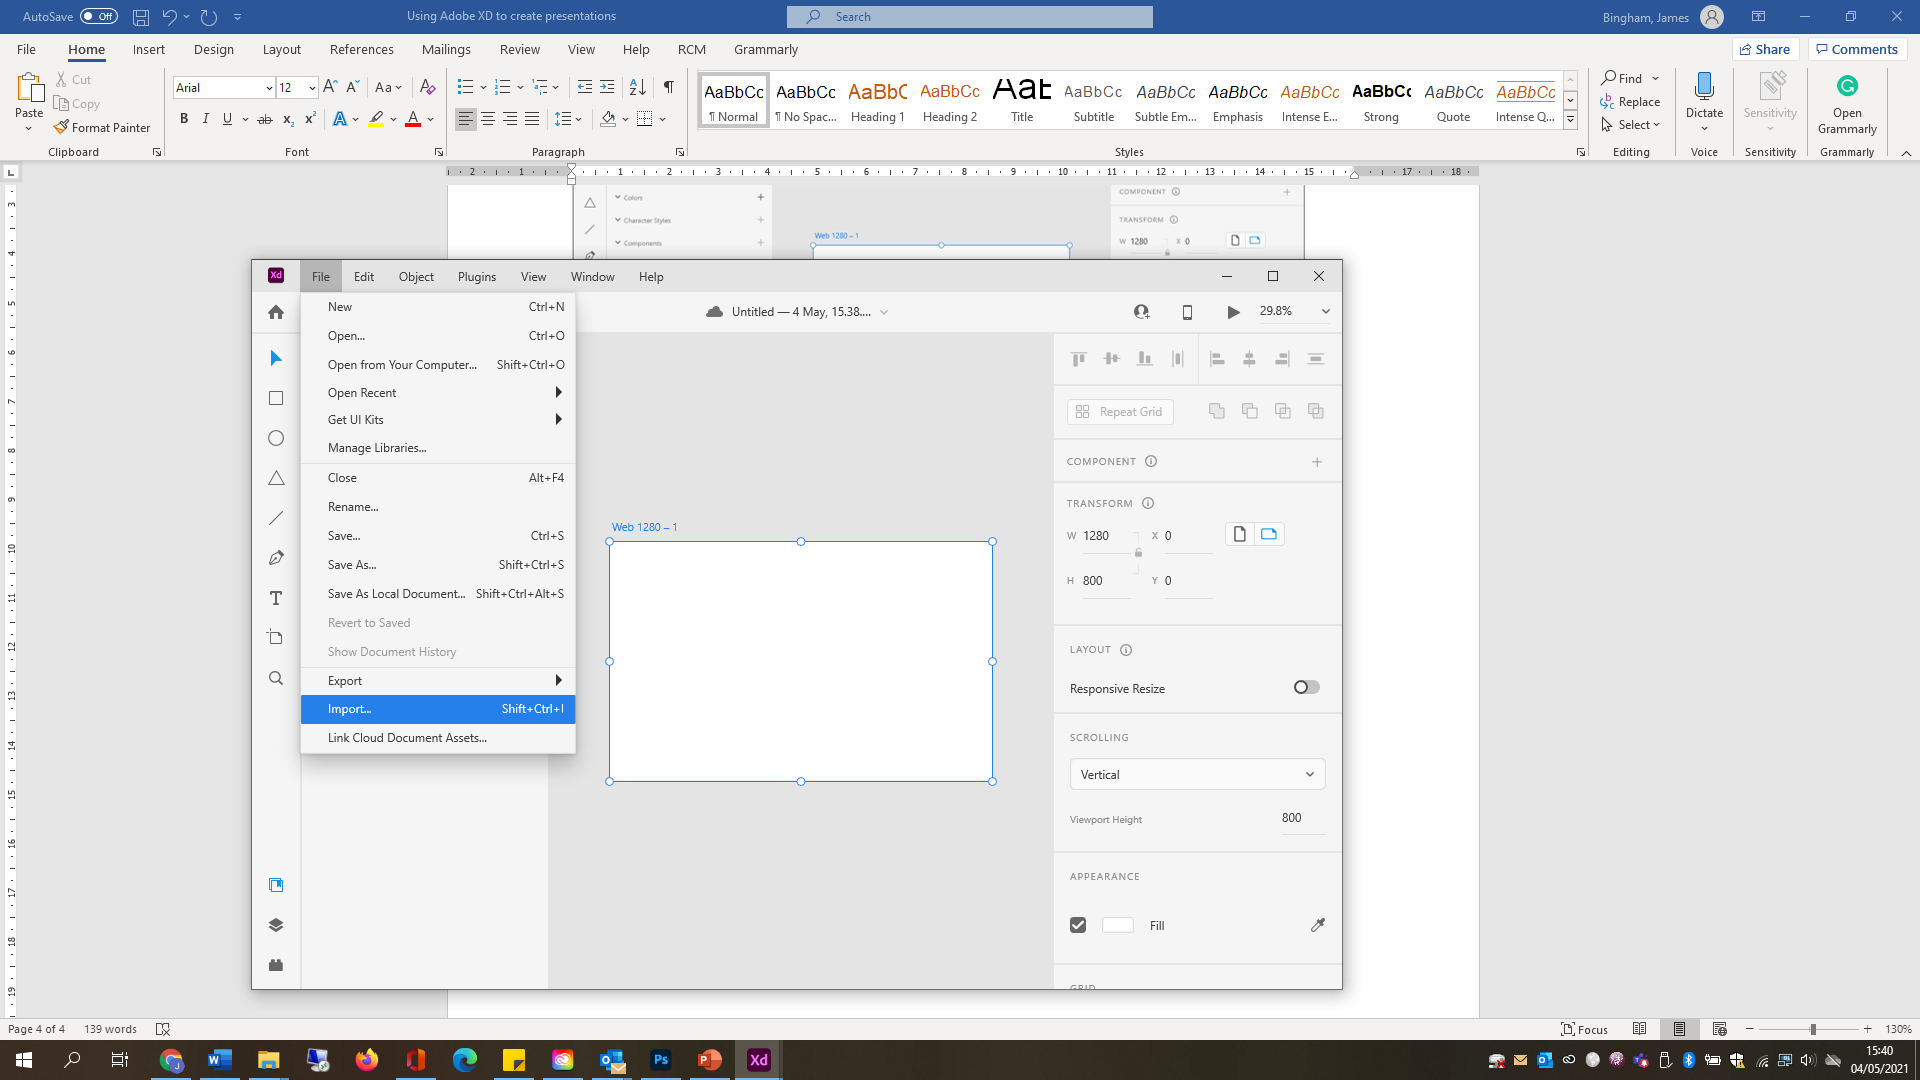
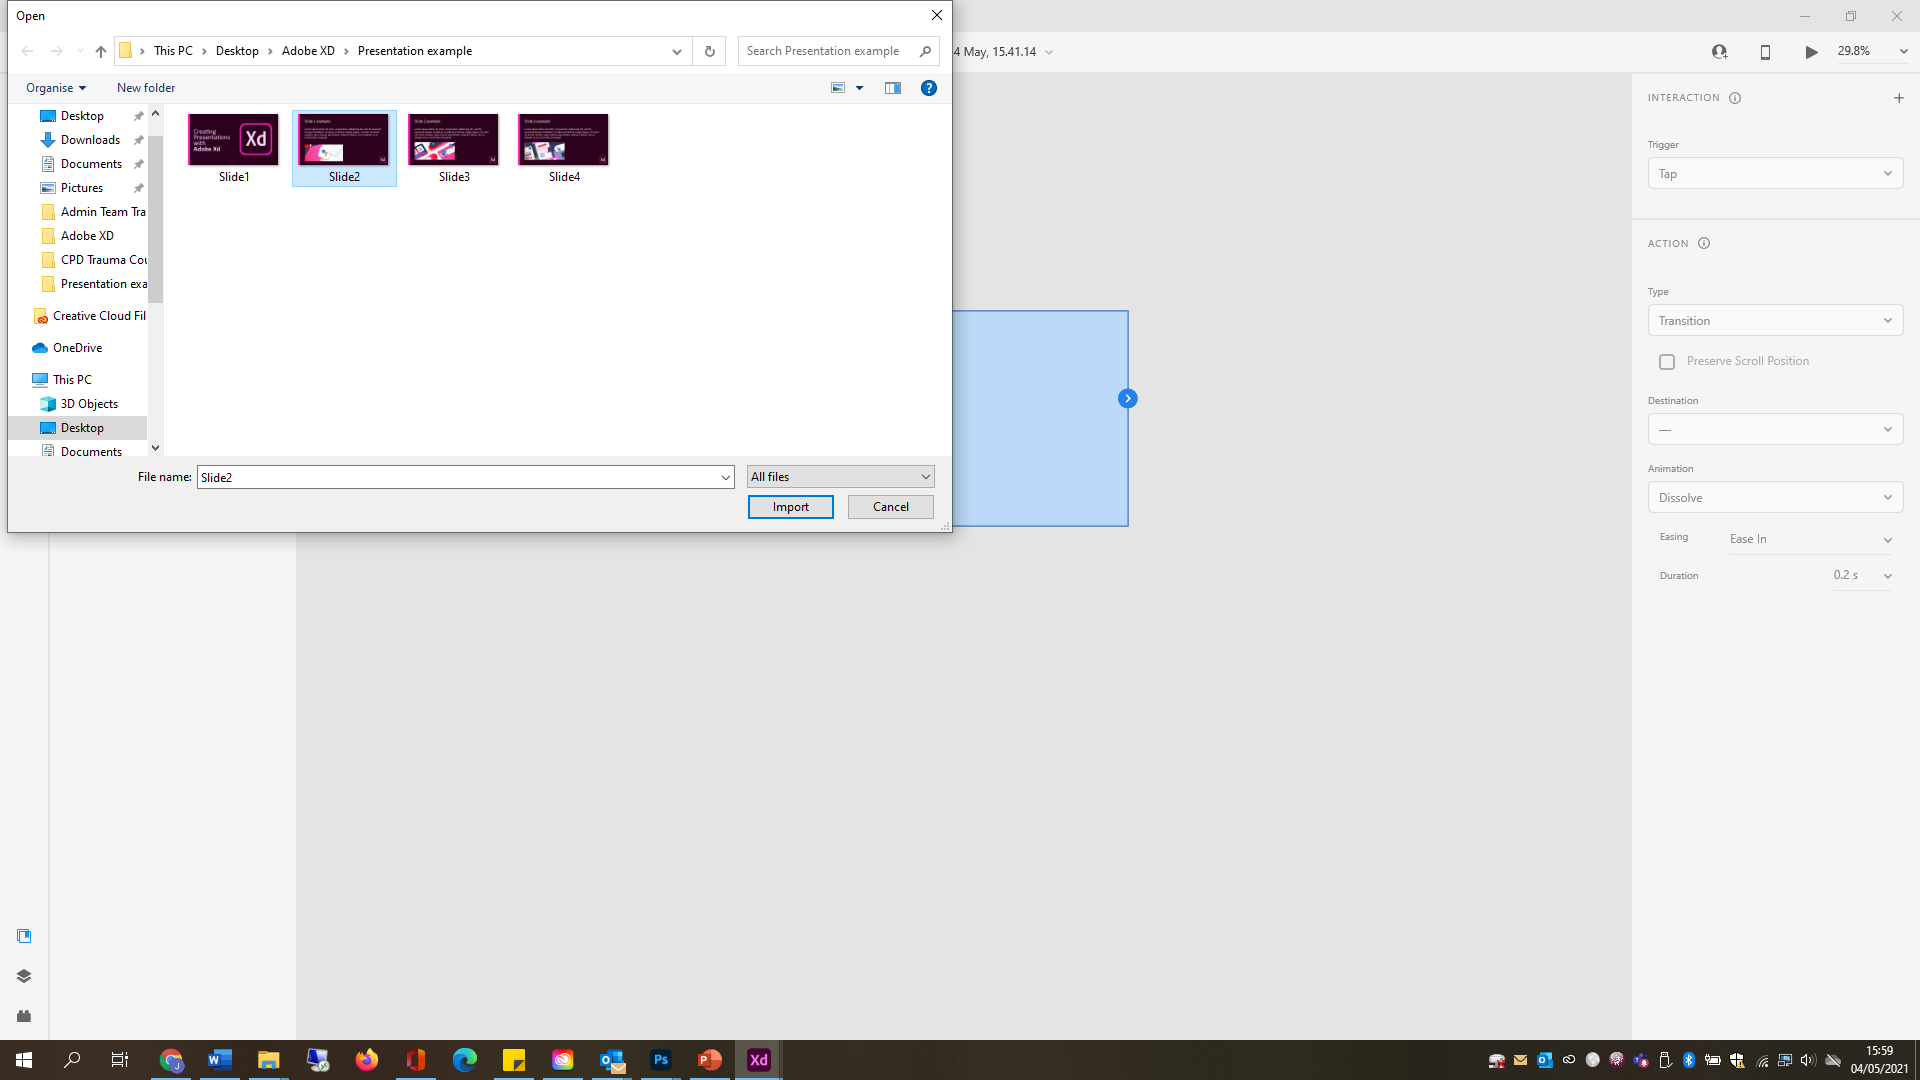
Now import your first slide into the artboard by choosing File > Import:
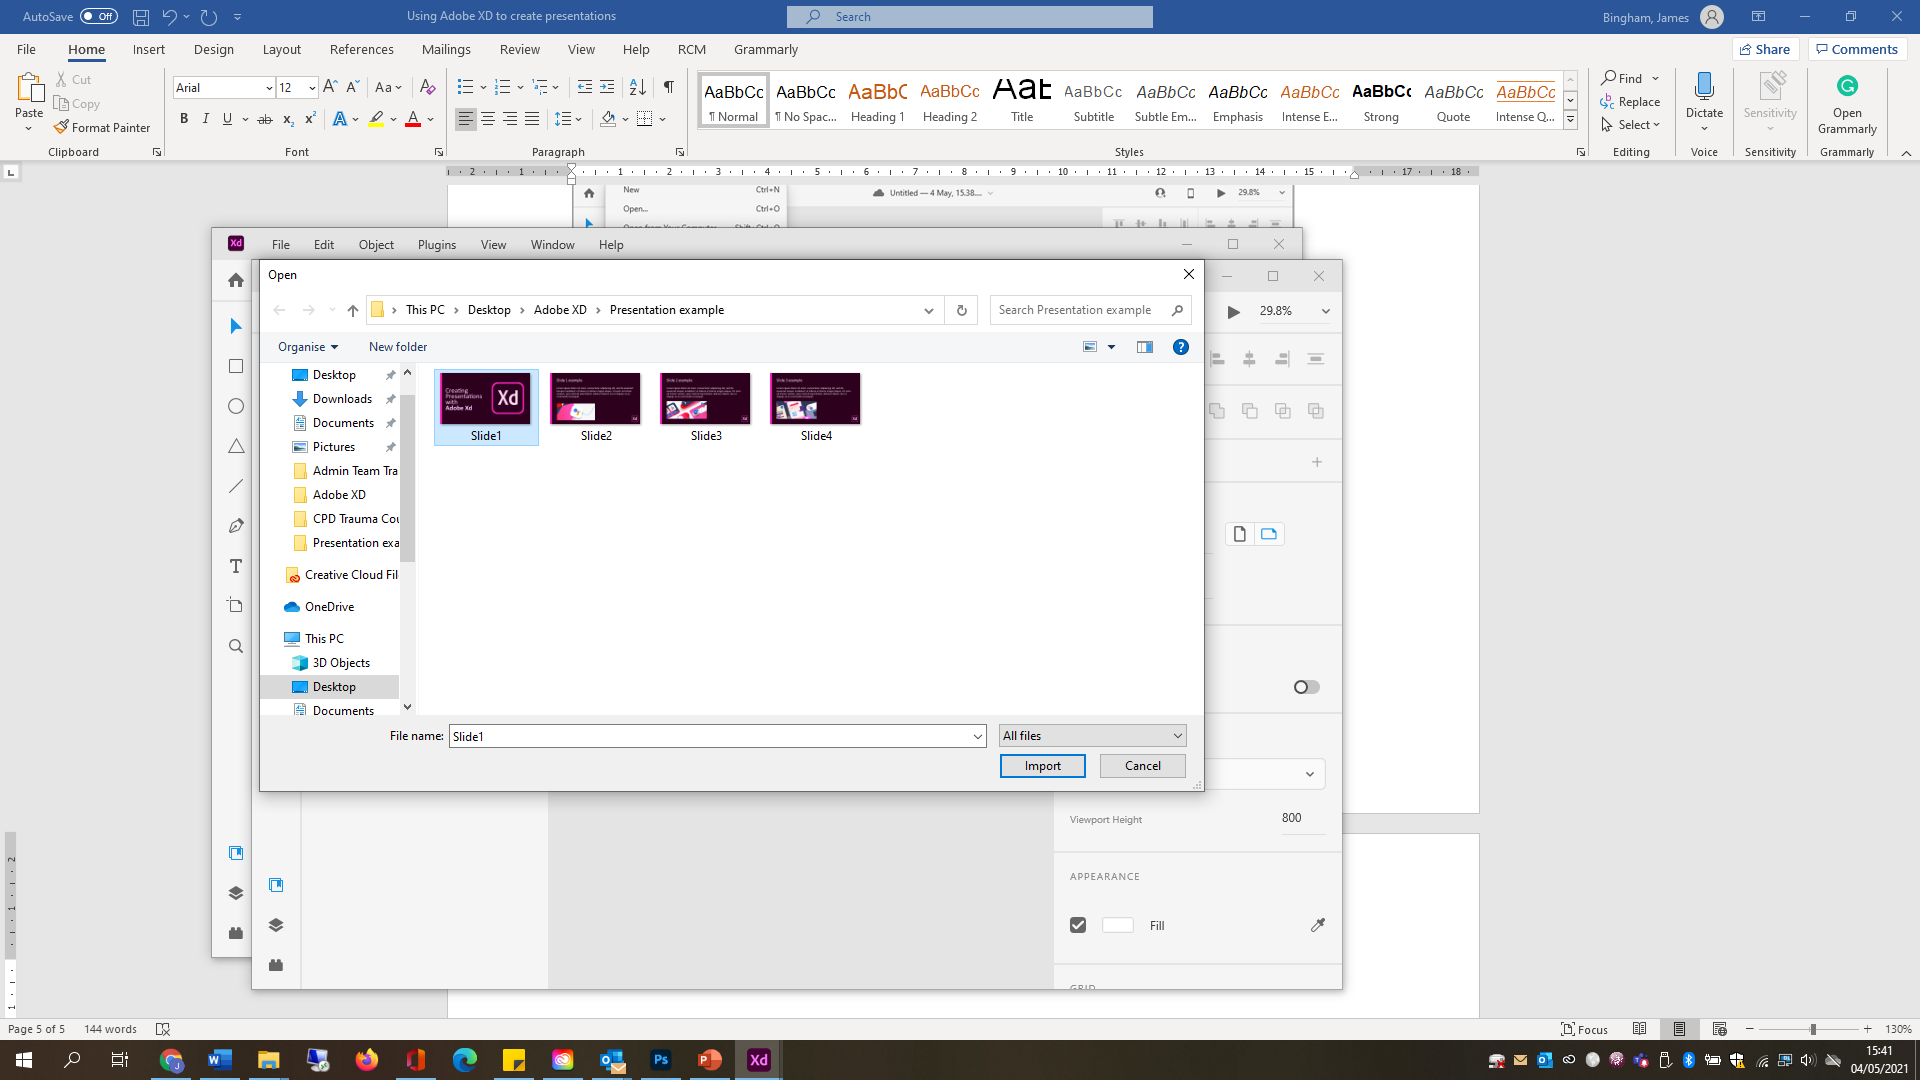
Choose the slide that you want to import and click Import.
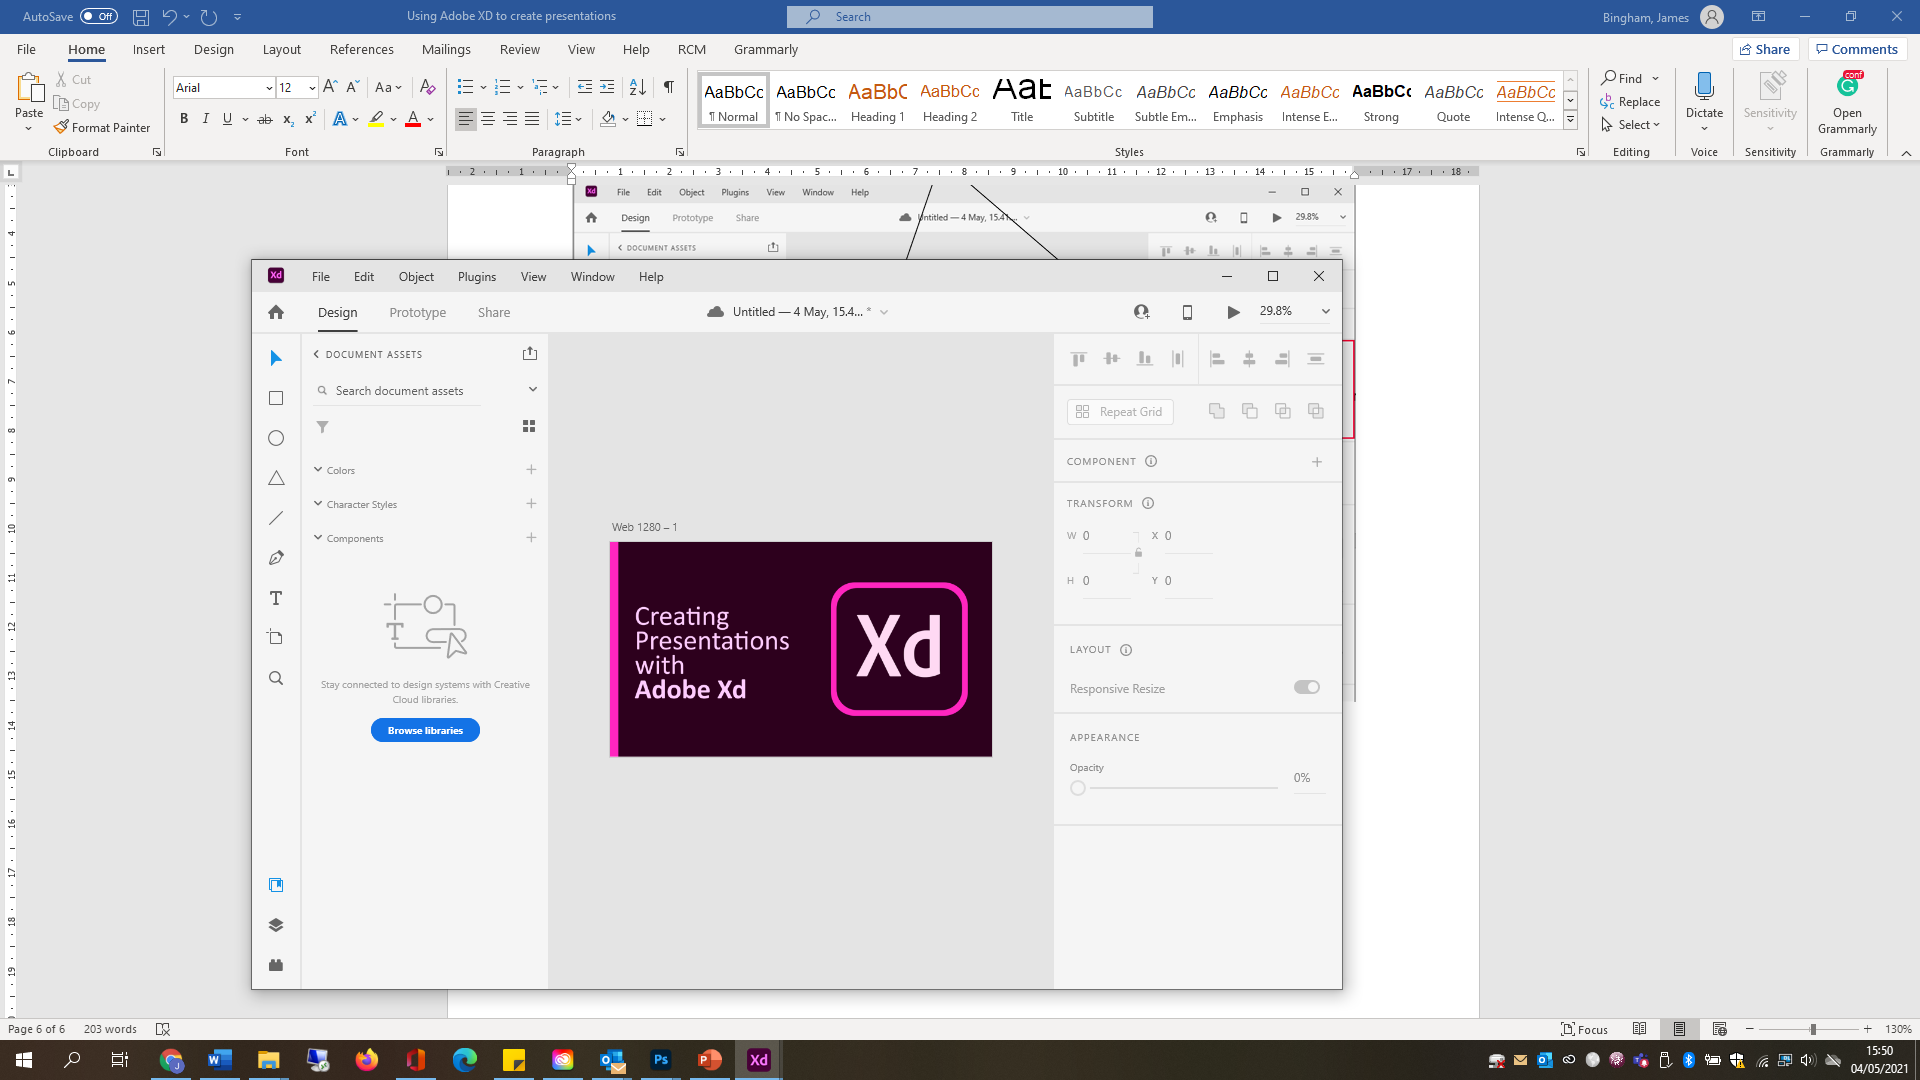
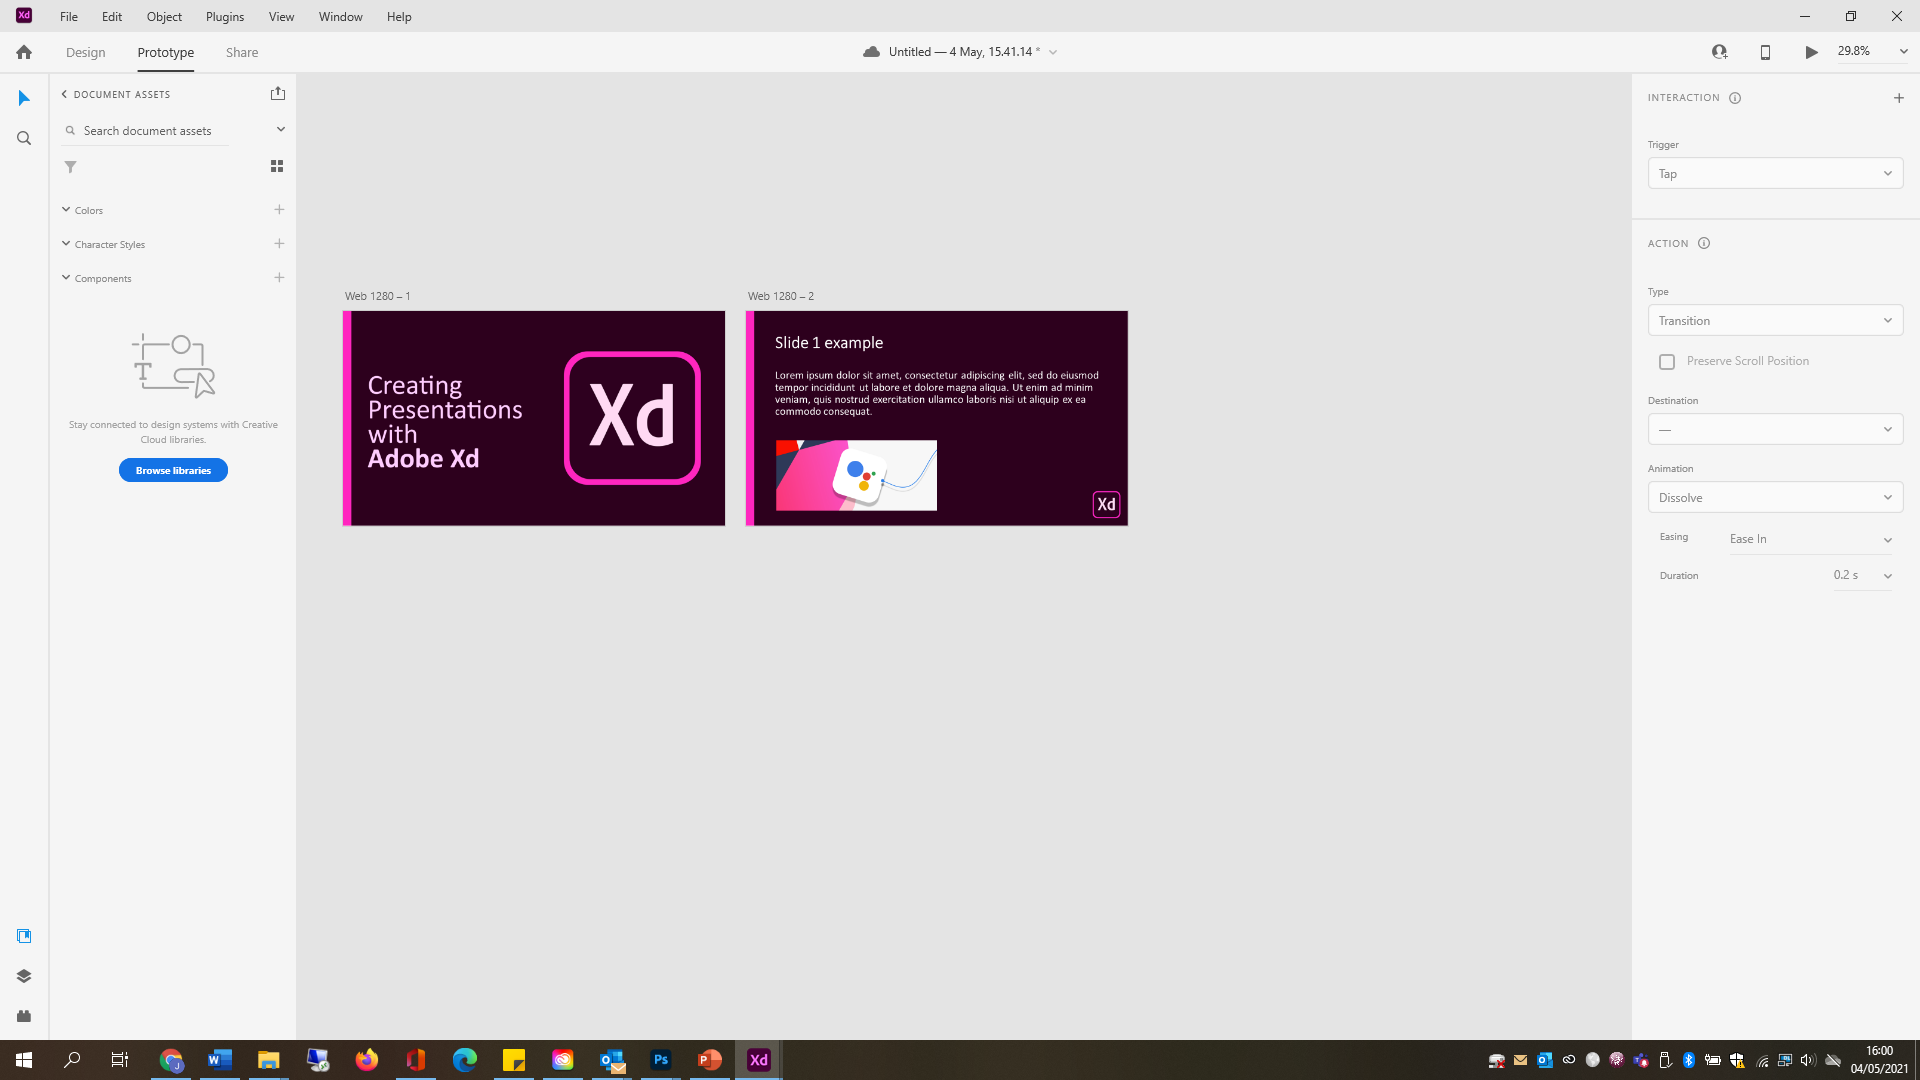
The slide will appear on the artboard:

Step 4
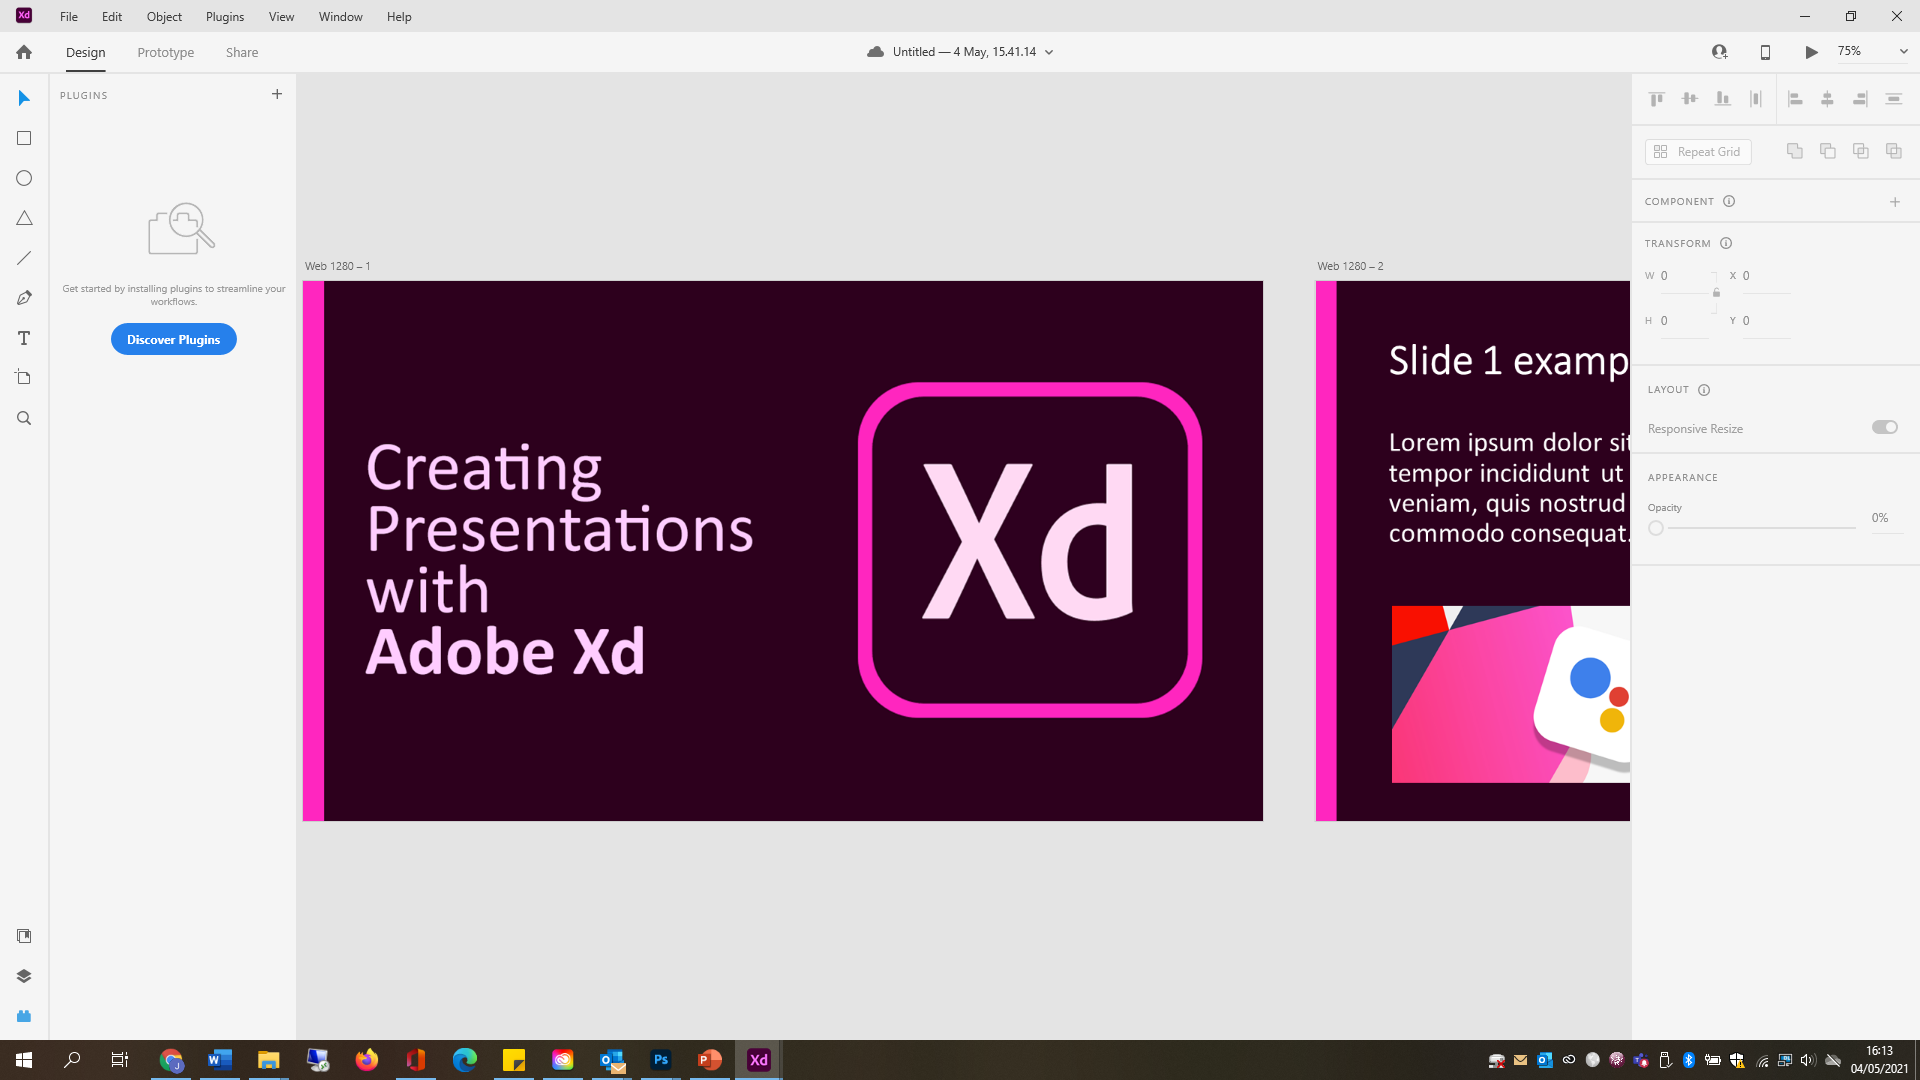
You can now re-size the artboard to accommodate the exact slide size by clicking on the artboard and either dragging it to the correct size or typing the size into the Transform box to the right of the slide.

Step 5
We can now create our next slide by copying the first one. Click on the artboard and choose Edit > Duplicate. This will make a copy of the first slide.


Click on the image in the artboard to delete it:
Now choose Import > Slide 2 (or whatever you have named your next slide)
The slide will now appear in the artboard
Note. If you are having trouble view the slides on the screen or wish to scroll around the screen, press and hold Spacebar on your keyboard and left click with your mouse. A hand icon will appear allowing you to scroll around the screen.
Step 6
Add the remaining slides by repeating the steps above.

Step 7
You can preview the presentation so far by choosing Window > Preview.
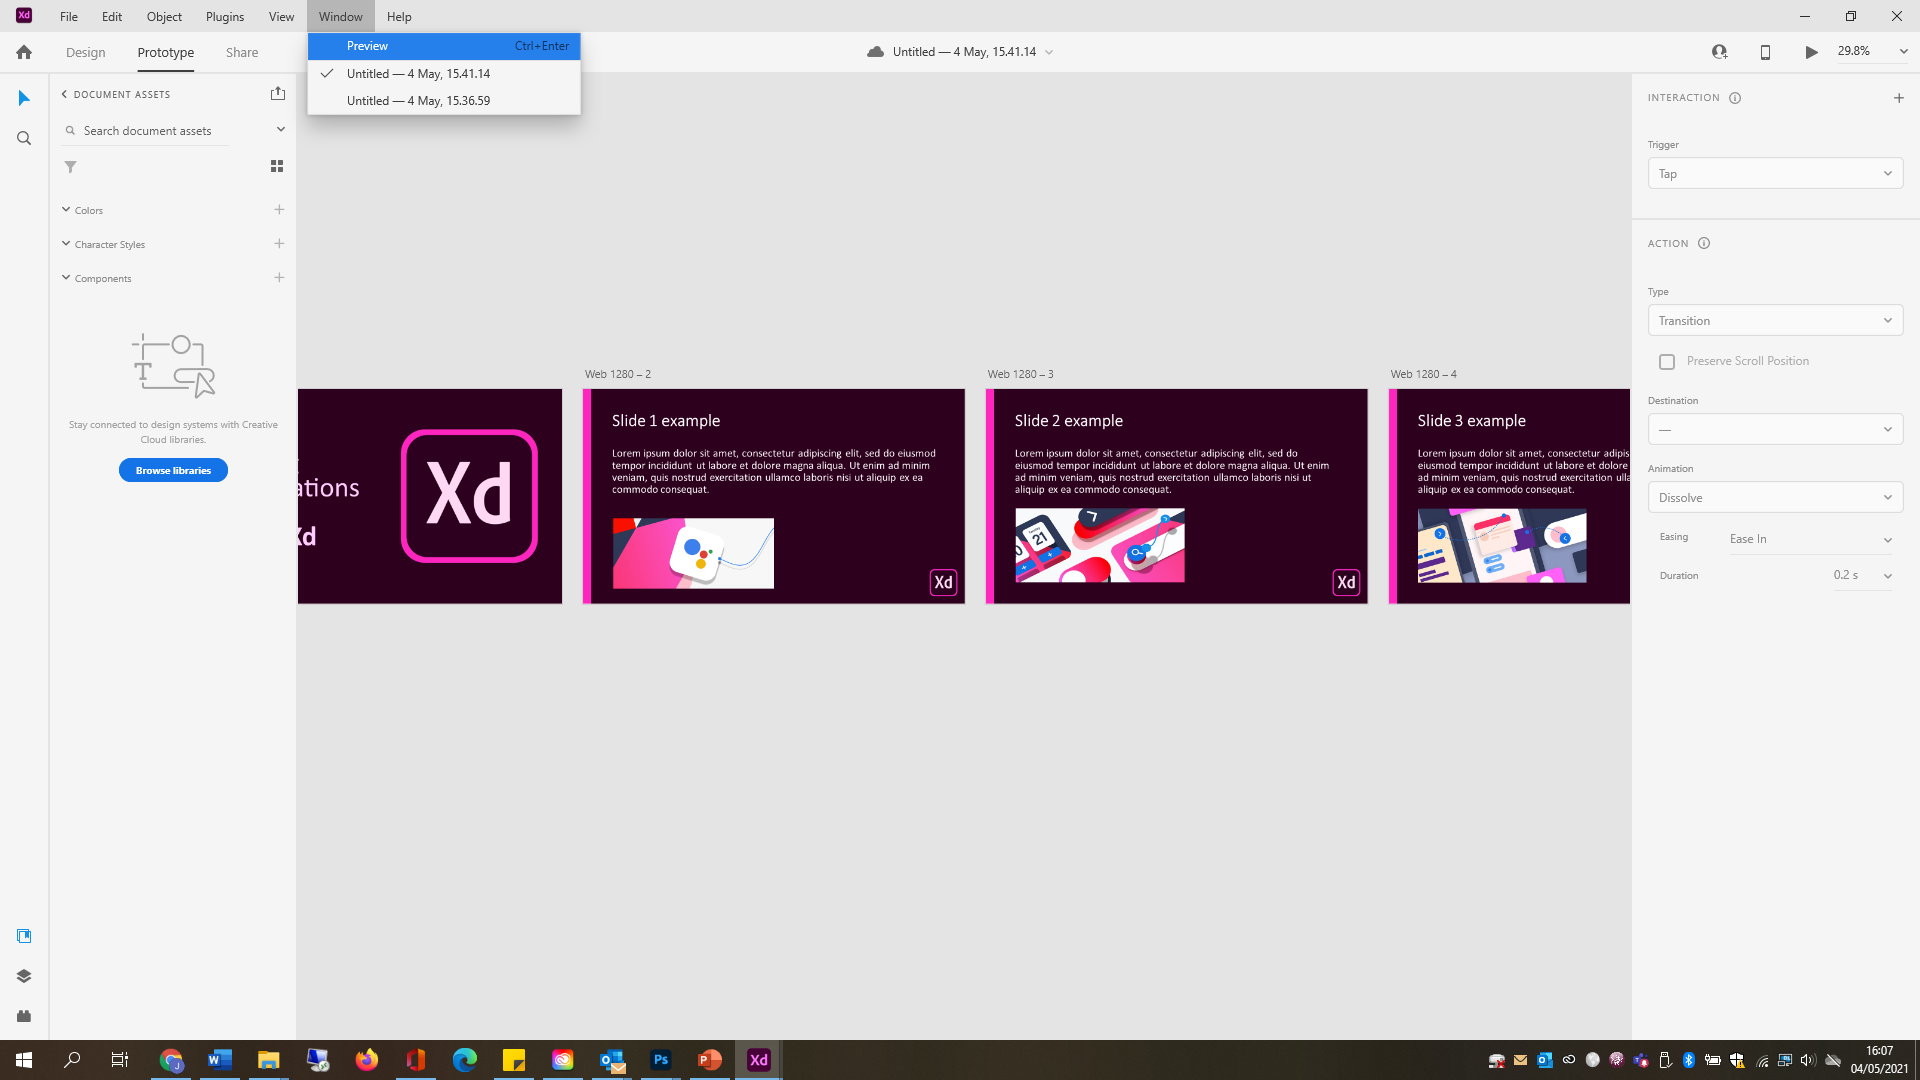
You can scroll to the next page using the arrow keys on the keyboard.
Step 8
You can add simple interactivity by adding buttons which can be used to navigate to different parts of your presentation.
Zoom into your first slide with the magnifying glass and click on Design.
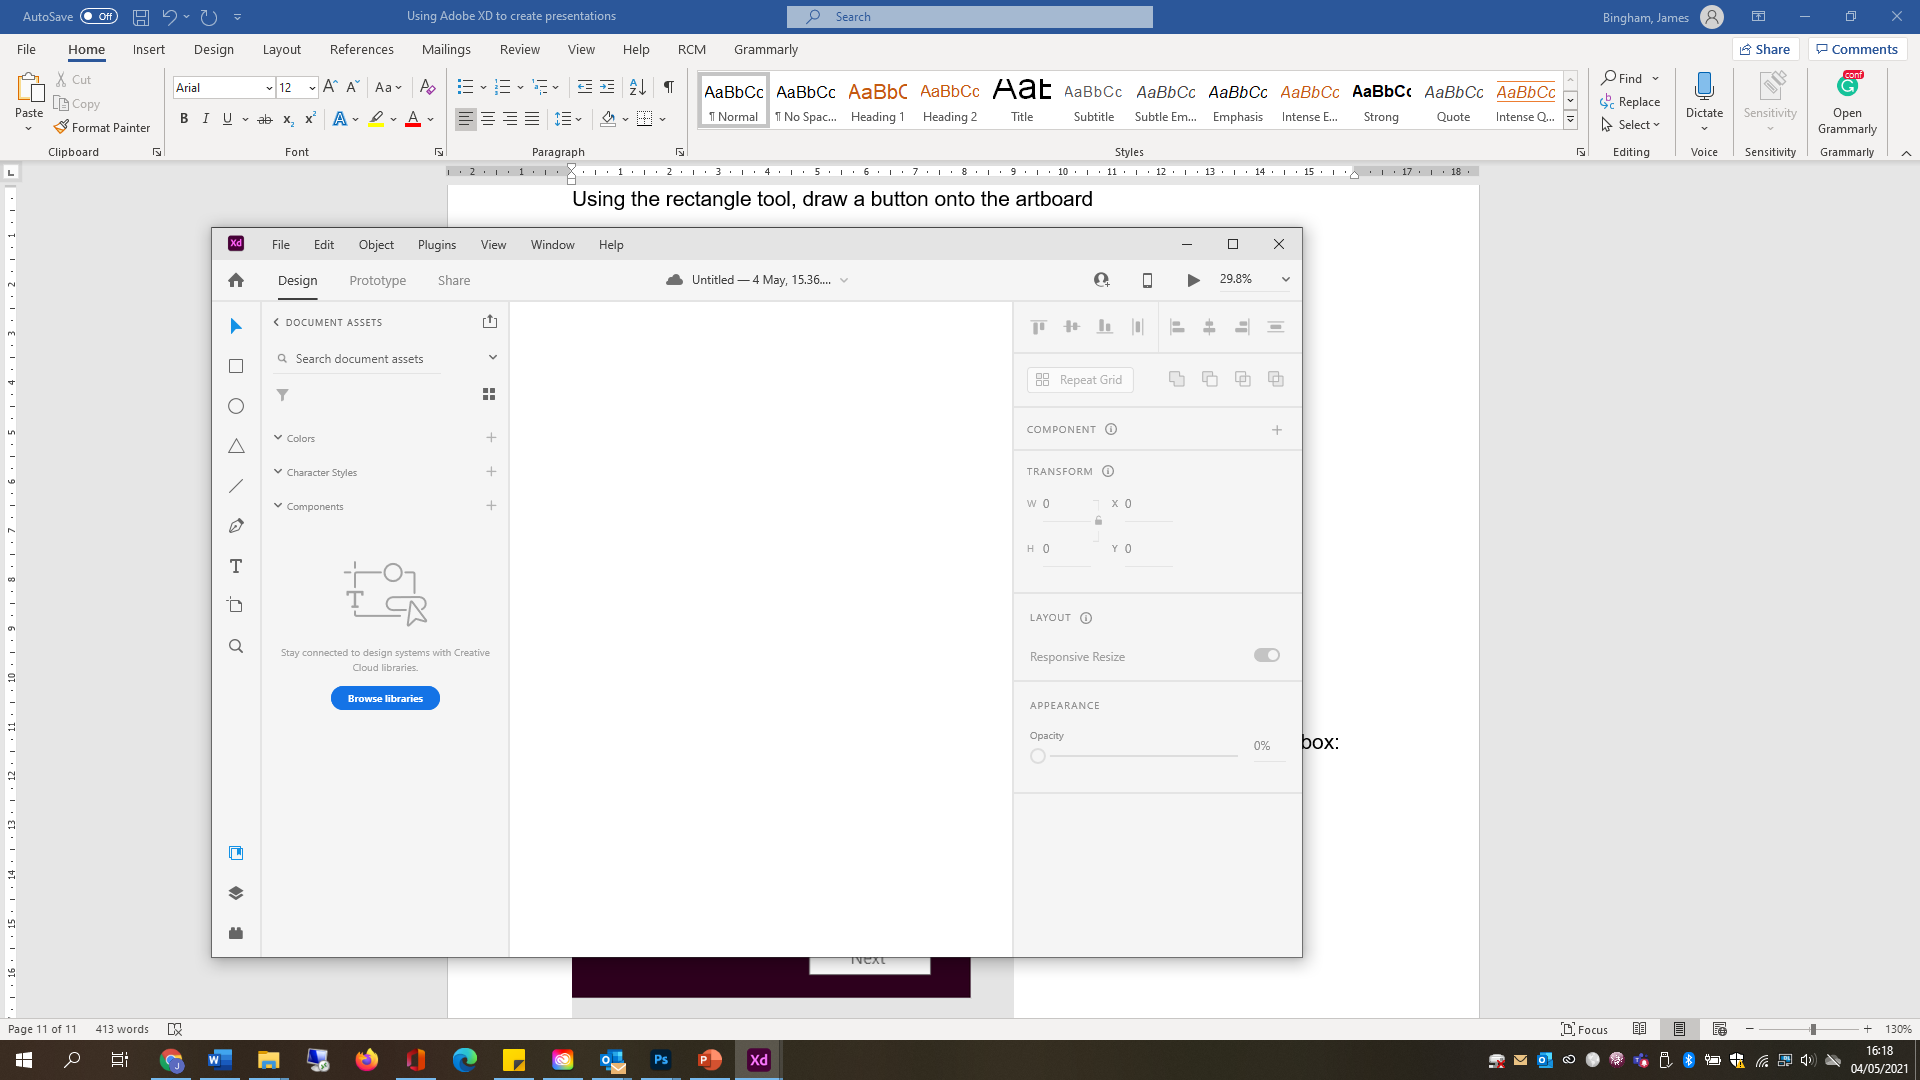
Using the rectangle tool, draw a button onto the artboard
Add some text to the button by clicking on the text menu and adding text in the box:
Step 9
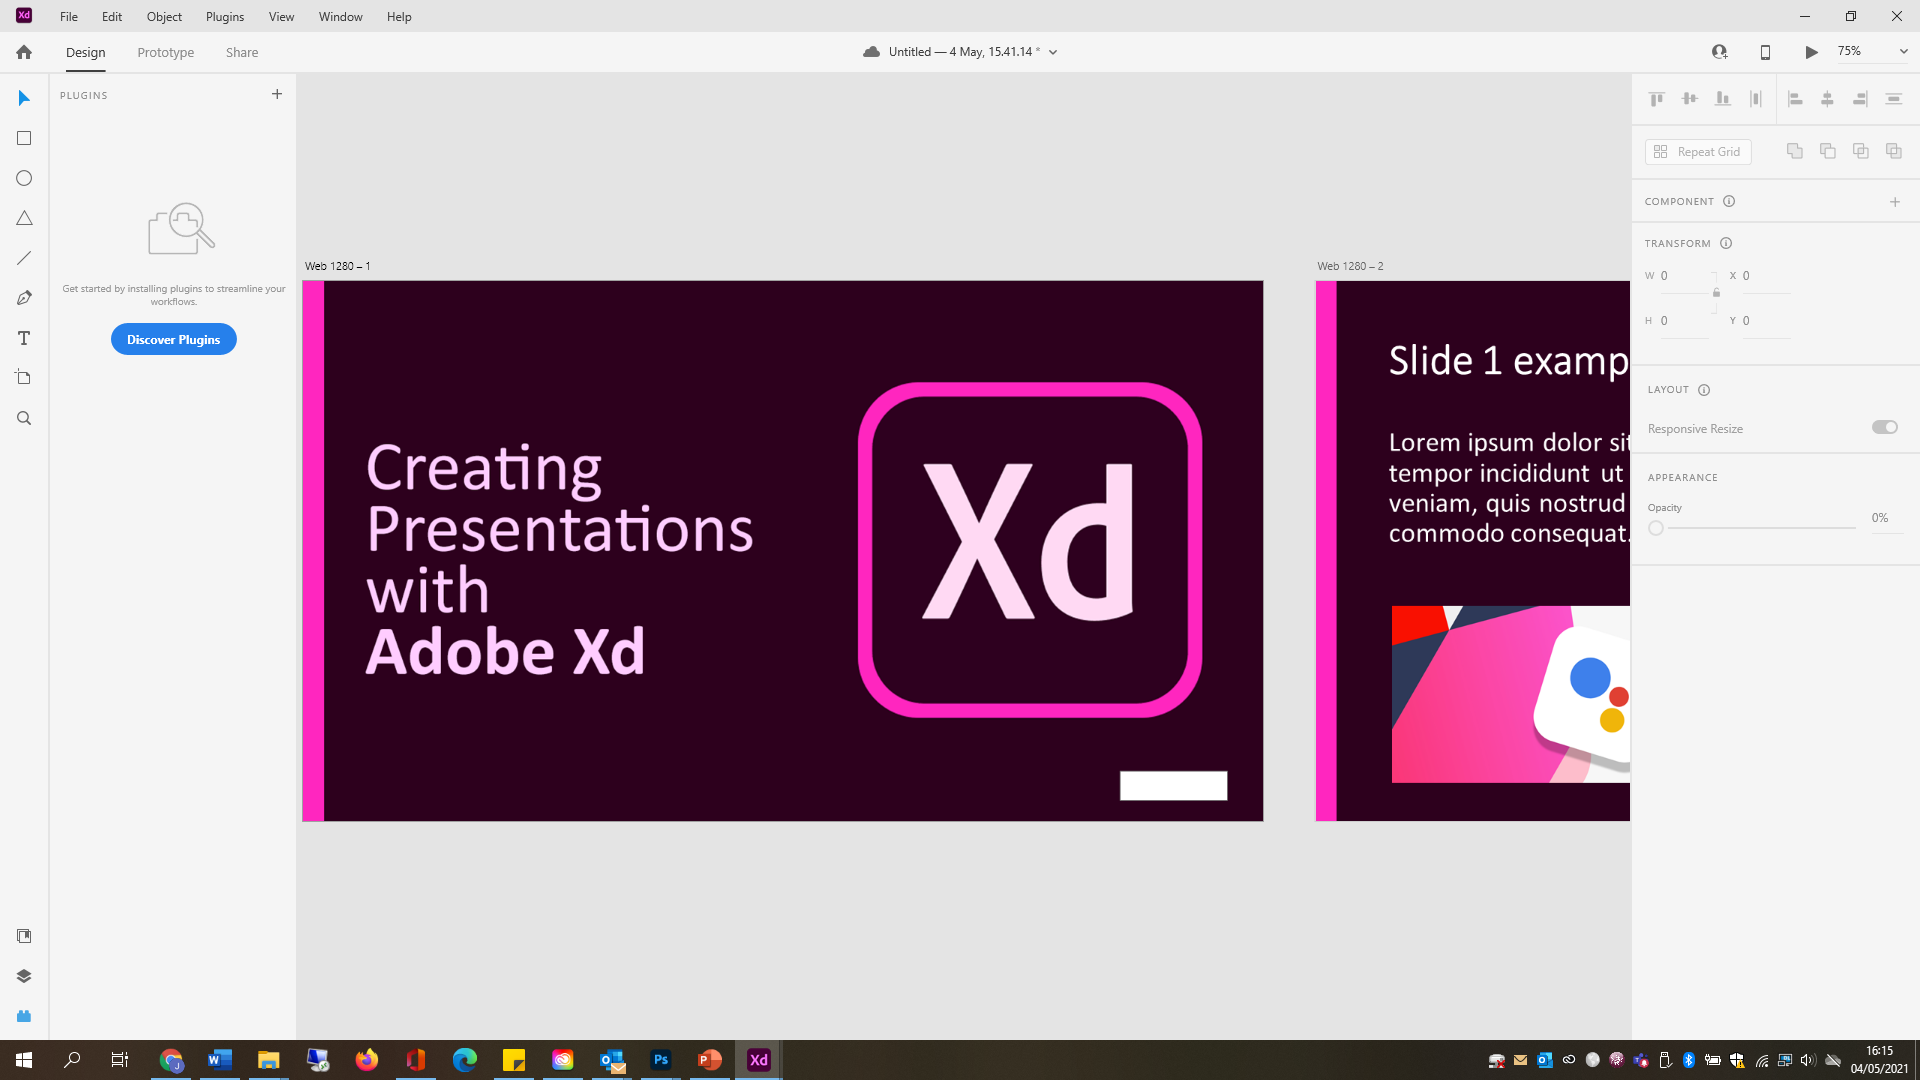
In order to make the button work, we need to convert it to a component. To do this, right-click on the button and choose Make Component from the menu.

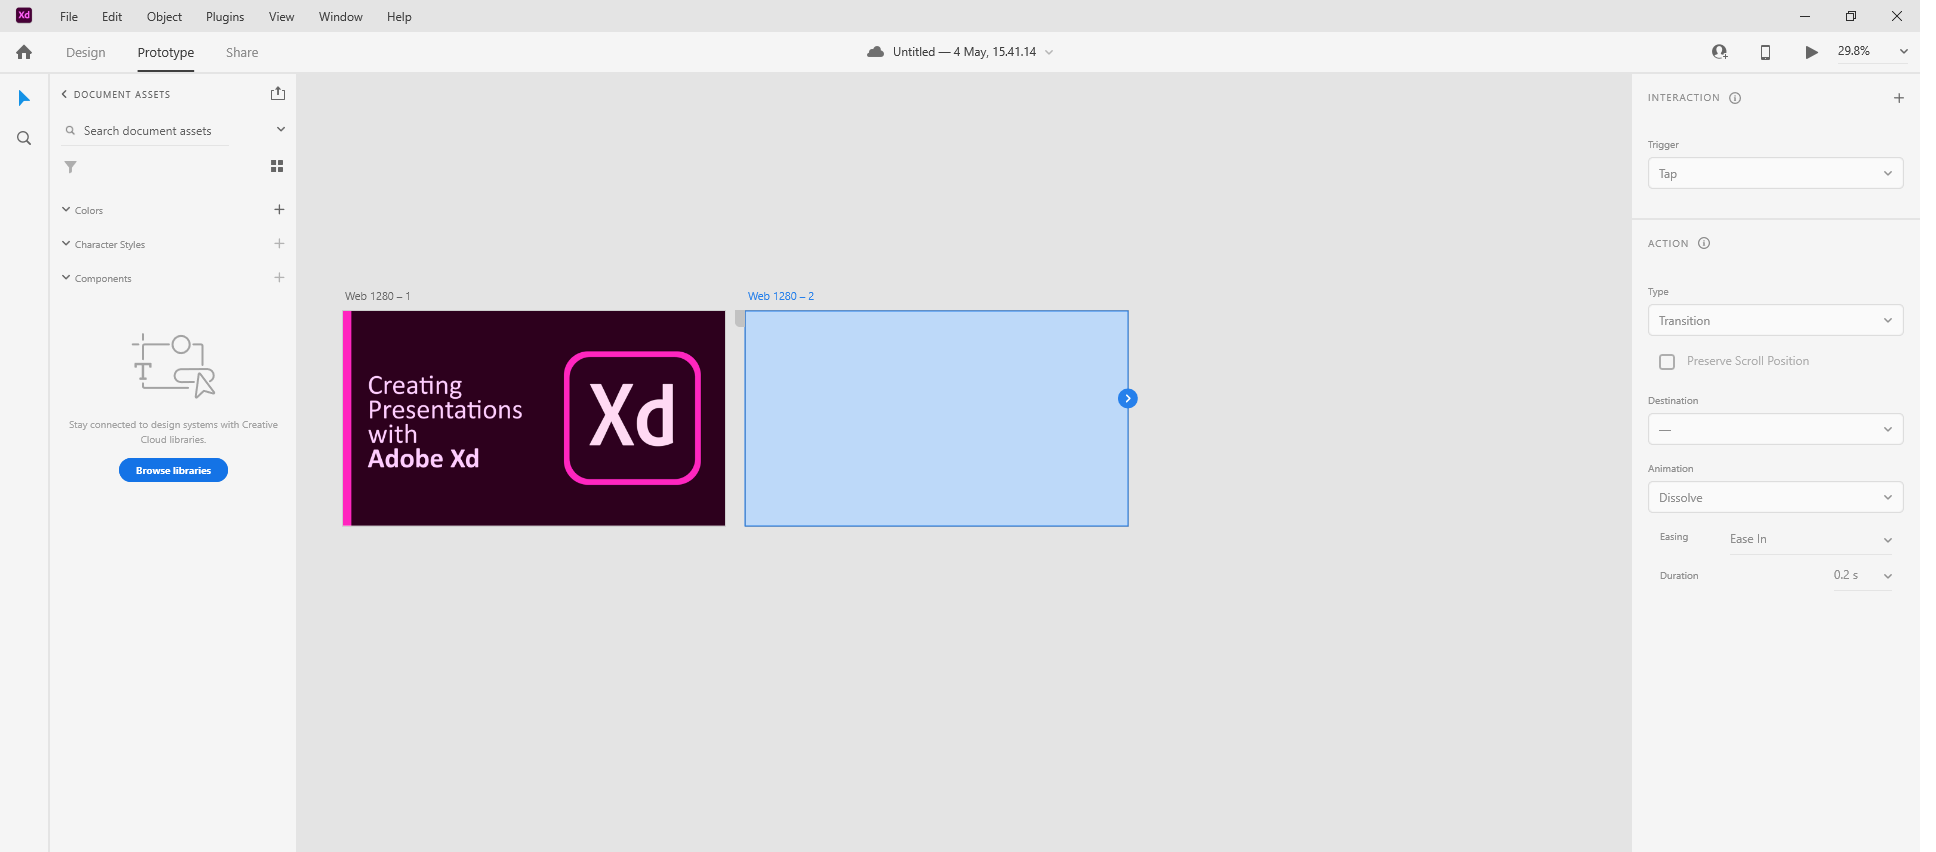
We now want to link the button to the next slide. Click on the Prototype menu.
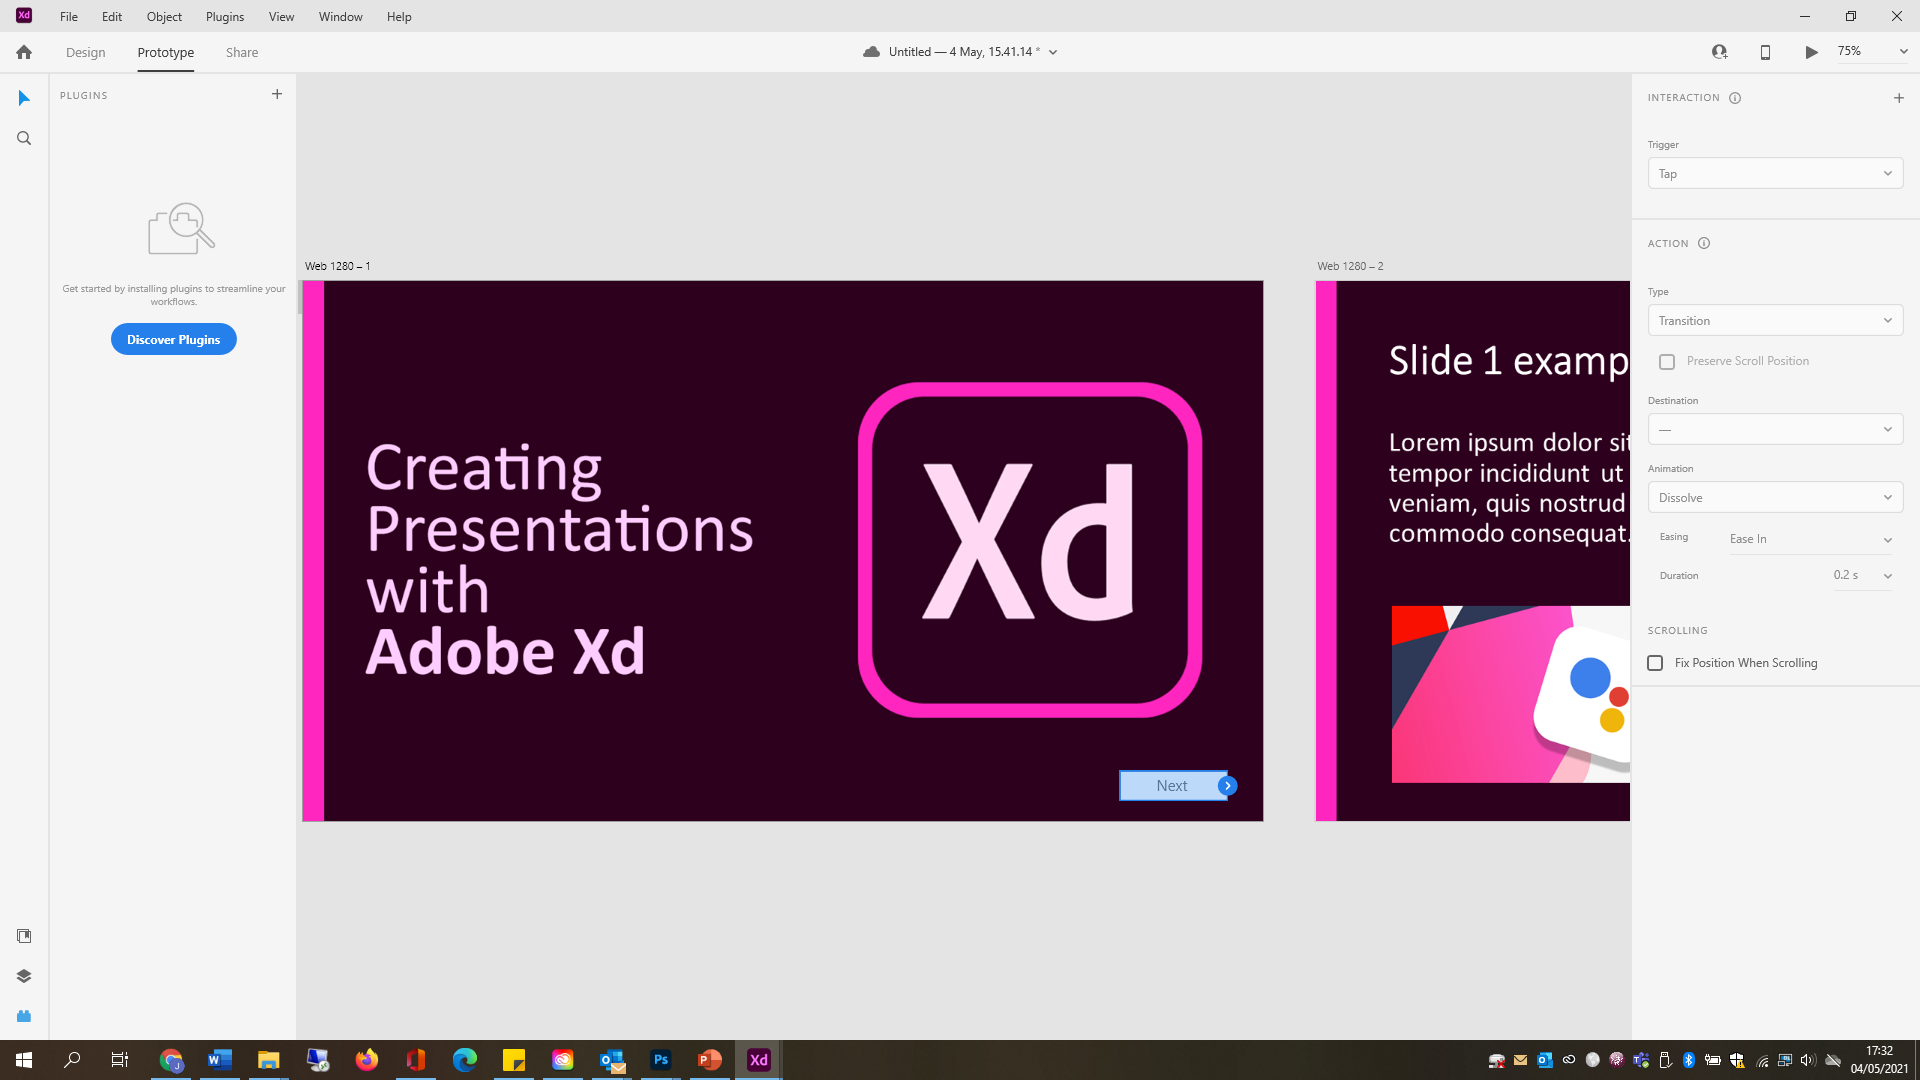
Now click on the blue arrow to the right of the button (as seen above)
A ‘Tap’ trigger will appear. So when you tap the button it will link to wherever you drag the wire. Drag the end of the wire to the next artboard:

Continue this process for each subsequent slide and then preview the slides by clicking Window > Preview
Remember, you can always go back to the previous slide using the arrow keys, or simply create a Back button using the process above.