
This guide has been produced to support staff when working with Adobe InDesign and using Layers. As well as this comprehensive guide, there is also an embedded video that demonstrates these techniques.
Video Tutorial
This video tutorial demonstrates the techniques described within this guide relating to working with layers in Adobe InDesign.
Change the order of content
When you add multiple objects to your InDesign documents, objects are stacked on top of each other. When objects overlap you will be able to see the order in which those objects are stacked.
Using the selection tool, select the green frame.
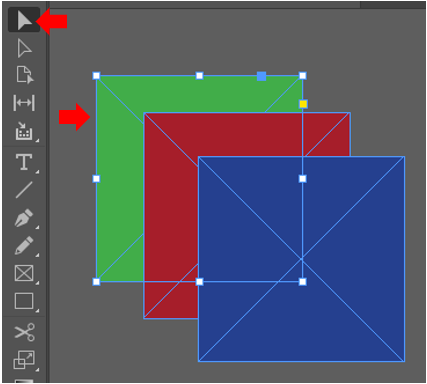
To alter the stacking order of the objects and bring the green frame to the top of the stack, click the Arrange button at the bottom of the Properties panel and choose the Bring to front option (or Ctrl+Shift+]). Using the Arrange tool you can move objects to the back, font as well as moving one layer backward or forward at a time. Remember that to arrange content, you will need to select the frame and not the content.

Arranging content will make it easier to work with your designs, allowing you to stack objects in the order you choose.
Understand Layers
When there are multiple pieces of content in an InDesign document, a way is needed to organise it. This allows you to find hidden content, locked content, select content and much more. Layers are a great technique to manage content in an InDesign document. Layers are alike clear folders that can contain any type of content. It can be arranged so that all the content in one layer is above or below the content for another layer in the InDesign document.
Each new document that is created starts with a single layer which is called Layer 1. All content in that document is located on this layer
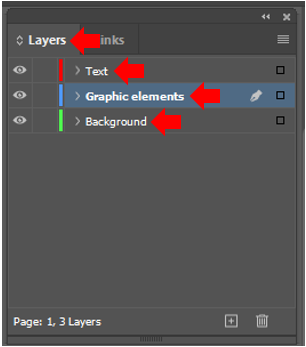
To review and see layers in an InDesign document click on the Window menu and select Layers (or press F7). A Layers in panel will appear. More layers can be created depending on what it needed. In the Layers panel in the above screenshot there are three layers. These layers were created to help organise the content in this document by content type.
- Text
- Graphic Elements
- Background
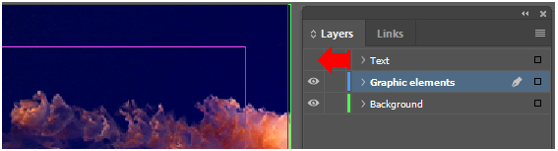
As the content is organised into layers, this allows various functions to be carried out, such as hide part of the content. To hide a layer temporarily, click on the eye icon to the left of the layer name in the Layers menu. This can make it easier to focus on part of the artwork, such as the image in the background without affecting the text. Clicking on the eye icon area again at any time will un-hide and show the layer again.
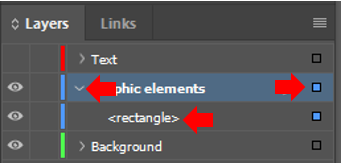
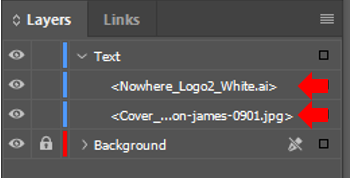
The layers panel can also be useful for selecting content within an InDesign document. By clicking on the small box to the right of the layer name to select all the content on that layer. To see a listing of the content on a layer in the Layer panel, click the arrow to the left of the layer name. All of the content in that layer will now be shown in the panel, to hide the content in the panel click the arrow again.
Layers in a document can also be re-ordered. If a layer (for example the top layer named “Text”) is clicked and dragged down a line will appear under the other layers (such as the Graphics Element layer) that notifies that the layer move to this point is possible. The order of the layers in the Layers panel determines the order of the content in the document. The topmost layer is on top of all other layers in document whereas the bottom most layer is behind all other content. Each layer has a different colour assigned to it that helps to identify which specific layer a piece of content is assigned to.
If you move the cursor over the background image in the document, in this example a green boundary outline will appear, the colour of the boundary box that surrounds the content informs you which layer that content is on.
![]()
In conclusion, layers in InDesign help you organise, select, and hide content.
Create and Edit Layers
To see the layers within a document, open the layers panel (Window menu > Layers or F7). In the example document, you should only see the default layer (Layer 1). This contains all the existing content in this document. There may be times when working in a document that layers are not required (such as if there are only a limited number of elements for a business card you are working on).
We can also rename layers as to better keep track of the content contained in each. Double click the “Layer 1” name and in the dialogue box that appears change the name to “Text”. Changing the names of layers in a document will be beneficial to keep track of content you have.
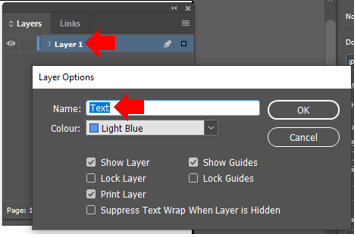
There are a variety of other options that can be explored within the Layer Options.

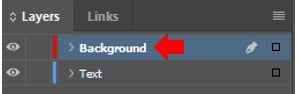
We will create a new layer and place an image in its background. To create a new layer, click on the Create new layer button. The new layer is created above the default layer in the Layers panel and names something generic such as “Layer 2”, double clicking the layer will allow you to edit the layer name, in this instance rename the layer to “Background”. The current layer in focus is identifiable by the highlighted colour. Any new content added in InDesign is associated and placed on the currently highlighted layer.
In InDesign the layers are shared amongst the entire document but only the content for the active page or spread is shown in the layers panel.
Layers can be deleted by clicking the Delete selected layers button. If you delete a layer, it will also delete any content associated with that layer.