
Change the colour of content
Creating and applying colour is a great way to be creative in InDesign. To start working with colour you will need to understand what stroke and fill are, apply colour using existing colours and then make your own colours.
Using the Selection panel from the Tools on the left of the screen and select the white frame (Explore shapes and colours). Shapes, frame and more can have a fill, this is the white colour and a stroke, which is the red colour, a stroke acts like a border around a fill. You can apply a colour or a gradient.
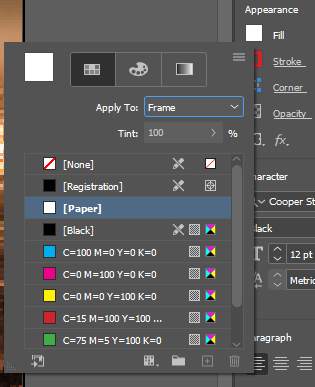
In the Properties panel, there is a fill and stroke colour for the frame, clicking the Fill colour option will display a colour panel, at the top are several swatches, these are default colours that come with every document, a Colour Mixer for creating a custom colour and gradients.
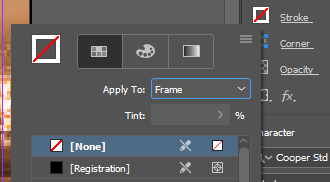
You can also apply the colour None to remove all colour. Apply an orange colour to replace the white. Select the Stroke colour option and click the No Colour option to remove the stroke from the image.
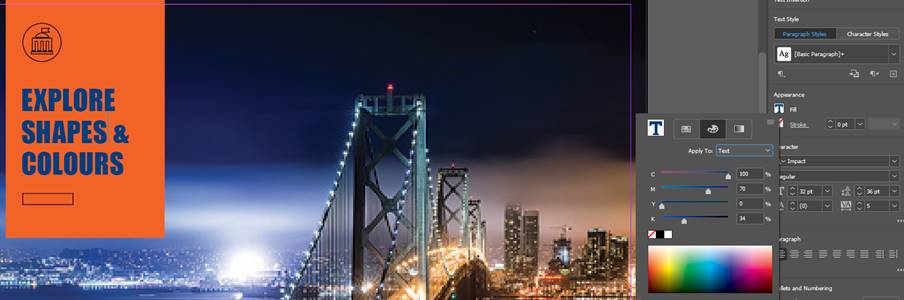
To change the colour of the text to a custom colour, use the Text option from the Tools menu and select the text, click the text Fill option, and select the Colour option tab. You can now create a colour by sampling in the Colour Field at the bottom of the menu or adjusting each colour independently using the sliders or even by typing in specific values to create a colour from the mix.
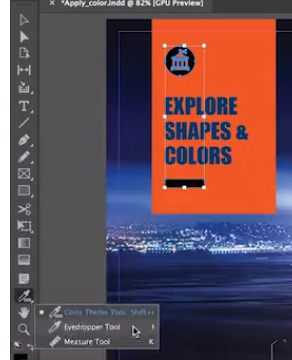
To sample the custom colour just used select the other objects located on the orange rectangular shape (Hold down the Shift key and select the image above and below the text). Now that these shapes are selected you can sample the colour of the text using the Eyedropper tool.
Apply Effects
Adobe allows you to apply creative effects to your content. Transparency effects include drop shadows, bevel and emboss, and more, and are found in the Properties panel and Effects panel.
Applying creative effects to content can be done in the Properties panel or in the Effects panel.
Using the example, we will apply effects to the “Quiet Please” text and the line below it. Using the Select tool, select the group of content.
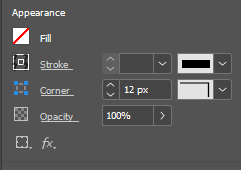
Use the Zoom function to zoom to 125%. Notice the options in the Properties panel under Appearance, you can configure the Opacity of the image (controlled as a percent %). When you click on the opacity option a slider bar appears and that allows you to change the opacity of the text as shown below.

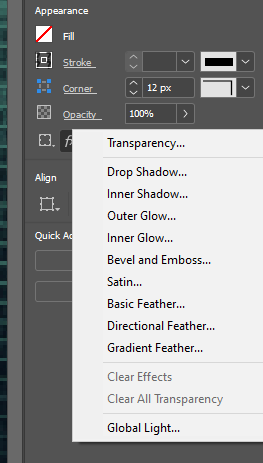
You can also configure the Effects (Fx) options by clicking the Fx button. Clicking this button opens a menu of available effects. Chose the Drop Shadow option. This opens a dialogue box where you can set some options. Before you make any changes to your document make sure you click on the Preview tick box at the bottom so that you can review any changes that you make before commiting to them. In the effects dialogue box you can apply multiple effects to one object. Clicking an effect will turn it on and unclicking the effect will remove it.
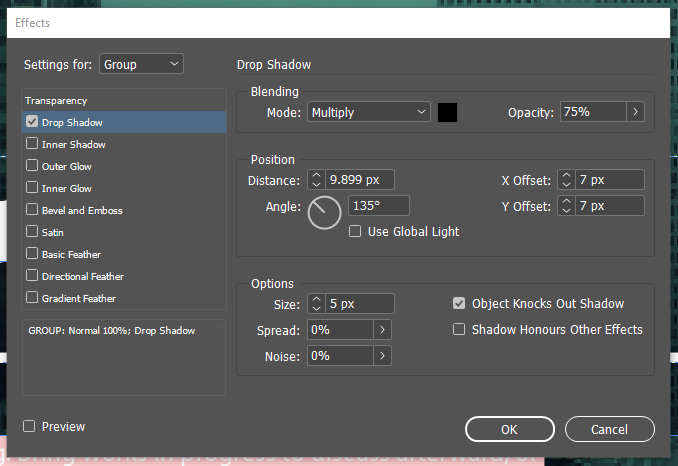
With Drop Shadow selected, there are a number of options available to control its behaviour. For example changing the colour and opacity. Leave the setting as their default and click Ok.
Adjusting transparency and creating effects in InDesign are great for creating unique, eye-catching designs.