
This knowledgebase article provides a comprehensive guide on using Adobe Express to create and edit videos that can be used for teaching, learning and assessment by academics, support staff and students.
The guide includes instructions to support users in navigating the user interface, utilising the various editing features and exporting the final product in various formats and qualities.
The guide also highlights the use of various media assets included within Adobe Express and the ability to upload personal content, emphasising the ease of use and accessibility for users of all skill levels.
Contents
1. Introduction to Adobe Express Videos
2. Creating a default video project
3. Exploring the menus available when creating a video project in Adobe Express:
4. Basic Video Editing Techniques:
- Adding a video clips
- Adding a video-in-video
- Manipulating a video clip
- Resizing a video
- Cropping a video
- Adding transitions
- Splitting a video clip
- Layering Video
- Adding images
- Adding Audio
- Adding Text
- The duration the text is visible
- Adding animations
Introduction to Adobe Express Videos
From the home screen of Adobe Express select the Video option, there are multiple video creation options available that have been specifically designed to meet the requirements of specific social media and other platforms such as Instagram, TikTok and YouTube.

Creating a default video project
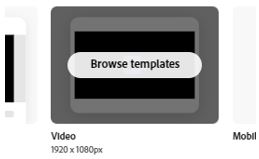
Hover the mouse over the standard “Video” project option, an option to Browse templates will appear, clicking this will open a video templates screen where a choice of pre-created video templates can be chosen from. Clicking anywhere else on this screen will open a blank video project.
Click anywhere else on the video option.
Once the new project has opened, various menu items are available and can be used to build content. The default menu option that will be loaded is the Templates.
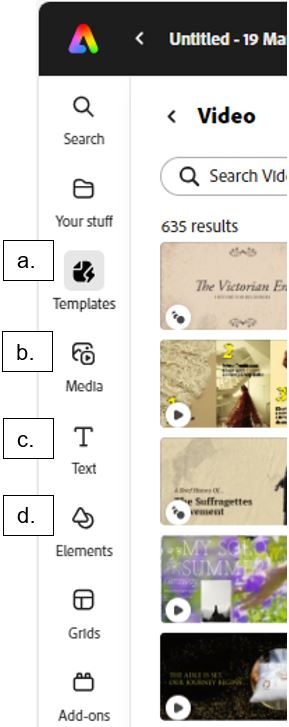
Exploring menu items available when creating a video project in Adobe Express.
1. Templates: All of the available templates that Adobe have provided can be applied to the new video project.
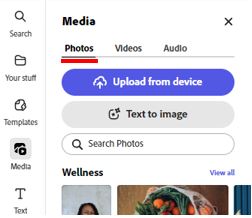
2. Media: Digital assets that can be applied (and manually uploaded) can be found here. This includes Photos, Videos and Audio. Assets can be:
- selected from the available categories
- uploaded from the local device
- generated via the Adobe Firefly GenAI integration (only images as of this KB article being created)
- searched for from the huge Adobe Express repository
- recorded live (for audio only).
 |
 |
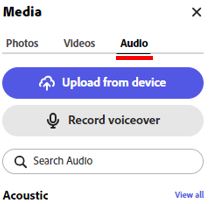 |
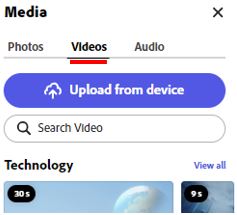
| Digital asset options for adding Photos to the video project. | Digital asset options for adding Videos to the video project. | Digital asset options for adding Audio to the video project. |
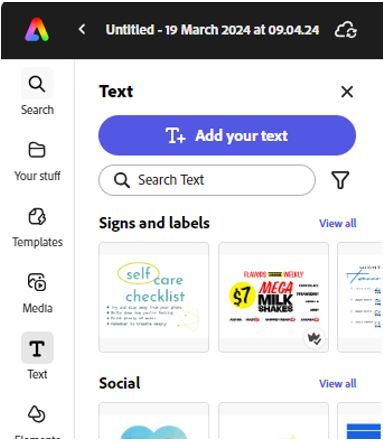
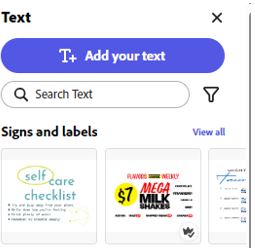
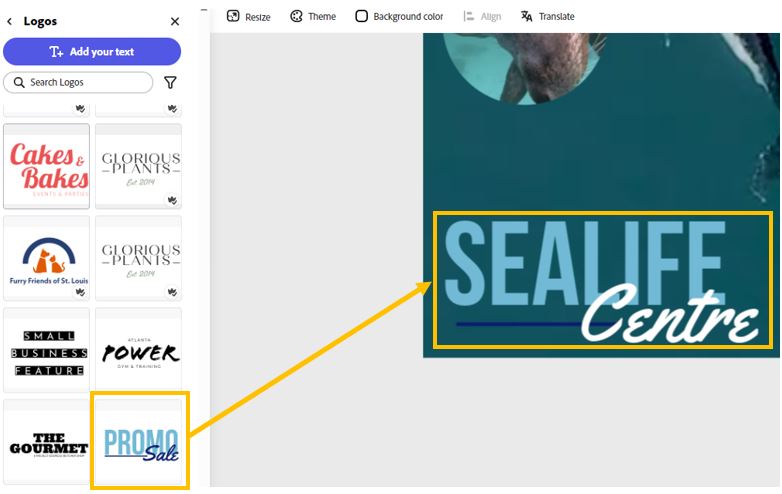
3. Text: Applying text is very simple when creating an Adobe Express video project and like the templates there are 1000s of pre-created styles of text to add, to insert a default standard text, simply select the Add your text button, type the required text and then apply formatting.
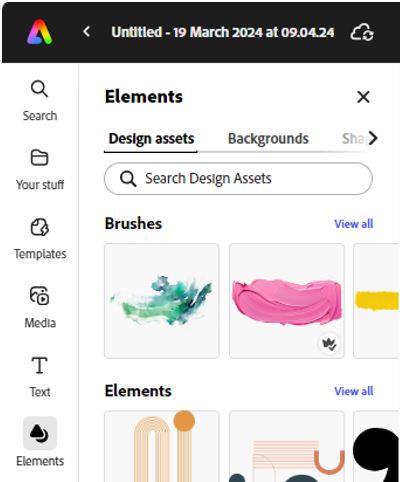
4. Elements: Using the elements option, shapes and backgrounds can be added to the video project from an extensive repository made available in Adobe Express.
Basic Video Editing Techniques:
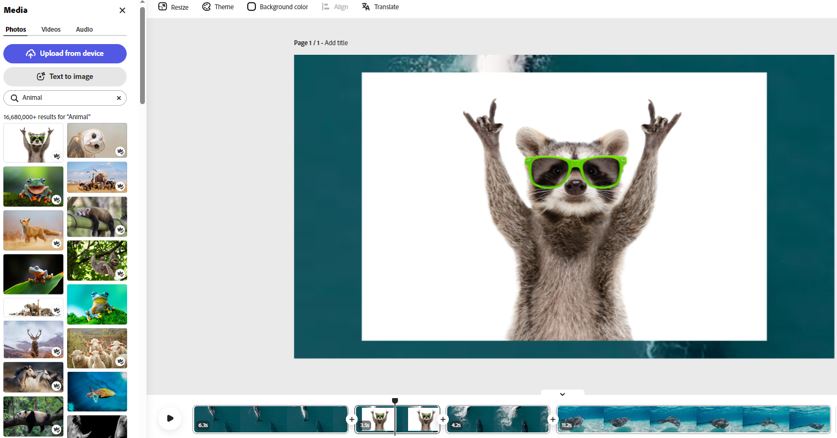
Adding a video clip – From Media > Video > Search button > search for “Animal”.
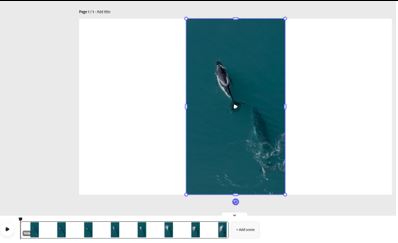 |
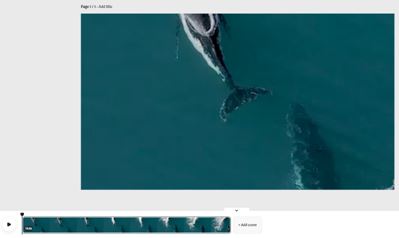 |
| Clicking or dragging the selected media clip to the screen panel will place the video to fit its original size. | Dragging to the timeline below will apply the media clip to the video window. |
Adding additional clips – Additional clips can be added by repeating the process of dragging them to the timeline.

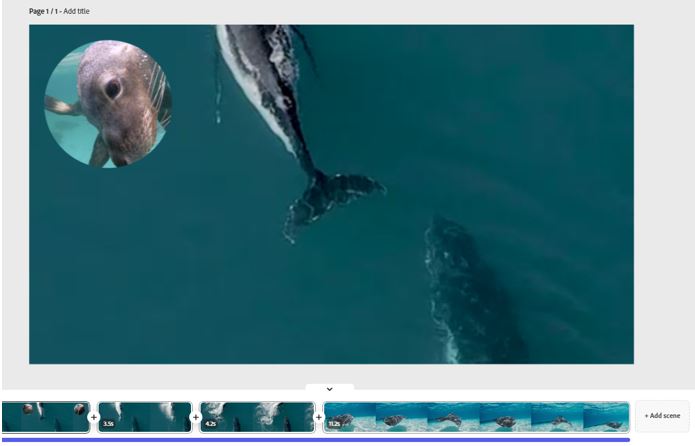
Adding a video-in-video – Clicking and not dragging a clip on top of a pre-existing clip will create a ‘picture-in-picture situation, as shown below.
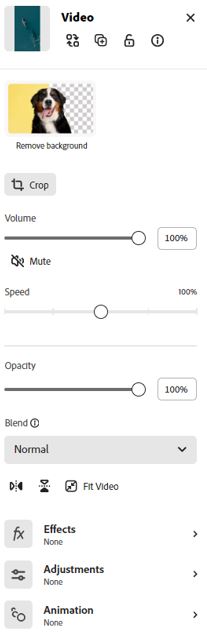
Manipulating a video clip – Once a video asset has been added to the video project, clicking on the video asset gives access to the video configuration menu, this includes options like Remove background, crop, volume, speed, opacity, fit video. Effects, adjustments and animation.
Resizing a video – over the mouse at either end of the clip and drag to resize the clip.

Hover the mouse over the start or end of the clip

Click and drag the clip to the required length (this is shown in seconds)
Cropping a video – With a video asset selected, one of the available configuration options is the ‘Crop’ button. This option allows the physical shape of the video asset to be modified either manually (using the Freeform option) or by selecting one of the pre-defined shapes available in Adobe Express.
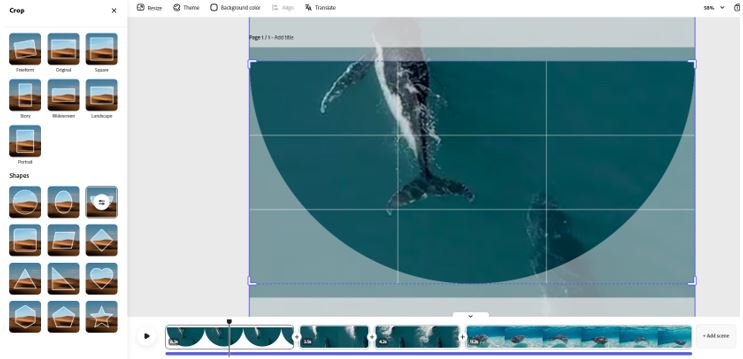
Using the crop option for a picture-in-picture video is an excellent way of enhancing the professional look and feel of this option.
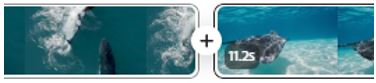
Adding transitions – When multiple digital assets have been added to a project (such as video clips and/or images) transitions can be added to provide a professional movement between the clips. A plus button will be visible between the 2 video assets, click on this and select Add Transition. Also notice that you can also add a new scene using this method.
 |
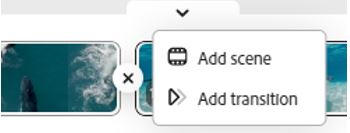 |
| Click on the plus button between any two assets in the video project timeline | Select the ‘Add transition’ option. |
 |
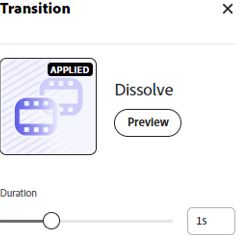 |
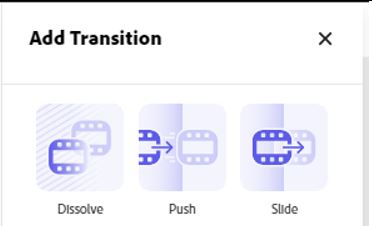
| A new Add Transition menu item will appear with three transition options to selectfrom. | Selecting the desired transition option will open an additional menu that allows the transition duration to be set and a preview to be shown. |
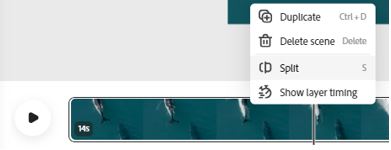
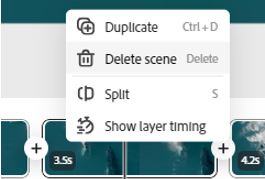
Splitting a video clip – Video clips added to a project can also be cut at any position to introduce an additional digital asset or remove part of the original asset. To do this move the cursor to the exact section of the video where the split is required and either right-click on the timeline and select Split or click on the three dots on the video clip and again select Split.
 |
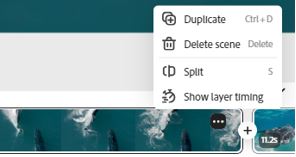 |
| Right-clicking on the point in the timeline and selecting Split (or using the keyboard shortcut ‘S’. | Having moved the cursor to the correct position on the timeline, now click the three dots and select Split. |
By introducing multiple slips into the above video asset, sections of the video can also now be completely removed.
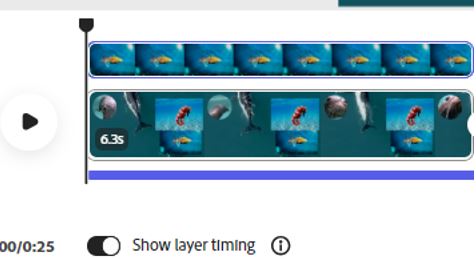
Layering Videos – When multiple digital assets have been added to a section of a video project the ‘Show layer timing’ option can be enabled to allow the layering of the assets to be viewed and changed.
Adding images – Access the Photos tab and search, select or upload the desired photo. Just like with adding video assets, dragging the photo onto the timeline at the bottom of the screen will place the photo in its new place in the video project whereas clicking on the image will add the photo to the location within the project that the cursor is currently positioned and on top of any assets that currently occupy that space.
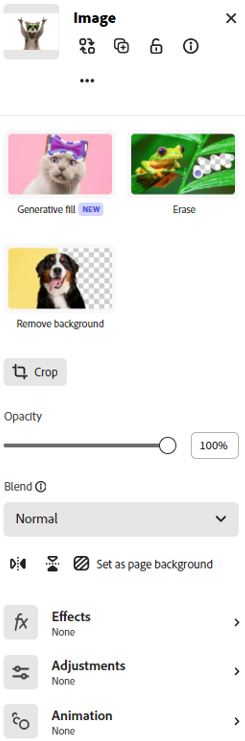
Click on the image asset once it is inserted will update the side menu to provide the associated configuration options including, Generative Fill (AI), Erease, Remove Background (AI), Opacity, Effects, Adjustments and Animations.
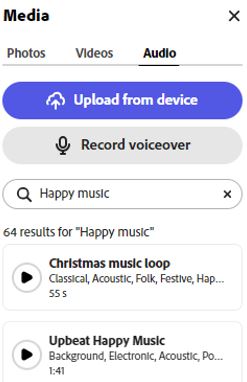
Adding Audio – Access the Audio tab and search, upload or record the desired sound clip. Click or drag the sound clip onto the timeline at the bottom of the screen.
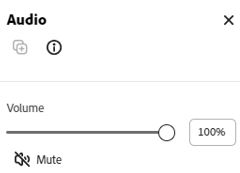
Clicking on the sound clip asset once inserted will update the side menu to provide the ability to set the volume associated with the clip.
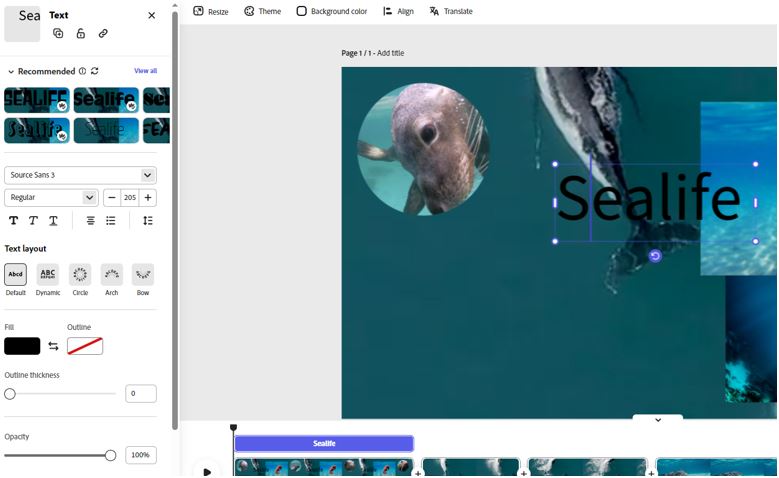
Adding Text – To add text to a project is very simple and there are 1000s of pre-created styles that can be used. To insert a default standard text, move the playhead to the position within the project where the required text is to be added and select the Add your text button.
Type the required text, position the text within the project and then apply the required customisations to the formatting.
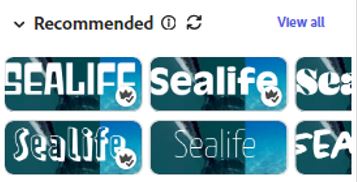
Using the recommended option gives you text styles that Adobe Express feels are best suited to your project and the assets in question.
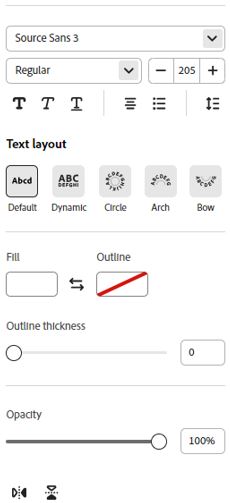
Many other text formatting options exist that can be applied to the inserted text.
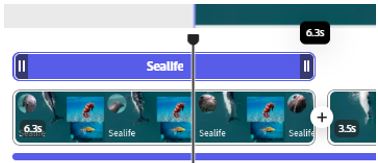
The duration for which the text is visible – Just like all other digital assets that can be added to the project, the length of time the asset is visible can be adjusted by changing its length on the timeline.
Adding animations – allows for professional entry and exit of the text to the project.
 |
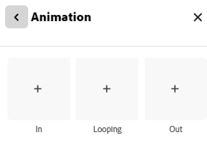 |
| Select the Animation option from the left-hand side menu | A new menu will appear in which the type of animation must be selected |
 |
|
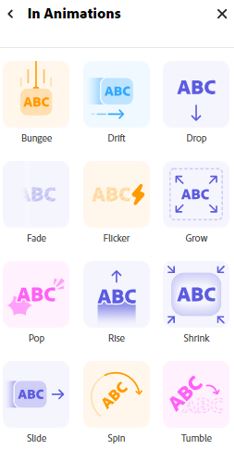
| Once the type of animation is selected on the previous screen, there will be various versions of the animation type that can be chosen. |
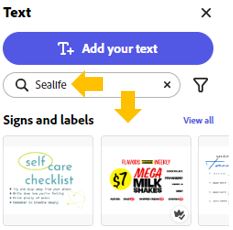
Adding text from the predefined styles – It is possible to either use the search option or select from the available/visible categories
Once a text style has been selected and inserted into the project, it can be configured using all of the previously discussed formatting options.
Exporting a completed project
Once a video project is complete, it can be downloaded using the Download button.
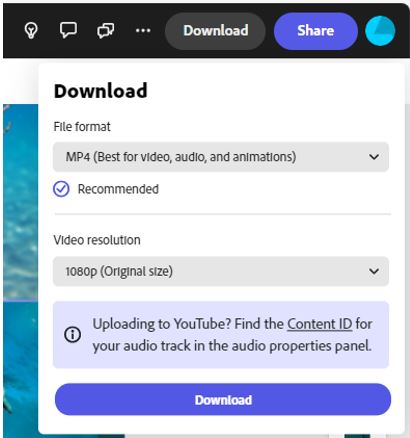
The video project can be downloaded in the following formats:
- MP4: Best option for video, audio and animations)
- PNG: Best for images
- JPG: Best for small file sizes
- PDF: Best for documents
The video project can also be downloaded in the following video resolution:.
- 1080p (default size)
- 720p
- 4K
This guide was updated on 29th of November 2024. Please note that due to regular SaaS updates, some features or instructions may differ slightly from the current version.