This learning support guide provides a comprehensive guide on using Adobe Express to create a brand, add brand-related content, apply brands to projects and share them publicly.
For more information and links to the official Teesside University resources, please see the following Unity resource.
Contents
What is a Creative Cloud Express Brand?
Adobe Creative Cloud Express includes a feature that allows the creation of consistent branded content. Setting up a new brand allows design assets including logo, brand colours and brand font.
Setting up a new brand:
To create your brand, you will need to sign into Adobe Creative Cloud Account and launch Adobe Express (https://new.express.adobe.com/)
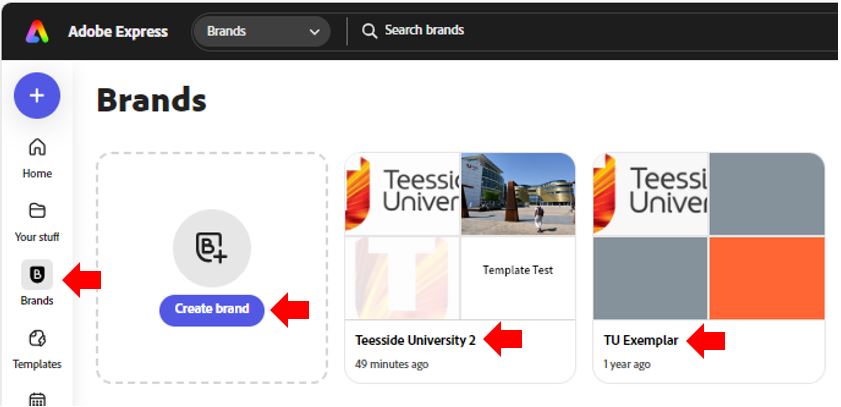
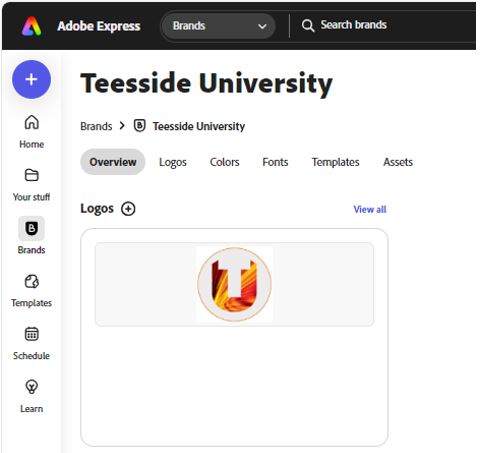
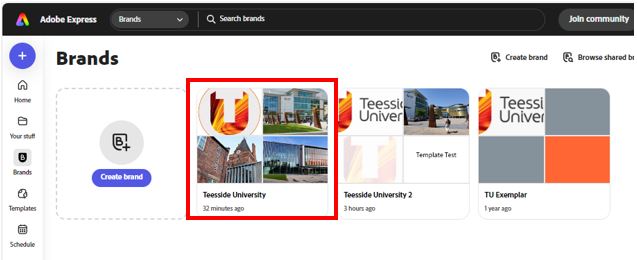
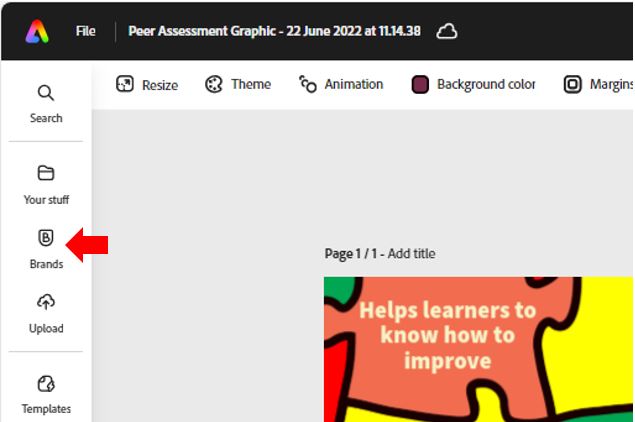
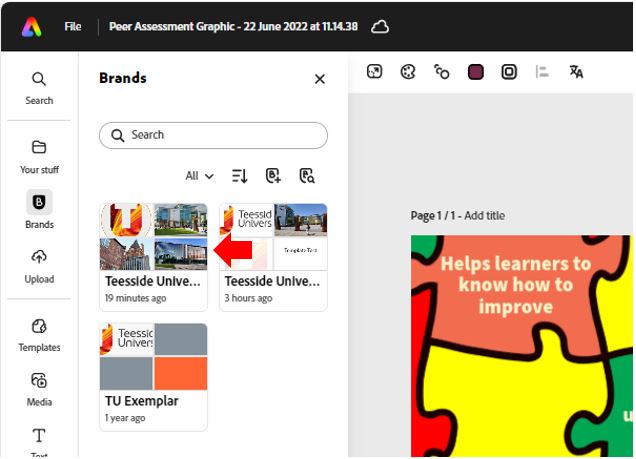
On the homepage of Adobe Express, select Brands from the menu on the left of the screen. If you have previously added a brand, you will be presented with the following menu.
On the Brands menu, select the Create a new brand option to create a completely new brand or select any of the brands that you might have previously created to update them.
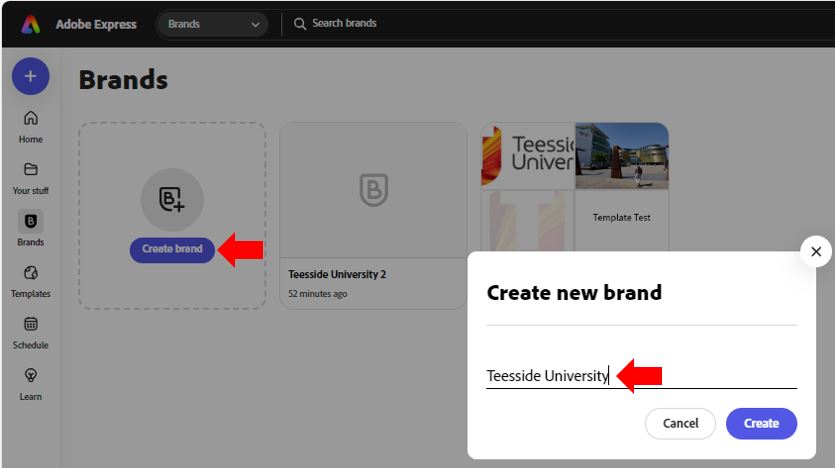
To create a new brand, click on Create Brand. Give your brand an intuitive name (this is especially useful if you intend to set up multiple brands to help differentiate between them). Click the Create button once you have entered the brand name.
Brand Assets:
Once the brand configuration page has loaded you will need to upload and input the various brand identity assets that will define your brand. Click the Add button and select the type of asset to upload or configure.
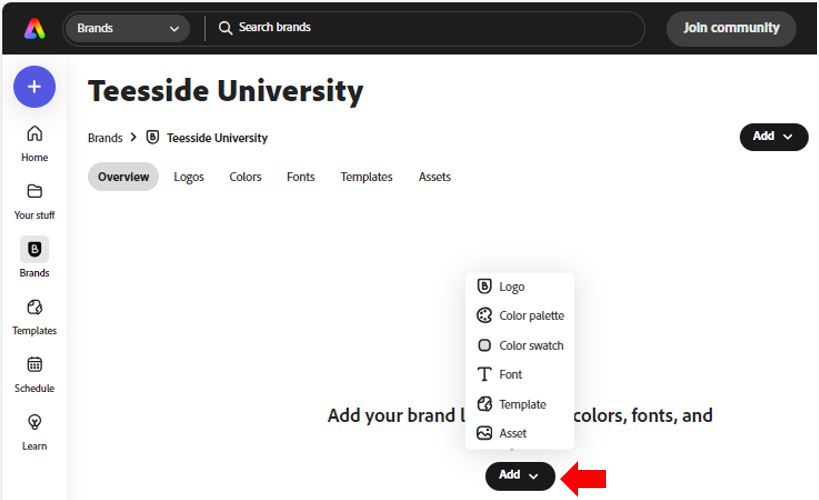
The following are descriptions and instructions to upload and configure the various brand asset types:
Logos:
If you have an organisational logo you want to use, click Upload your logos to upload the logo file and using the standard Explorer menu navigation, browse to the saved logo image. If multiple logos are uploaded, you may need to configure which is the primary and which is the secondary logo using the Options button and then the Edit tag button.
Colours:
If the organisation has a pre-set colour as part of its overall branding strategy or if you are setting up your brand and have chosen a brand colour you can add it here. Multiple colours can be used to define the brand however as above a primary and secondary colour will need to be set. If you are not sure what the exact colour of your brand is, you can use the colour picker in Express.
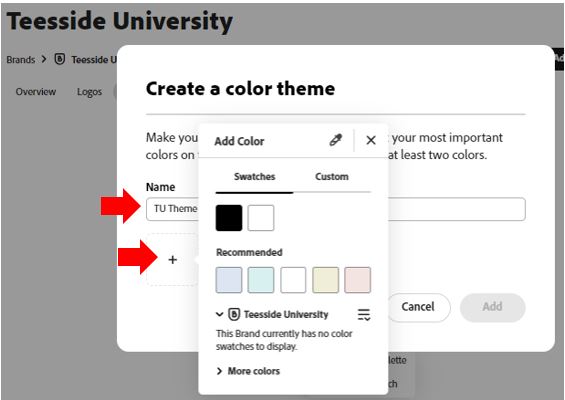
To select a colour(s) click the Add Colours button and select either Add Colour Palette or Colour Swatch.
Adding a colour palette will require you to give the Palette a name and add colours to it.
You can also add colours using the ‘colour picker’.
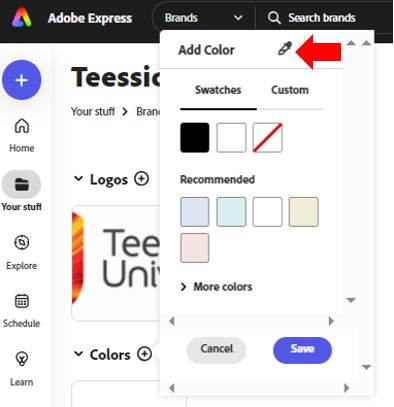 |
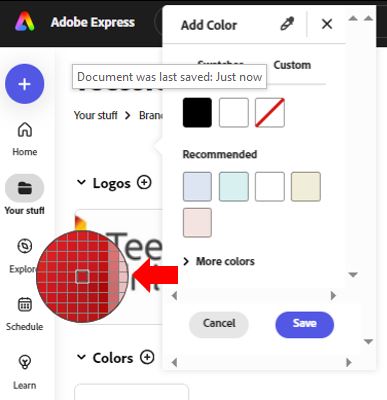 |
| Click on the colour picker option. | Hover over part of the screen that has the colour you wish to identify. |
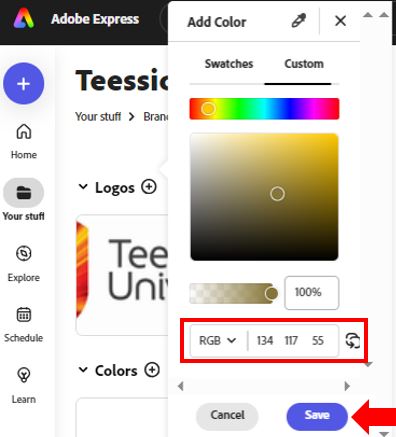
You can select a specific predefined colour if you know its hexadecimal or RGB value by switching to the Custom menu, selecting the correct colour identification code type and entering it into the value input box. In the example below the RBG value ‘134 117 55’ has been input and selected by pressing the button to the side of the value to set. Click save to finish.
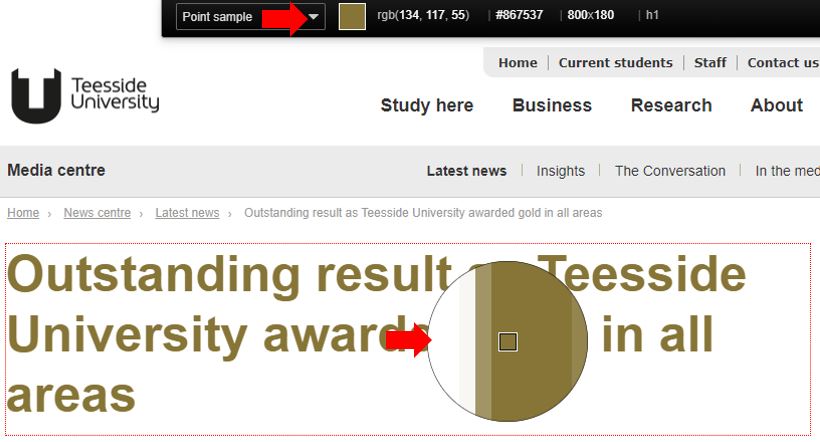
If however, you do not know the specific hex value of the colour you would like to use you can install the Google Chrome browser extension that will inspect a web document and identify the hex value of that colour called ColourZilla.
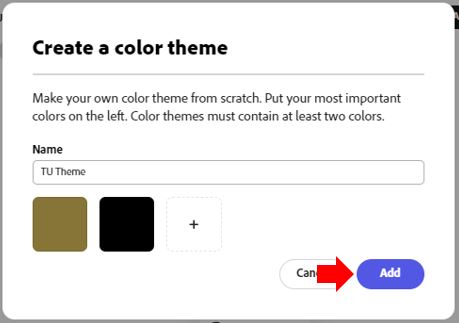
Once you have added a minimum of two colours you can Add the colour theme.
Fonts:
If your organisation has a specific font that should be used (For example Teesside University advocated the use of FS Lola as part of its brand), you can add it here.
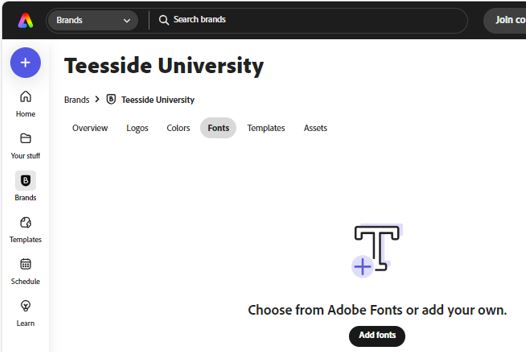
Click on the Search fonts to select a font from the extensive list of available fonts or click the Add your fonts button to navigate to and import your custom font previously set up.
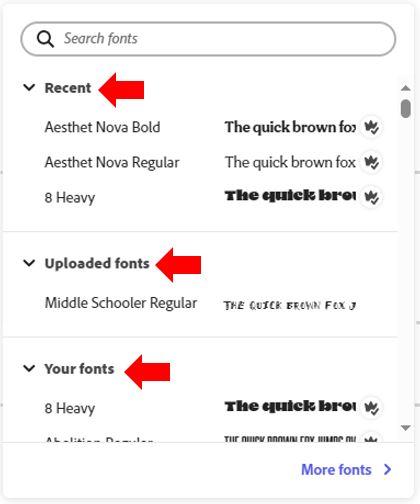
The ‘More fonts’ options allow you to select fonts from different languages and different categories.
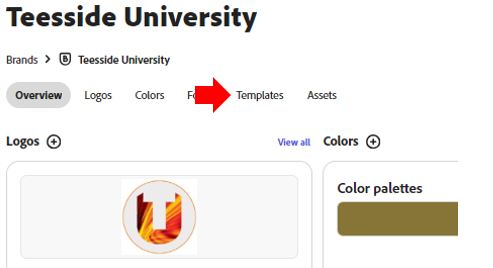
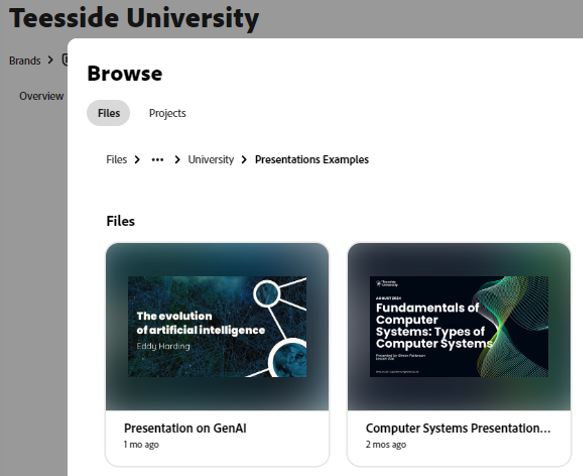
Templates:
It is possible to create a series of template assets that can be attached to a brand. When you add a digital asset to a brand or library, anyone who has access to the brand or library will be able to start a new file from this template.
It should also be noted that at any point during the setting up of the brand using the steps listed above you can preview the brand using the Preview window shown on the right-hand side of the screen.
- Go to Brands and select the brand to work with
- Select Templates from the top menu.
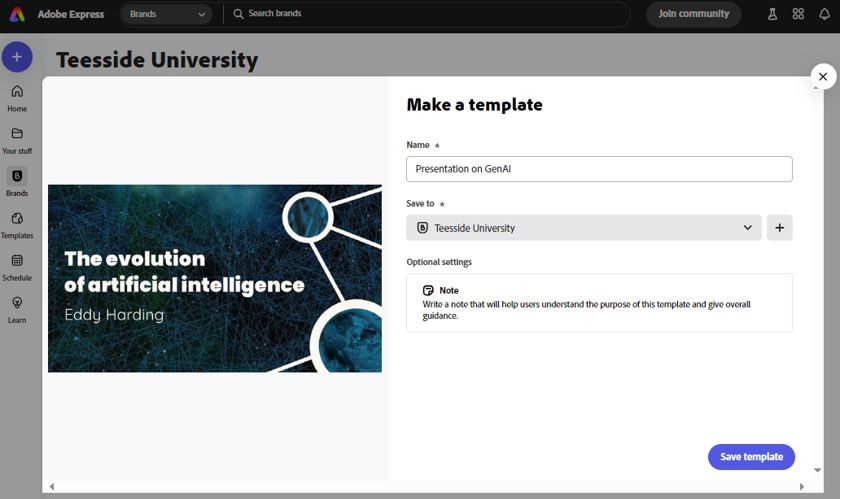
- Click Add Templates.
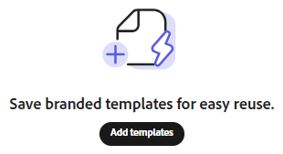
- Select the previously created project to add to the template.
- Click Save template to finish.
Assets:
If you want to include a specific graphic in your brand you can upload one or more images here.
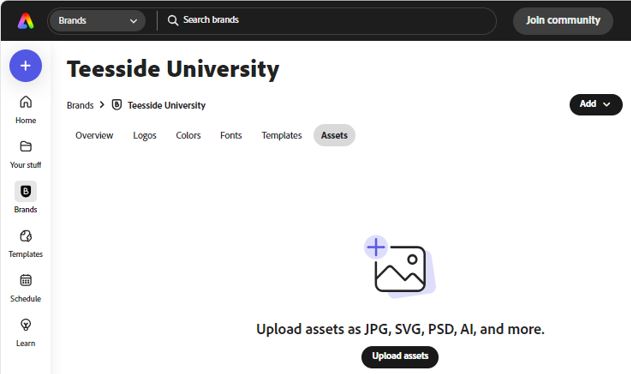
Click Upload assets (including JPG, SVG, PSD, AI and others) to upload the asset and using the standard explorer menu navigation, browse to the asset location image.
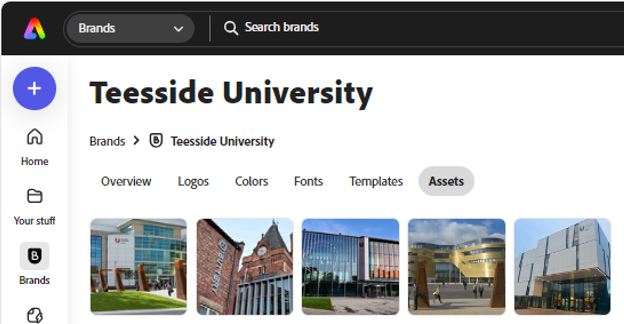
Once the brand’s identifying assets have been created the brand set-up is complete. It is also possible to modify the brand assets once complete. Assets can be added or removed and updated as required.
Sharing a brand.
A brand can be shared in multiple ways:
1. Invite staff by name.
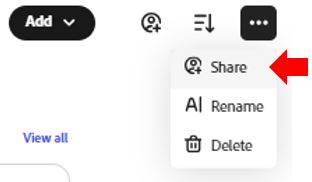
Click on the three dots (more options) and select ‘Invite people…’
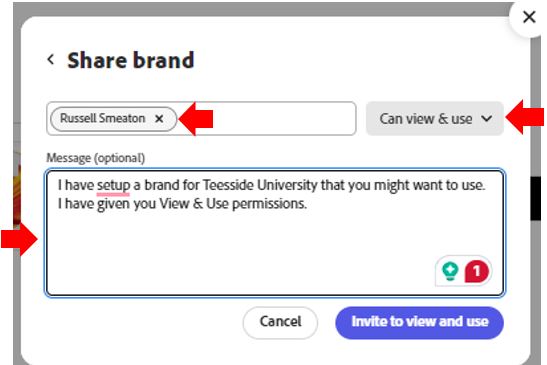
Enter the name of the user you are sharing the brand with. You can also add a brief message explaining what the asset you are sharing with them is and possibly why. You can also set the access permissions to the asset to ‘Can edit’ or ‘Can view’. Finally, click the Invite button to share.
2. Invite to library.
Click on the ‘invite to library’ button, click the three dots in the upper-right corner, and then click Invite.
As above, you can also add a brief message explaining what the library you sharing are is and why. You can also set the access permissions to the asset to ‘Can edit’ or ‘Can view’. To complete the process, click the Invite button to share.
Shared Brands can be accessed via:
- Email: Check your inbox for an invite to access a shared brand.
- In-app notification: Check for the bell icon on the upper right corner of your screen & accept the invite.
- Link: Based upon the access permission granted, you should be able to view only or edit.
To leave a brand that has been shared with you.
On the homepage of Adobe Express, go to Brands.
- Hover the mouse over the shared brand and select the three dots.
- Select Leave.
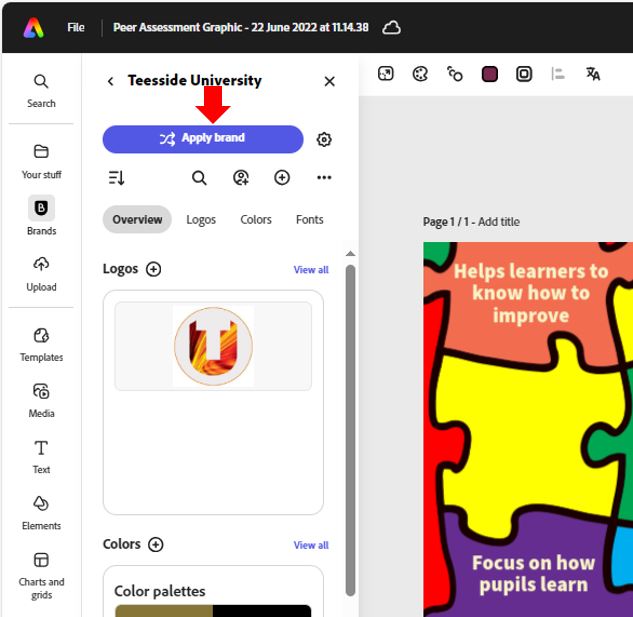
Apply your brand.
To apply your branding to a project:
- Open your project.
- Go to Brands(left of the screen)
- Select the required brand.
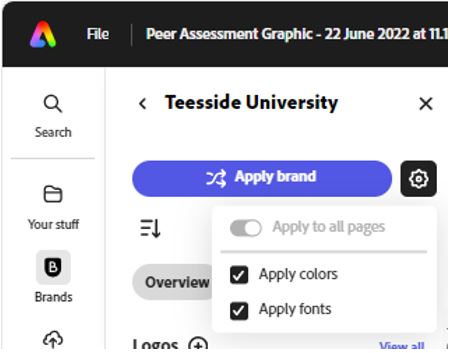
- Either view the previously added brand and select specific components of the brand to add to the current project or simply click the apply brand option to apply all aspects of the brand simultaneously.
You can also click the setting cog button to select which specific brand assets to apply (multiple can be selected).