Adobe Express: Content Scheduler

Purpose of this article

The Content Scheduler allows users to save time and centrally manage the release of social media posts across a variety of the most popular social media platforms.

With Teesside Universities Adobe Creative Campus membership, staff and students can make unlimited use of Content Scheduler in Adobe Express for a seamless content creation workflow across multiple social media platforms.

Image showing the Adobe Express main menu. The end user will need to click on the button labelled Schedule.

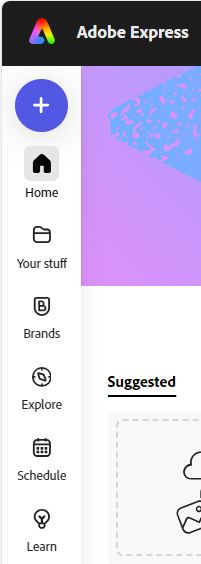
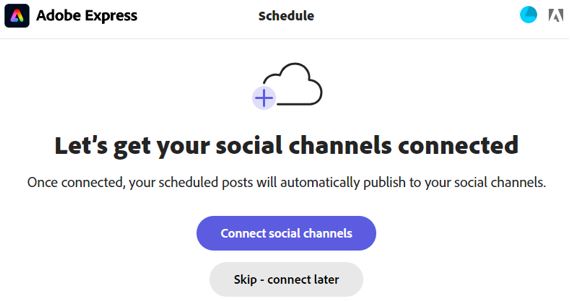
To access the Content Scheduler in Adobe Express, click on Schedule and click Connect social channels.

Image show the Connect Social Media Channels. The end user will need to click on the "Connect Social Channels" or can clip Skip to proceed with the setup and authenticate to the channels later.

*Note Clicking ‘Skip – connect later‘, you will be able to proceed to the scheduling feature without connecting to specific social media platforms, you will not be able to post until you have successfully connected to at least one platform).

To connect social media accounts, select the social media platform in question and click the Connect button.

*Note Additional help and support can be found using the Help Guide button located towards the bottom of the screen.

Image showing the Setup menu to connect to the various social media platforms that this new Schedule Feature is compatible with.

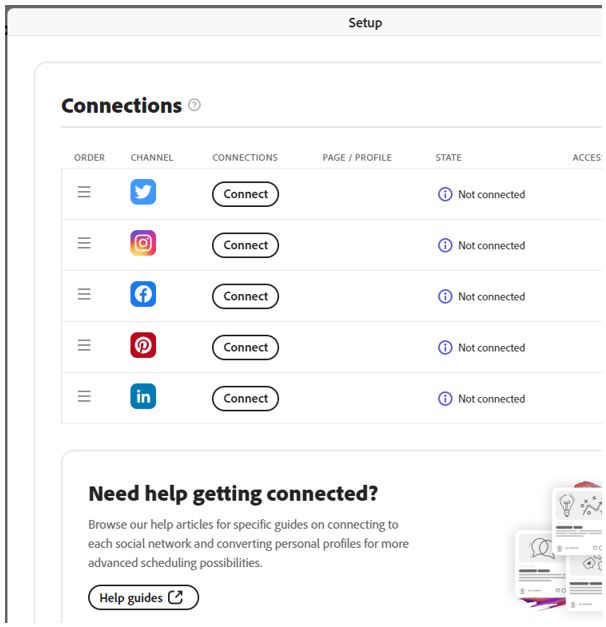
Once you have selected a social media platform to connect you might need to enter your login credentials (if not saved in the browser previously).
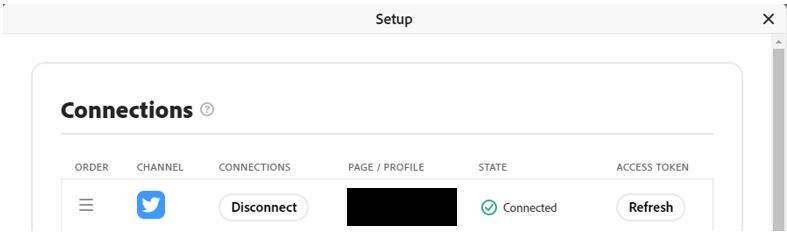
Image showing the Channel successfully connected that is displayed once a Social Media Platform channel has been added.

As you connect to your social media accounts the Connections menu display will update.  Once connections have been set up to the required social media platforms, click the ‘X’ in the top corner to close this menu.

Image showing an example of the Twitter channel been connected for a specific user account.

*Note Connections to social media platforms can be added, removed or modified at any time by clicking the Setup menu in the top right of the schedule window or using the plus buttons that are available on all social media platform icons (located at the start of each row of the scheduling table).

Following the setup of connections to social media, clicking the Schedule icon in Adobe Express will open the new Schedule Window.

Image showing the scheduling window where users can now schedule posts to be released on specific dates and times for the Social Media Platforms they have connected.

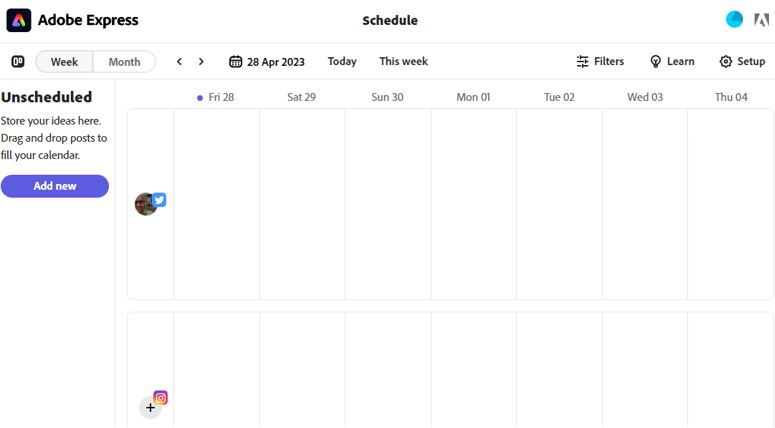
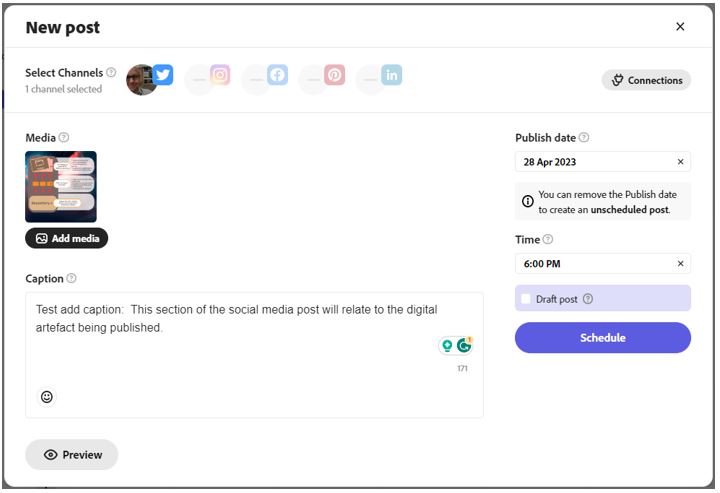
Clicking on a date/time for a specific platform will open the New Post menu.  This menu allows you to:

  1. Change the default view from Weekly to Monthly.
  2. Select additional social media channels to be included in the scheduled post.
*Note Remember to review the format of the media you intend to publish, as the use of specific social media templates in Adobe Express are configured to meet the required dimensions of each platform.
  1. Select a specific date and time to start scheduling to the selected channels.
*Note Rather than setting a specific publish date, you can also choose to save the post as a draft to be worked on and scheduled later.
  1. Add one or more media files to be published via Adobe Express Content Scheduler. Media can be selected from either the Adobe Creative Cloud account or the local device.

Image showing the selecting of a digital artefact to be scheuled for release on the Social Media Platform Twitter.

  1. Add a caption to be posted alongside the media.
*Note Different social media platforms have a maximum word count per post so take this into consideration when writing the annotations.
  1. Connections button to automatically publish the post.
*Note If you need to change something, click on a post to open it and make edits. You can also drag and drop scheduled posts to different dates and times.

Image showing an Adobe Express media file being added to the release schedule.

For more information on using Content Scheduler in Adobe Express, please contact elearning@tees.ac.uk