
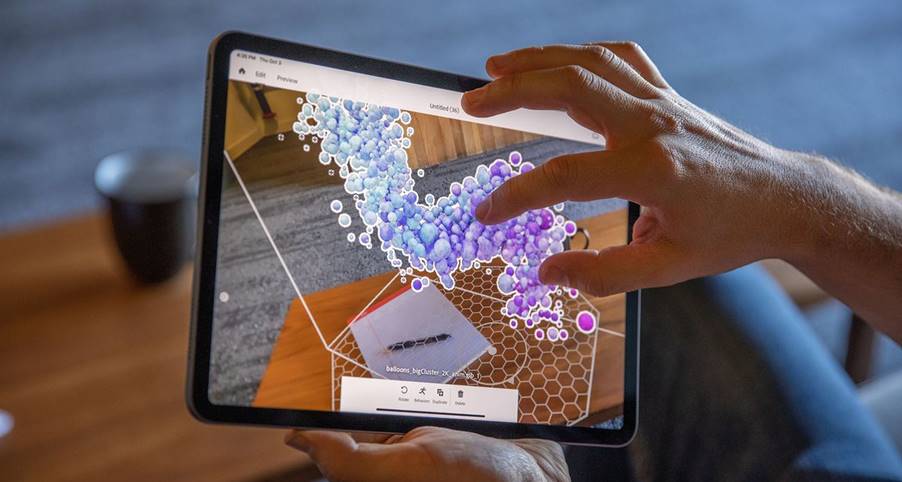
Adobe Aero helps you design immersive experiences by overlaying digital content over a live view of your mobile device’s camera. You can design interactive immersive experiences by bringing your design skills into the world of Augmented Reality. There is no coding or 3D design experience necessary.
You can add you content to Augmented Reality by bringing in 3D models, photos, layered files and other 2D from Photoshop and Illustrator, or images from phone or desktop or Creative Cloud files. You can also bring in assets from other 3rd party applications like Maya and C4D and place assets in the real world environment around you, already optimized to look great in your AR experience. Placing assets is easy with familiar gestures to rotate, scale and move.
Create interactive experiences without needing to rely on a developer. Apply behaviours to your content to build combinations of triggers and actions that draw viewers of your experience to drive the narrative and engage with the story. Add motion to your objects by using your mobile device to draw the path of motion you want the object to take.
Take the interactive step-by-step tour to make your first AR scene. The tour will show you where all your tools are and how they work. We are sure you will soon be bringing your AR vision to life with augmented reality.
Step 1
First, open the app.
Now tap the plus button to start a new project.

Step 2
Move the camera around so it can find a flat surface. The dots mean it’s searching the image. When it starts to recognise the surface a grid will appear.
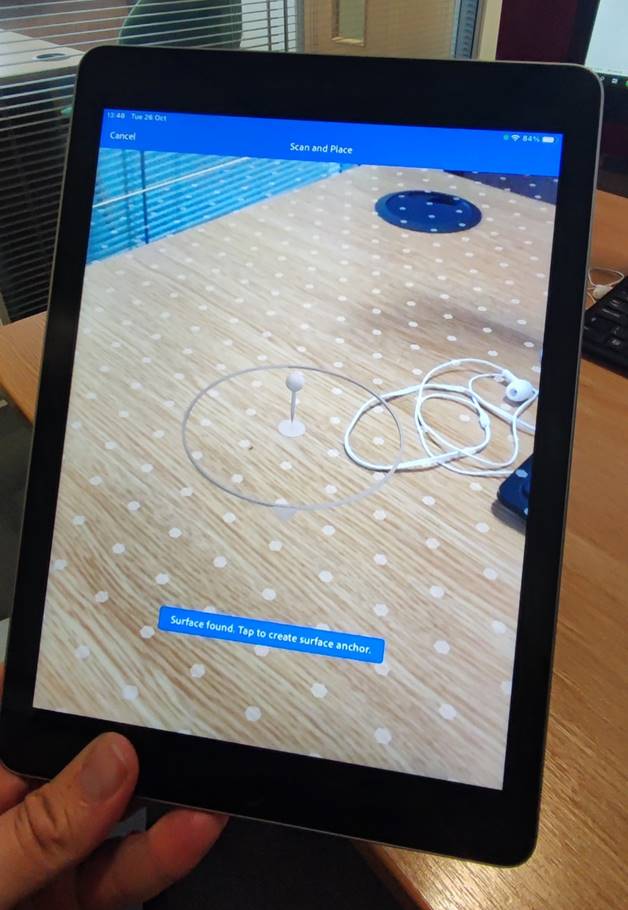
Step 3
When you’re happy that you have enough to work with, tap the circle to pin it in place.
Tap the blue plus button to add some 3D objects.
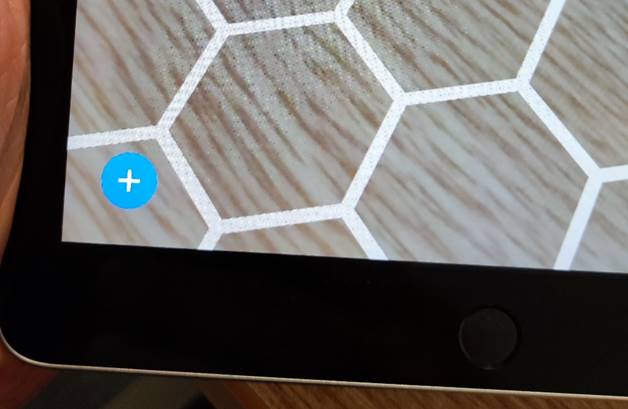
Also, starter assets are some free objects for you to use. Some of them are animated as well.
But for this, I want to add some photos. So I tap “camera roll”.
Find a photo you want to add to the scene. Tap it and now you get a spinning wheel as it renders the object in the 3D space.
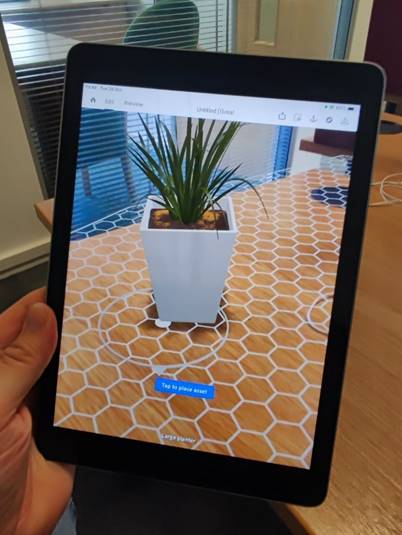
One of the easiest ways to place the object is to move the camera until it looks right. Now tap the photo to lock it in place.
You can always tap again to reposition.
Use finger pinch to resize. 3 fingers swiped on the screen allows you to move the object on the vertical axis.
Next, repeat this process to add more photos.
When you are happy with your scene, switch to preview. Now you can record a video or take a photo.
