
This guide has been produced to inform staff on how to create forms from scratch, as well as from previously created documents such as Microsoft Word, how to distribute forms and finally how to track forms responses. As well as the comprehensive guide, there is also an embedded video included at the end of the document that demonstrates some of these techniques.
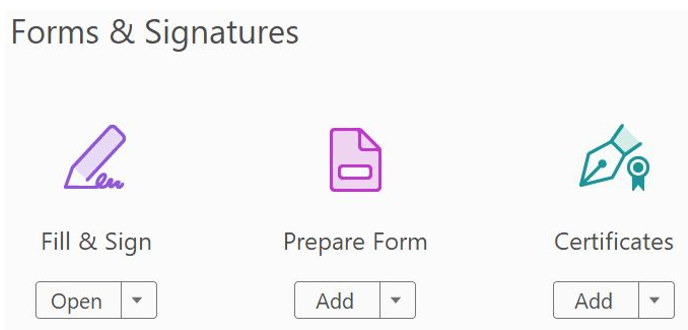
Fill & Sign:
Adobe Acrobat is the quick, secure, and reliable way to fill out PDF files, forms, and documents online both on the go or in the office. You can also add an e-signature to a form. Senders and recipients can work within the apps they’re already using, so there’s no need to jump from app to app.
For more information click here.
Prepare Form:
Regardless of whether it’s a scan or a simple form made with Microsoft Word, Excel, or any other application, Adobe Acrobat gives you a simple way to make it smarter with signature fields, calculations, and much more.
- Acrobat automatically recognizes static form fields and converts them to fillable text fields when you convert your scanned paper forms or digital files.
- Move text fields around, change headings, insert buttons, add, delete, and drag and drop form fields or enable fields for e-signatures. You can even add calculations and data validation rules to your form.
- Use JavaScript to enhance your PDF documents even more by adding calculations, validations, and assigned action buttons to your forms.
- You can email forms with fillable fields using a shared link, so you can view the status of replies and send reminders to people who haven’t responded.
Certificates:
Use certificates to encrypt documents and to verify a digital signature. A digital signature assures recipients that the document came from you. Encryption ensures that only the intended recipient can view the contents. A certificate stores the public key component of a digital ID. When you secure a PDF using a certificate, you specify the recipients and define the file access level for each recipient or group. For example, you can allow one group to sign and fill forms and another to edit text or remove pages.
Encrypt a PDF or PDF Portfolio with a certificate
- For a single PDF or a component PDF in a PDF Portfolio, open the PDF. For a PDF Portfolio, open the PDF Portfolio and choose View > Portfolio > Cover Sheet.
- Choose Tools > Protect > More Options > Encrypt with Certificate. If you don’t see the Protection panel, see the instructions for adding panels at Task
- At the prompt, click Yes.
- In the Certificate Security Settings dialog box, select the document components to encrypt.
- From the Encryption Algorithm menu, choose a rate of encryption, and then click Next.
The encryption algorithm and key size are version specific. Recipients must have the corresponding version (or later) of Acrobat or Reader to decrypt and read the document.
- If you select 128-bit AES, recipients must have Acrobat 7 or later or Reader 7 or later to open the document.
- If you select 256-bit AES, Adobe Acrobat 9 or later or Adobe Reader 9 or later is required to open the document.
- Create a recipient list for the encrypted PDF. Always include your own certificate in the recipient list so that you can open the document later.
- Click Search to locate identities in a directory server or in your list of trusted identities.
- Click Browse to locate the file that contains certificates of trusted identities.
- To set printing and editing restrictions for the document, select recipients from the list, and then click Permissions.
- Click Next to review your settings, and then click Finish. When a recipient opens the PDF or PDF Portfolio, the security settings you specified for that person are used.
Change encryption settings
- Do one of the following:
- For a single PDF or a component PDF in a PDF Portfolio, open the PDF.
- For a PDF Portfolio, open the PDF Portfolio and choose View > Portfolio > Cover Sheet.
- Select Tools > Protect > More Options > Security Properties. If you don’t see the Protection panel, see the instructions for adding panels at Task panes.
- Click Change Settings.
- Do any of the following, and then click Next.
- To encrypt different document components, select that option.
- To change the encryption algorithm, choose it from the menu.
- Do any of the following:
- To check a trusted identity, select the recipient, and then click Details.
- To remove recipients, select one or more recipients, and then click Remove. Do not remove your own certificate unless you do not want access to the file using that certificate.
- To change permissions of recipients, select one or more recipients, and then click Permissions.
- Click Next, and then click Finish. Click OK to close the Document Properties dialog box and save the document to apply your changes.
Remove encryption settings
- Do one of the following:
- For a single PDF or a component PDF in a PDF Portfolio, open the PDF.
- For a PDF Portfolio, open the PDF Portfolio and choose View > Portfolio > Cover Sheet.
- Select Tools > Protect > More Options > Remove Security. If you don’t see the Protection panel, see the instructions for adding panels at Task panes.
- If prompted, type the permissions password. If you don’t know the permissions password, contact the author of the PDF.
For more information click here.
Video Tutorial
This video tutorial demonstrates the techniques described within this guide relating to Forms in Adobe Acrobat DC.