Welcome to Wakelet!
This guide introduces the Wakelet tool, explaining what it is and how it can be configured. It also includes examples of ‘wakes’ to demonstrate how the tools can be used.
What is it and how to use it?
Wakelet is a free digital curation tool, it offers a way to collate online resources in one place, referred to as a ‘wake’. This allows users to organise content that shares commonality. Wakes can be used for instructional design, research, story-based learning and collaboration.
Teesside University educators and their students can curate websites, videos, images, links, and more.
Wakes can be created in a way to pool resources, allowing students to explore various information resources before, during and after a session. Wakelet is also an open platform, meaning students can explore wakes created by others (depending on privacy settings). Wakes can also be configured so that other users can contribute and add content allowing the Wakelet to become an even more powerful digital resource.
Wakelet also works with other digital educational platforms, including Microsoft Teams, OneNote and Flipgrid. This makes it very easy to integrate and work across resources.
Wakelet can be used individually or for group work. It can be used as an online tool or once complete can be exported to PDF so you can print or submit in printed format or as a digital document submission. Wakes also work well as infographic-style outputs so is ideal for in-lecture media.
Wakelet can be combined with other tools to create lessons that let students interact with content instead of just hearing a lecture or set of instructions.
For example, some suggestions for the use of Wakes in teaching, learning and assessment.
- Use it for research: Students can save links to content, take notes, and upload videos from YouTube or Google Drive.
- Use it to tell a story: Collect content from all over the web to tell a story about a current or historical event, and have students share collections with their peers and up-vote their favourite resources.
- Use it for formative assessment: Use Wakelet as a digital journal where they post content, upload pre-recorded video explainers, add photos, and even add items from Twitter, Adobe Creative Cloud.
How does Wakelet work?
Wakelet allows you to log into the platform via a web browser on nearly any device. Once logged in, it’s possible to start building your wakes.
Wakelet also has a Chrome browser extension. That means you can browse various resources as you would normally and then simply hit the Wakelet icon in the upper right corner and that link will be saved to any wake you pick.
How to use Wakelet
How to access a pre-created Wakelet
To access a pre-created Wakelet shared by academic staff or other students, users do not need to be registered with Wakelet.
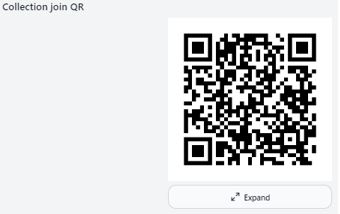
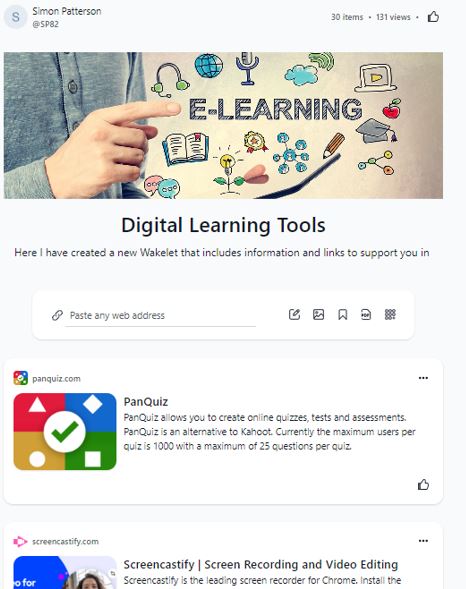
1. Simply open the Wakelet via the web address or QR code that will have been shared by the wake owner.
 |
 |
 |
How to create your own Wakelet collections
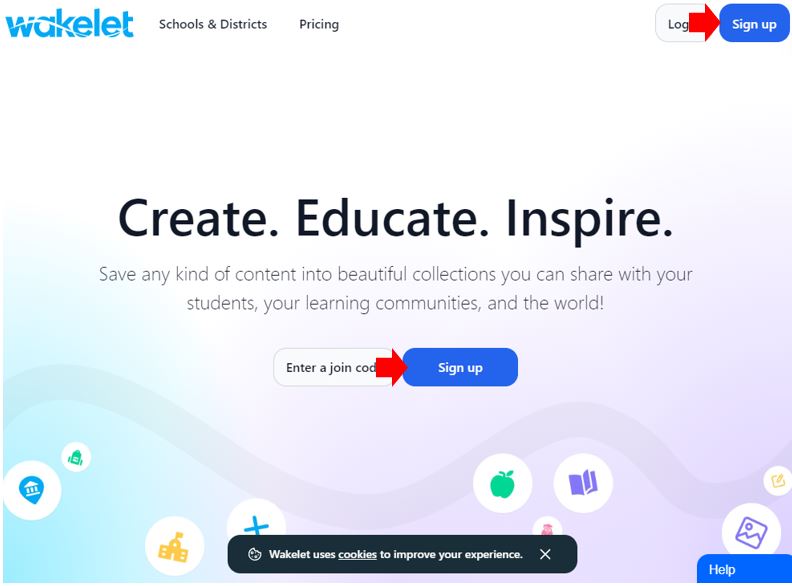
1. Go to wakelet.com
2, Click “Sign Up” (Not only is Wakelet available via a browser but is also in app form for iOS, Android, and Amazon Fire devices.)
3. Once registered, click “Create Collection”.
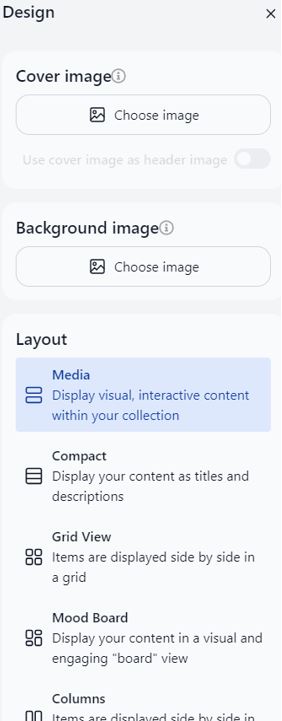
4. Use the “Design” button to configure your collection.
Give your collection a title and description.
5. Build your Wakelet by searching for content in your web browser.
a. Locate online content that you would like to add to one of your Wakelet collection/s.
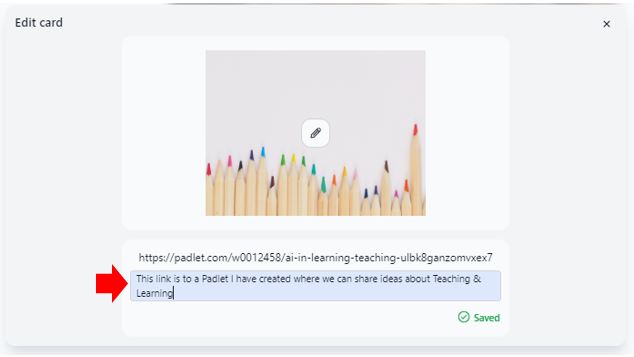
b. Copy the web address (URL) and paste it into your collection. Wakelet will automatically generate the wake entry.
c. You can update any entry in a Wakelet by clicking on the three dots and choosing Edit. The edit options include the image and description.
d. You can also re-arrange the order of the entries on the page using the navigation options in the edit menu or the three-line icon in the top centre of the entry.
6. Once finished adding content to your Wakelet, to share it with your students or colleagues, click the Share button.
a. Decide what level of access someone with a link or code has (Can View or Can Edit).
b. Select how you would like to share this resource (Copy Link, QR Code, Microsoft Teams or Google Classroom)
c. Decide what level of access anyone you invite has. Search for users by their email address and click ‘Send’.
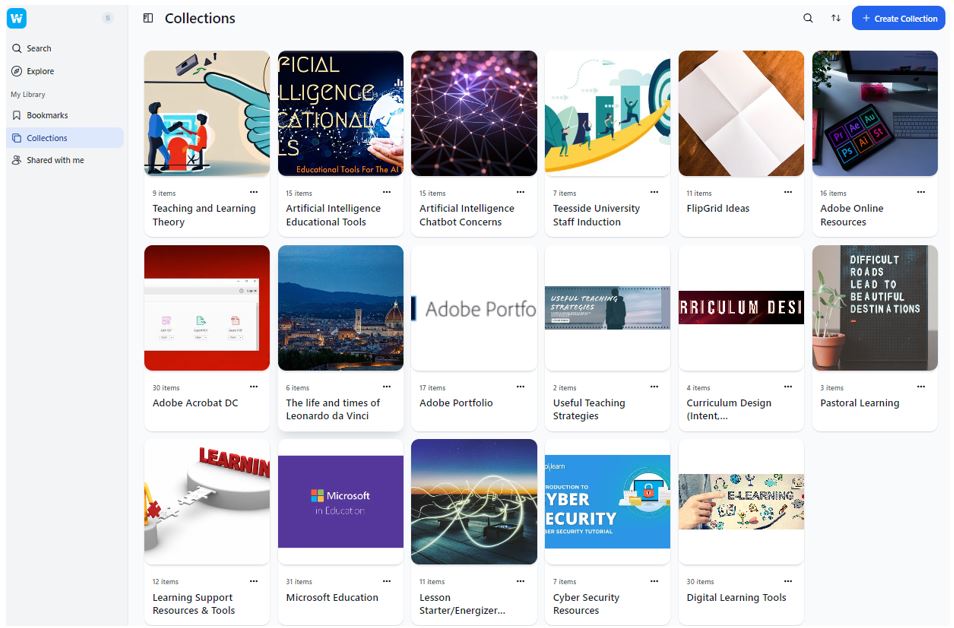
Examples of Wakelets set up by staff at Teesside University
- Artificial Intelligence Educational Tools: https://wakelet.com/wake/rGCqjxbmba2dq1kerp3XT
- The life and times of Leonardo Da Vinci: https://wakelet.com/wake/oIEqJDRmIA2uR32iiSp4I
- Lesson Starter/Energizer Activities:https://wakelet.com/wake/2-iYD5hRVFvd69G9qxTVN
- Digital Teaching & Learning Tools: https://wakelet.com/wake/UAwqEh84mVGRRQ8pnqdjm

