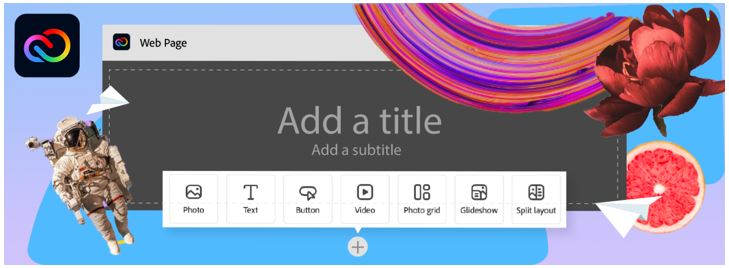
In this guide, you will learn how to create single-page web pages, host them, and share them publicly using Creative Cloud Express.
1. What is an Adobe Express webpage?
2. Video guide to setting up and developing an Adobe Webpage
3. Step-by-step instructions to setting up a new webpage
— a. Using a webpage template
— b. Starting from Scratch
4. Webpage development tools
— a. Photos
— b. Text
— c. Button
— d. Gifs
— e. Videos
— f. Photogrid
— g. Glideshow
— h. Split Layout
— i. Your Stuff (Importing)
5. Changing the theme
6. Previewing the webpage
7. Inviting Collaborators to an Adobe webpage project
8. Publishing an Adobe webpage project
1. What is an Express web page?
On Creative Cloud Express, you can create single-page web pages which can be hosted and shared publicly. It is ideal for projects such as portfolios, resumes, presentations, blog posts, and photo galleries. You can also use these web pages to showcase a product catalogue, advertise a special offer, or act as a weekly or monthly newsletter for businesses.
2. Video guide to setting up and developing an Adobe Express Webpage
The following is a brief video guide and demonstration to setting up a webpage in Adobe Express. The video has been split into chapters for you convenience.
3. Step-by-step instructions to setting up a new webpage
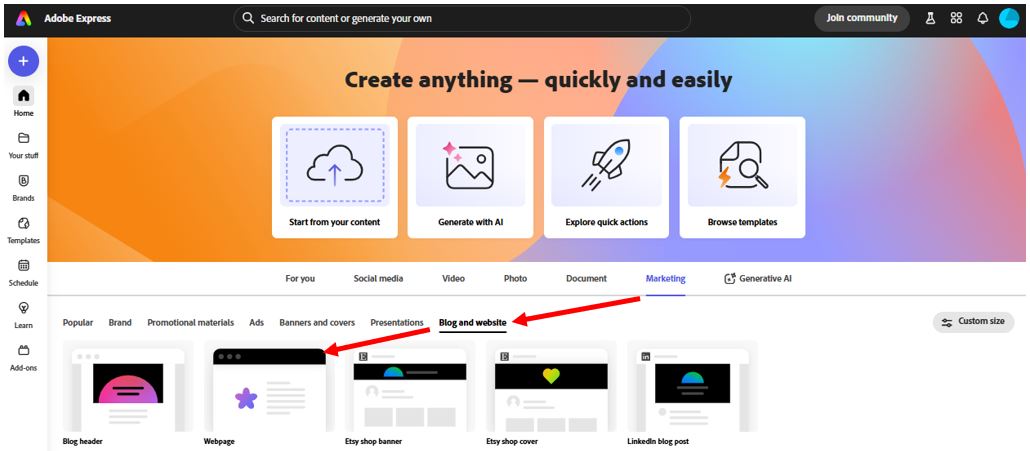
To create a new webpage, you will need to sign into Adobe Creative Cloud Account and launch Adobe Express (https://new.express.adobe.com/). On the homepage of Adobe Express, select ‘Marketing’ from the main menu, then ‘Blog and website’ and finally ‘Webpage’.
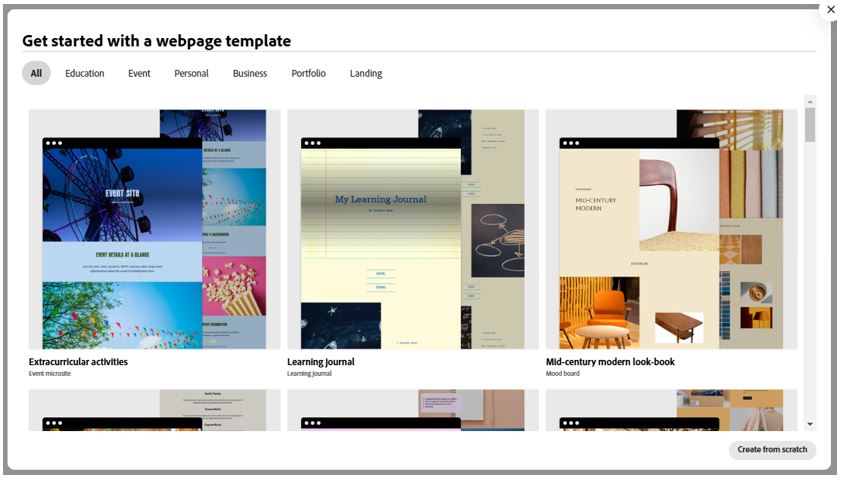
Next, select a webpage template from the exhaustive list of pre-created examples (organised by category) or choose the ‘Create from scratch’ option.
a. Developing a webpage from a template
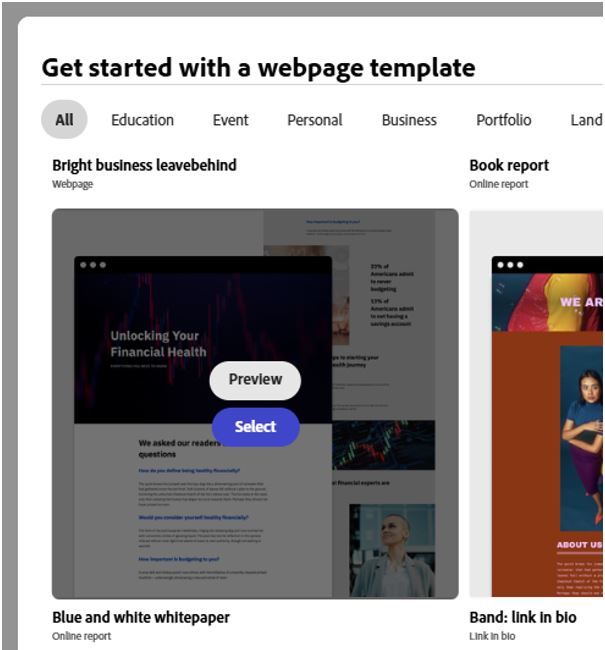
Once a suitable template has been selected, hovering over it will offer the option to either ‘Preview’ or ‘Select’ it.
Once selected, the webpage template will appear to allow the required content to be added. Please review the additional content.
b. Developing a webpage from scratch
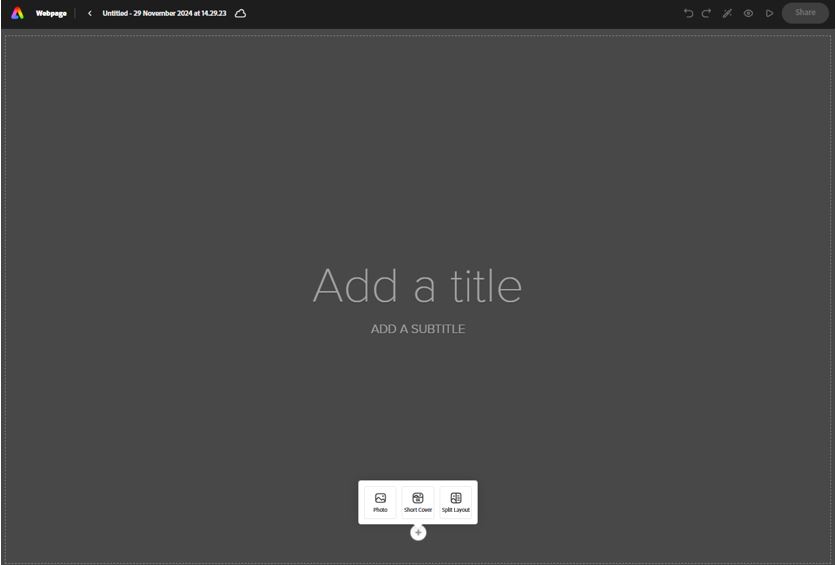
After clicking on the ‘Create from scratch’ option, a blank webpage will appear to allow the required content to be added. Add a web page title and subtitle to get started.
Regardless of which setup option has been chosen, new content can be added to the webpage in the following ways.
Selecting a short or full cover
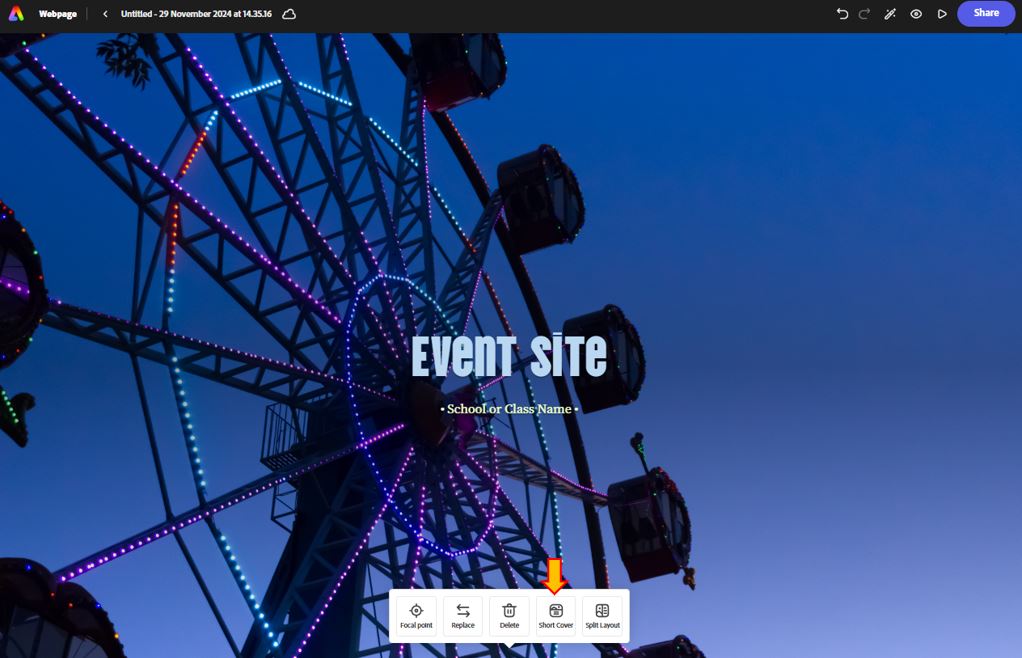
By default, all web pages created in Adobe Express will have a large cover (This will usually fill the entire screen). This is the first part of the webpage that a user will see when accessing this resource and it can be used to grab their attention. If a small cover section is required, hover or click on an area of the cover to bring up the Adobe Express Webpage context menu and select ‘Short Cover’.
This will reduce the size of the web page cover. It should be noted that by reducing the cover size, less content can be seen here.
Adding a Title and sub-title
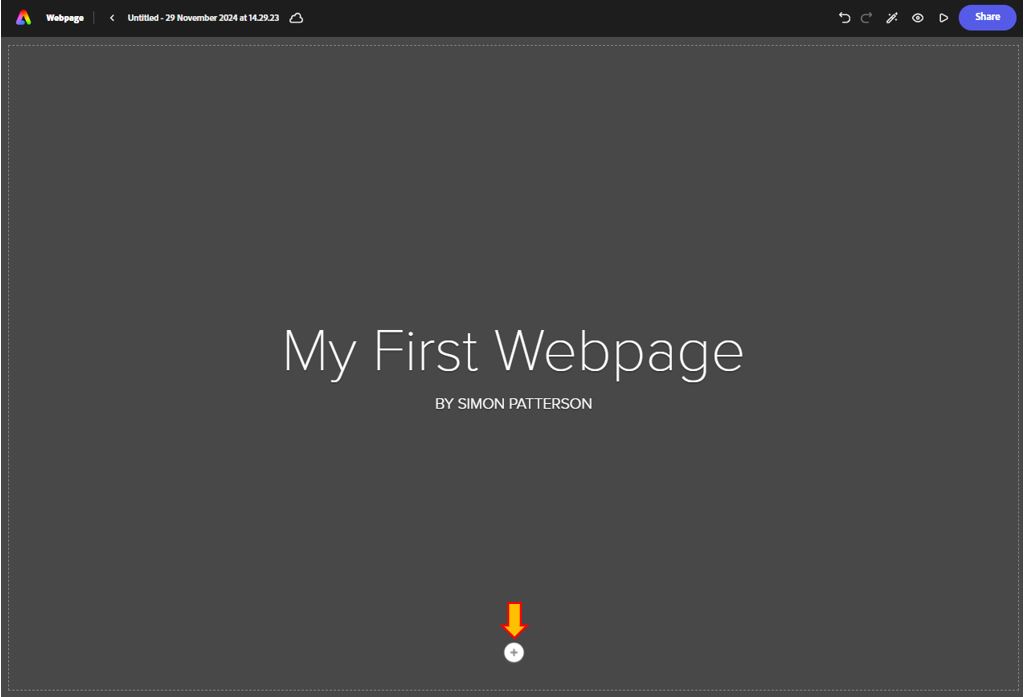
To start to build the webpage first add a title and sub-title.
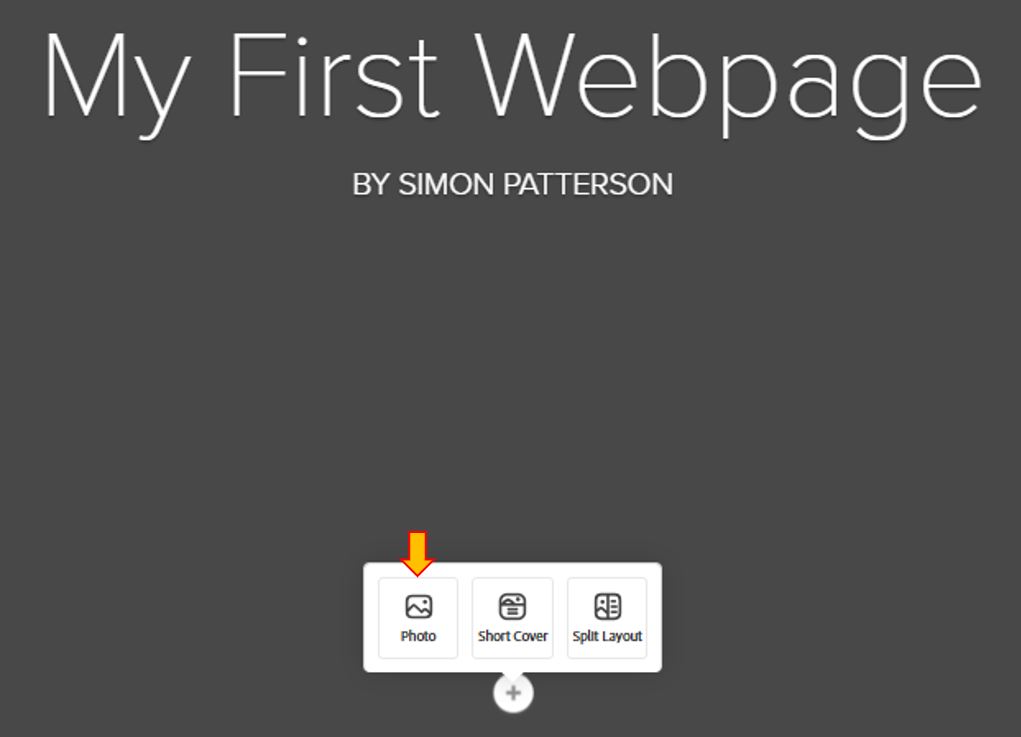
Click on the plus button and select the Photo option to add a background image to the title section of the web page.
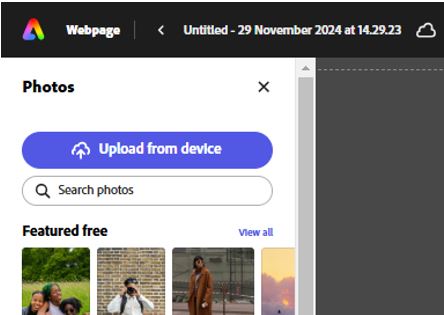
It is possible to add a photo by either Uploading from the device or Searching photos from the vast Adobe image repository.
4. Web page development tools
Once the title section of the webpage has been created, start to add content to the main body of the web page. This can be achieved by using the plus button displayed just below the title section. Clicking on any of these options will add a new section to the web page and open the associated context window.
Each of the features to add content and develop the webpage is explored below.
a. Photo: As previously mentioned, it is possible to search for free photos from Adobe Stock or Upload from a local device, images that are selected from Adobe Stock will already include ALT-text, for images that are uploaded by the user, will require ALT-text adding. Once an image has been inserted into the web page, several formatting options can be explored. These include:
- Inline: Displays the image aligned with the current content of the web page
- Full Screen: Displays the image filling the entirety of the browser window, if the browser window is resized then the image will resize to fill the resized window.
- Window: Displays the image across the width of the page however limits it height and is revealed as the web page is scrolled through (both upwards and down)
- Full width: Displays the image across the width of the page
- Move: Selecting move displays both an Up and Down arrow to allow you to re-organise content on the web page.
- Focal point: Drag the mouse pointer on the image to choose a focal point.
- Replace: Allows you to select a different image using any of the import photos options previously covered.
- Delete: Removes the photo from the web page.
There is also an option to add a caption on top of the image (in the bottom left-hand corner).
b. Text: Add your text and adjust the formatting and alignment option like a Word processor application. For example, assign H1 or H2 component to make a heading.
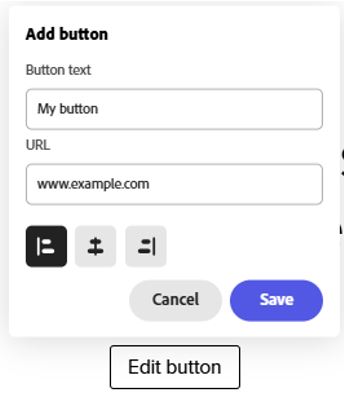
c. Button: Add a button text and assign a URL.
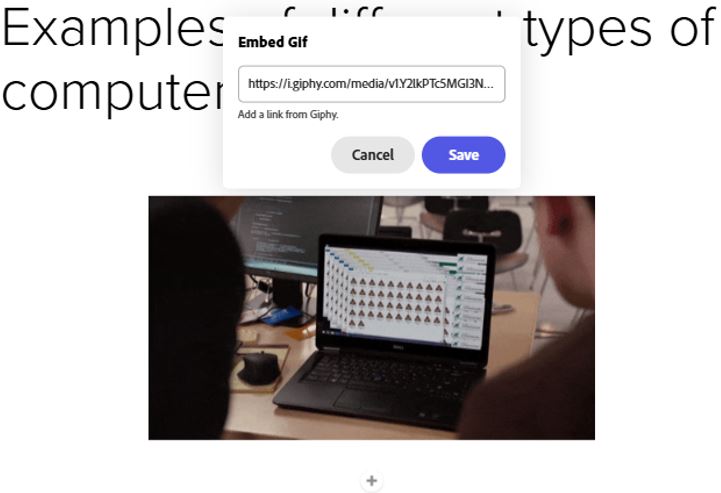
d. Gif: Add a link to a Giphy file (Such as from https://giphy.com/)
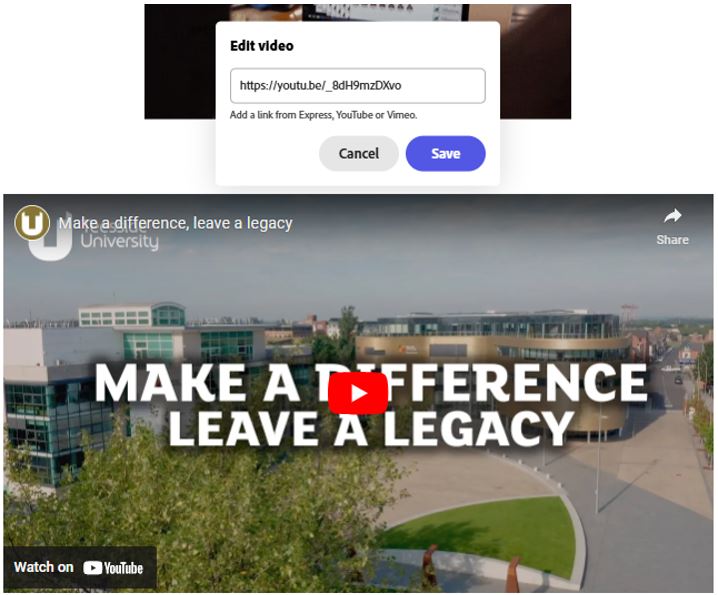
e. Videos: Add a link from YouTube, Vimeo, or Creative Cloud Express Video.
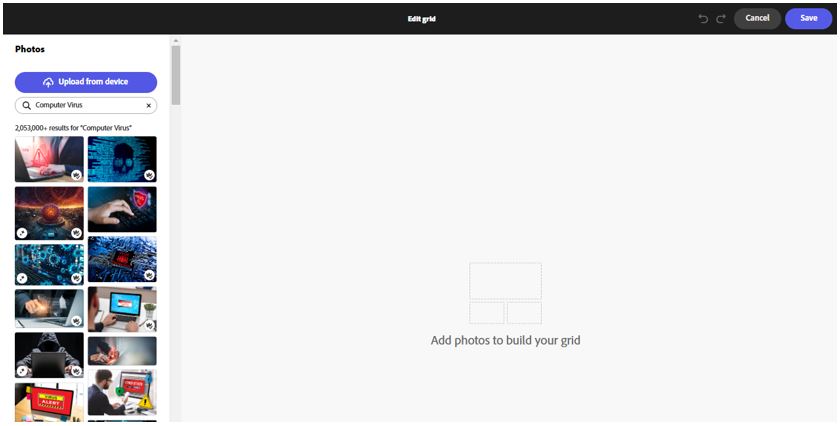
f. Photo grid: Add multiple photos to build your grid. You can move around the photos and adjust their size.
Once added, it is possible to add captions.
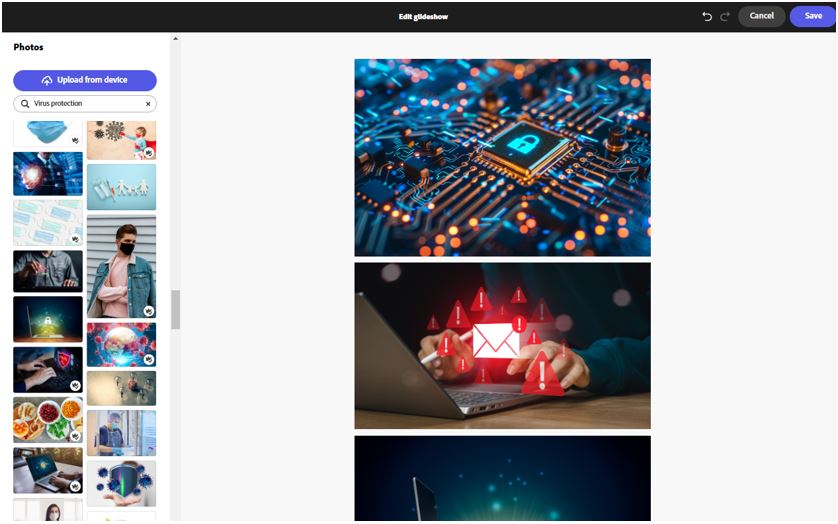
g. Glideshow: Glideshow gives you a beautiful new way to tell your story. First, choose photos.
Then add text, block quotes, images, and more.
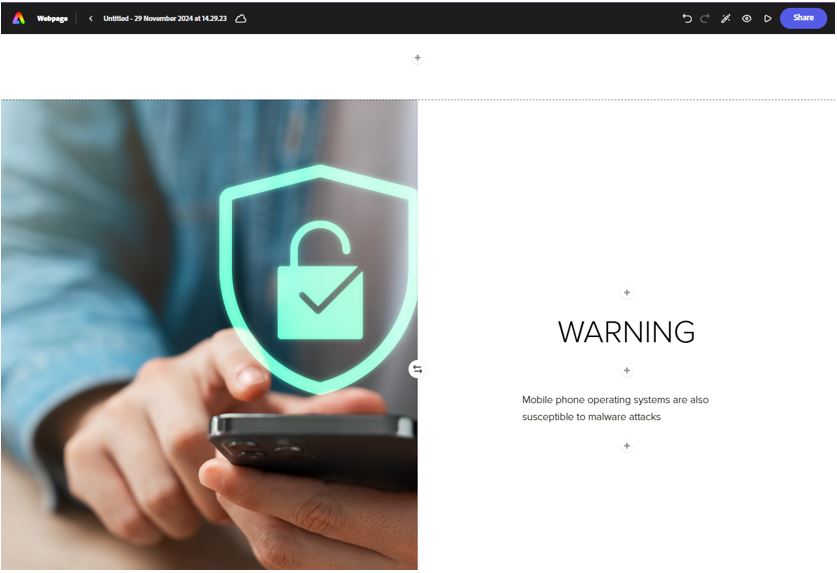
h. Split layout: One of the most useful features of Adobe Express web page construction. Use this component to split the screen in two, to allow two separate pieces of content to occupy the same webpage cross-section (for example, an image on the right and text on the left).
i. Your stuff: This option allows the importing of previously created and saved Adobe Express projects into the current web page that is being developed such an a video project or an infographic you have created that has relevance to this webpage.
5. Changing the Theme
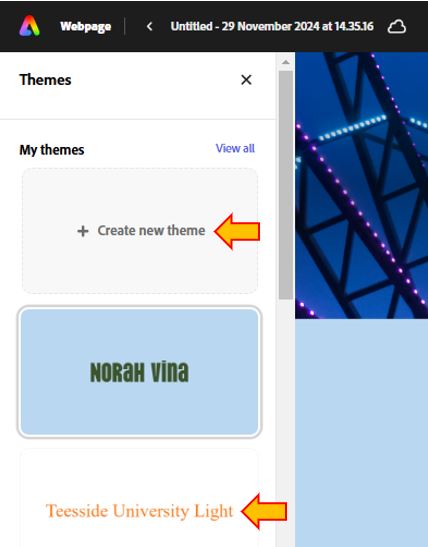
It is also possible to change the theme that is applied to the webpage. Press the Theme button.
Either select a different theme from the list of themes that appears on the left of the screen and choose ‘Create a new theme’.
6. Previewing the webpage
At any point during the construction of the webpage, it is possible to preview how the content will look when published. Press the Preview option to view the webpage.
To exit the preview, the cross in the top right corner of the page.
7. Inviting Collaborators to an Adobe Webpage Project
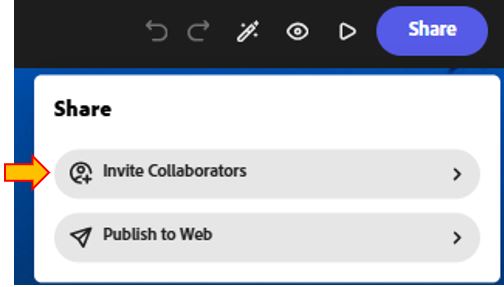
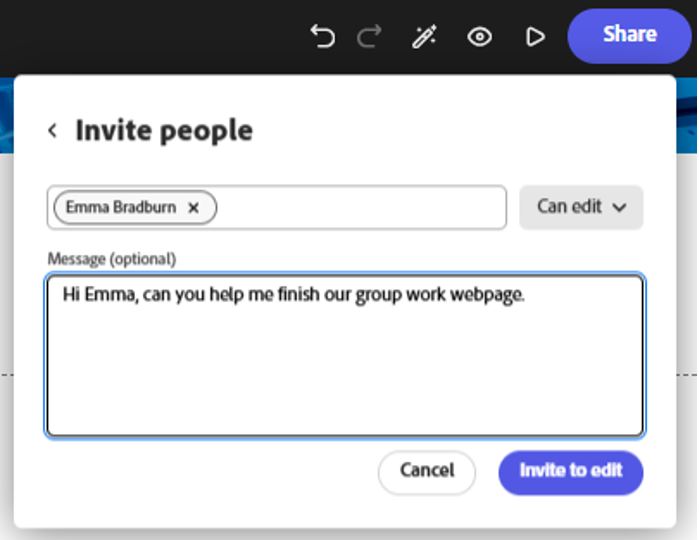
It is also possible to invite other staff and/or students to work collaboratively on an Adobe Express webpage. To invite others to collaborate on the project, click the Share button and select Invite Collaborators. Add users via their email addresses or if a member of Teesside University search by their name. Decide on the level of access each will be permitted and click Share.
You can also add an option message to be sent to the user as part of the invitation process.
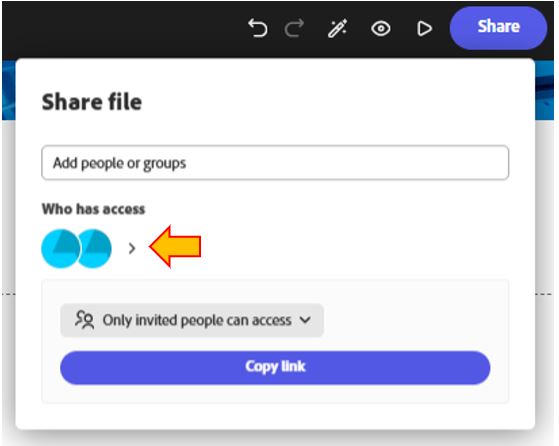
All users who have been added to work collaboratively on an Adobe Express page can be viewed by clicking on the Share button again.
8. Publishing an Adobe Webpage Project
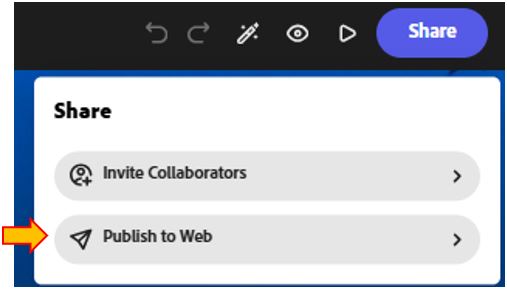
When your page is complete, to publish the site, click on the Share button and then choose the Publish to Web option. Your page is now ready to be shared across social media platforms, emailed, or added to newsletters and other publications.
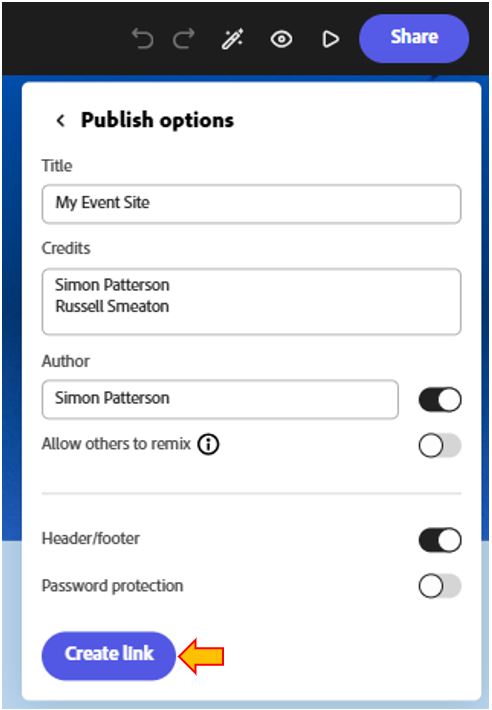
You will be asked to add details that relate to the new web page including:
- Title for the site.
- Credits.
- Author of the site.
- Allow others to remix: This option saves the webpage as a template that others can copy and redevelop as they see fit.
- Add Header and Footer to the site.
- Ass password protection.
Click the Create link button to make the site live and have a URL generated that can be used to access the site.
For more information please contact the Digital Learning Specialist team.
This guide was updated on the 10th of December 2024. Please note that due to regular SaaS updates, some features or instructions may differ slightly from the current version.

