Adobe InDesign: Text wrap & image reshape
After you add graphics to your InDesign project, you can wrap or flow text around graphics, shapes, and text files as well as reshaping those images.
Using the Select tool, click on the ocean graphic, select the frame of the image and not the content grabber. Although the text wrap functionality can be used so that the text doesn’t cross over the image an easier option might be to resize the text frame so that the text fits within a certain area but if you ever move the image or resize it, you will have to resize the text frame again. Instead, if you wrap the text around the image then the text will always wrap and stay the same distance away.
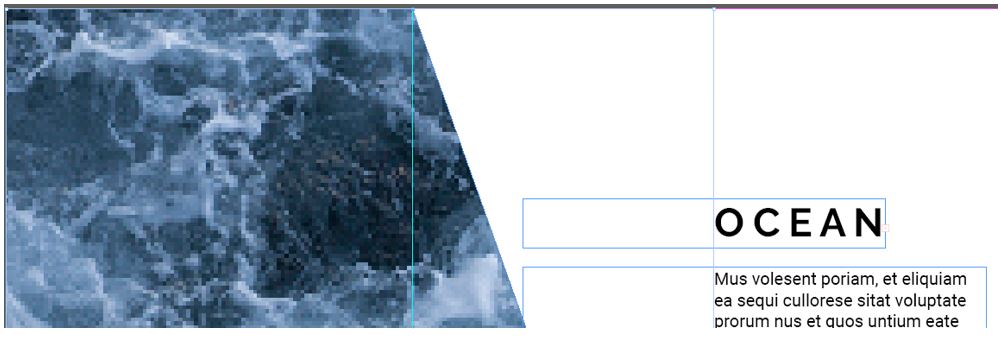
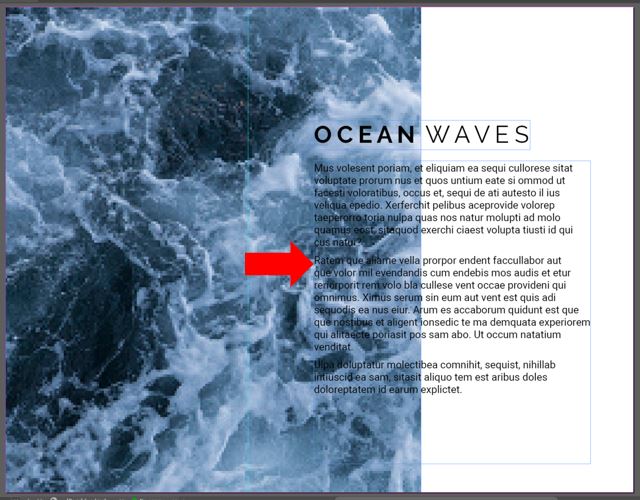
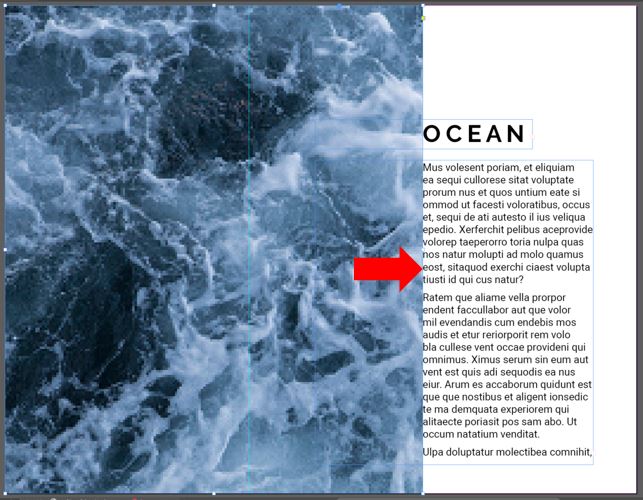
 When wrapping text around content, you apply the text wrap to the object that the text is wrapping around (to the image in this case). This way, if the image ever moves or you add other text, all text will wrap around it. With the image selected, in the Properties panel there are several wrapping options that can be used. The simplest text wrap option is to Wrap around bounding box of the selected content. Using this option, the text will no longer cross onto the image and instead stops at the frame edge. Now, even if the image moves, the text will wrap around the image. Using this option, the text although not over the image, still goes right up to the image frame.
 |
 |
|
Image and text with no text wrapping applied to the image |
Image after the Wrap around bounding box text wrapping option applied |
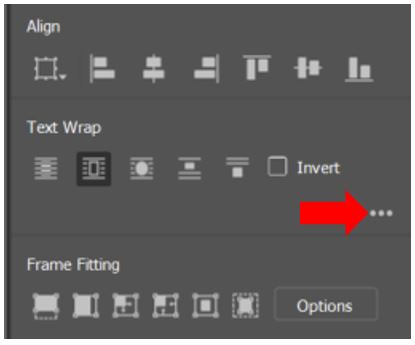 In this example, it would look better if the text was moved away a bit from the image. This can be achieved by applying an offset to the image frame edges (the top, bottom, left and right edges). Select the More options by clicking the three dots in the bottom right corner of the Text Wrap menu.
Clicking here opens the Offset values menu, by default changing one option automatically updates all offset values, however if you click Make all setting the same option off then you can change just one value (such as the right side of the text in the working example). Positive values move the wrap away from the frame and negative values move the wrap within the frame. Changing the value of the right-hand offset value will offset the text away from the image as shown in the above image.
Reshape Image Frame
Following on from the above text wrap, if the image of the ocean is now reshaped the text should re-wrap automatically.
 Select the Direct Selection tool by pressing the “A” keyboard key or by clicking on the icon in the menu and double click on the ocean image. The image selection tool will update and look like this.
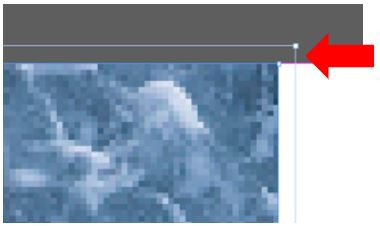
Hold the mouse cursor over the top right corner of the image and the cursor should change appearance and show a small square shape icon under the standard cursor icon. You can now click and drag to reshape the image.
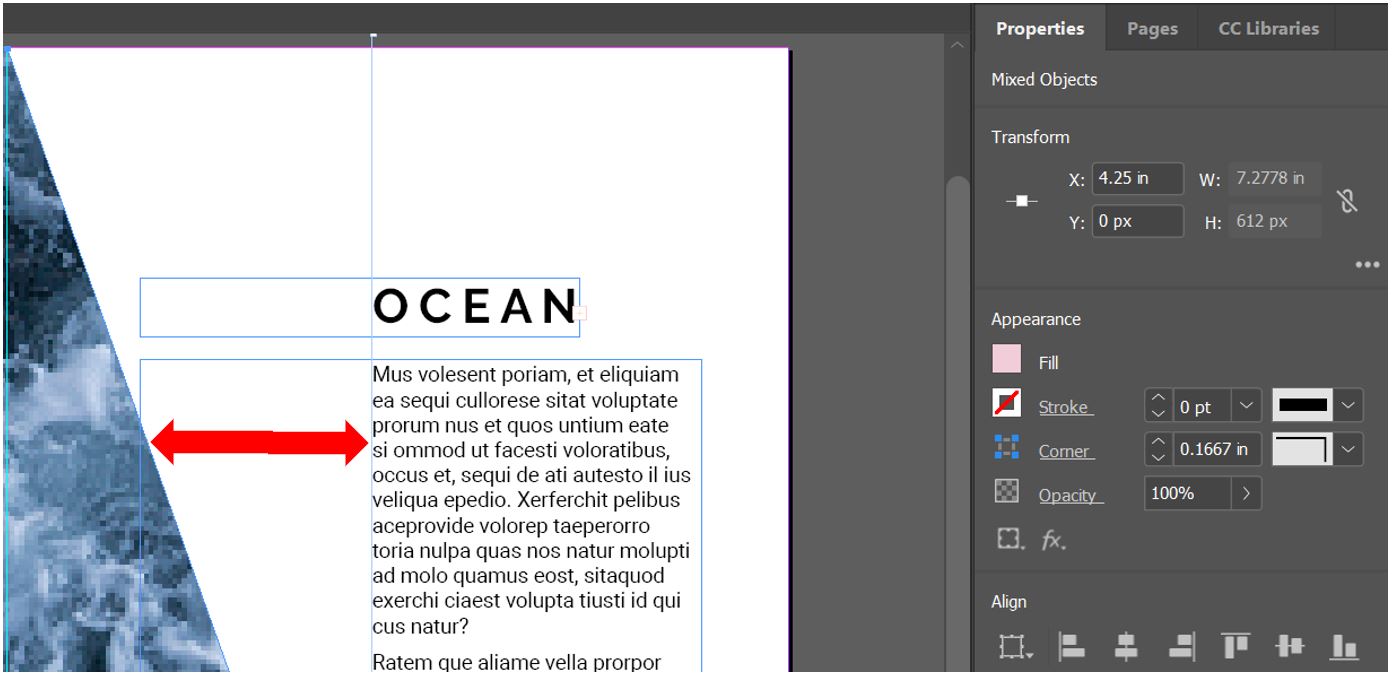
Although the image has now moved the text has stayed in position, this is because it is still set to wrap around the bounding box set around the image and not the image itself.
Select the Selection tool by pressing the “V” keyboard key or by clicking on the icon in the menu to ensures the frame is selected and not the image (you may have to double click on the image). 
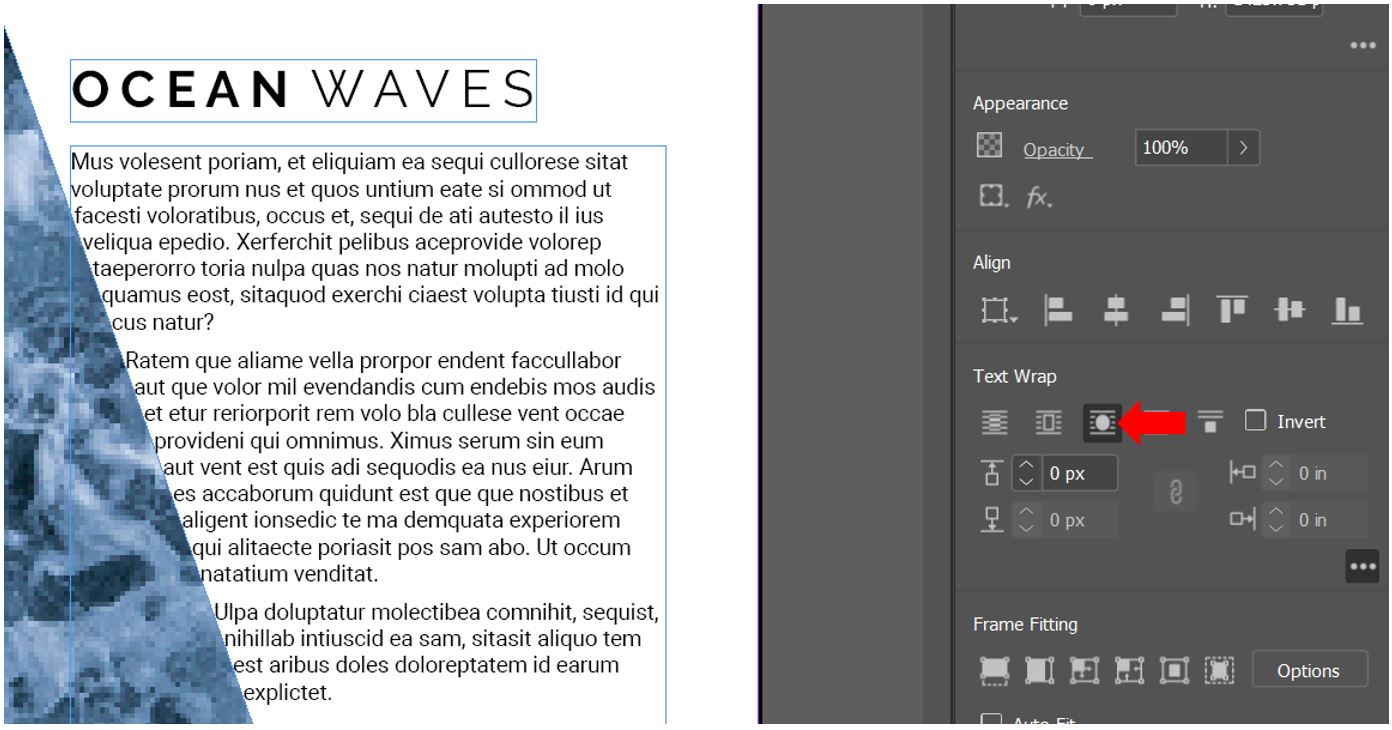
Now select the Wrap around object shape option,
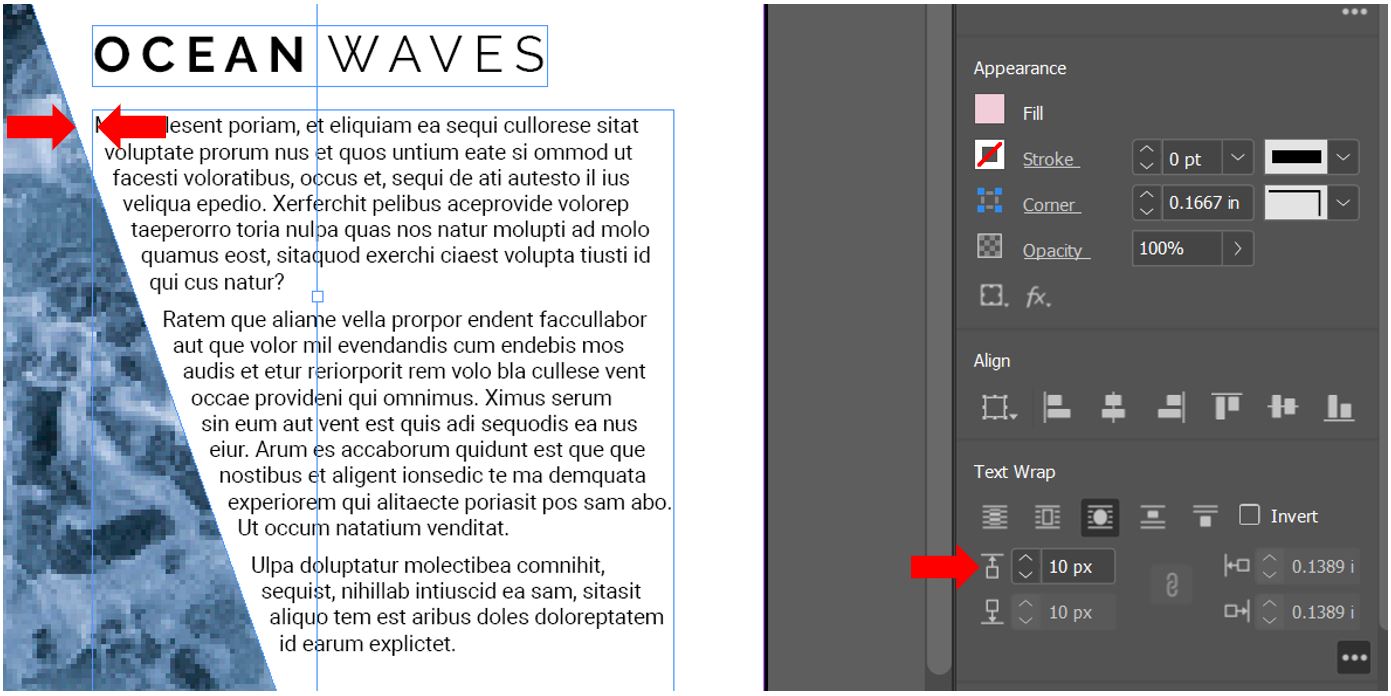
You will also want to add an Offset to move the text further away from the edge of the image.
When you wrap text around an object shape, there is only one offset value you can alter. To change the value faster you can enter an amount manually, tap the up or down value buttons or hold down the Shift key and click the Up Arrow.
Video Tutorial
Please see the following video tutorial that will walk you through both the process of wrapping text and reshaping images in Adobe Express.

