
Adding Text
Understand Frames in InDesign
Frames are used in InDesign as the building blocks to create layouts, they can contain images, text, and other design elements such as shapes with fill colours.
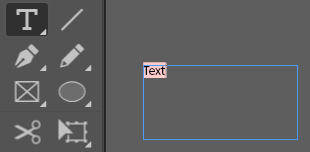
To add a text frame, click on the text button on the left-hand side of the screen, press and drag to an area where you want to create this content. Ponce you have created your frame a cursor will appear in the frame to allow you to add your desired text content.
There is also a Frames Tool that is available in the Tools menu that is used to create place holder frames, these are usually used for inserting graphics like inserting a picture or a logo. If you press and hold down on the rectangle frame tool (Notice the small triangle in the bottom right corner), you will see three different frame shaped tools that you can draw with. Any frame drawn with these tools will display with an X in the middle, this is to indicate that a graphic will go there.

The shape tools below the frame tools in the Tools panel are used to create shapes that can be used as graphic elements such as a rectangular shape that is filled with a colour, these are referred to as unassigned frames as they don’t contain text or graphic elements, although you can add text or graphics to them later. You can draw empty place holder shapes using these drawing tools and add text or graphics to these frames later.
Using the selection tool, we can select the text box with the words “The Grain” written in it. All text frames have 8 associated handles to offer the option to resize the content. There are also two extra frames, one is blue, and one is yellow. The blue frame used to anchor the object to another frame in the project and the yellow frame is used to modify how the corners of the shape look (such as rounding the corners).

Text frames also have import and outport handles to control how text that is written in other frames (such as an article written for a magazine that crossed multiple columns or is split by images) flows into and out of this frame. The box in the upper left is import and the box in the bottom right is outport.
Adding Text
Graphics can be placed in frames and can be resized and moved.
Open the Add_text.indd file to follow this part of the guide. Once the document has opened, draw a text frame, and add some text.
Learn the basics of using text in your Adobe InDesign documents, including adding text, creating columns of text, importing text, and flowing text from one frame to another.
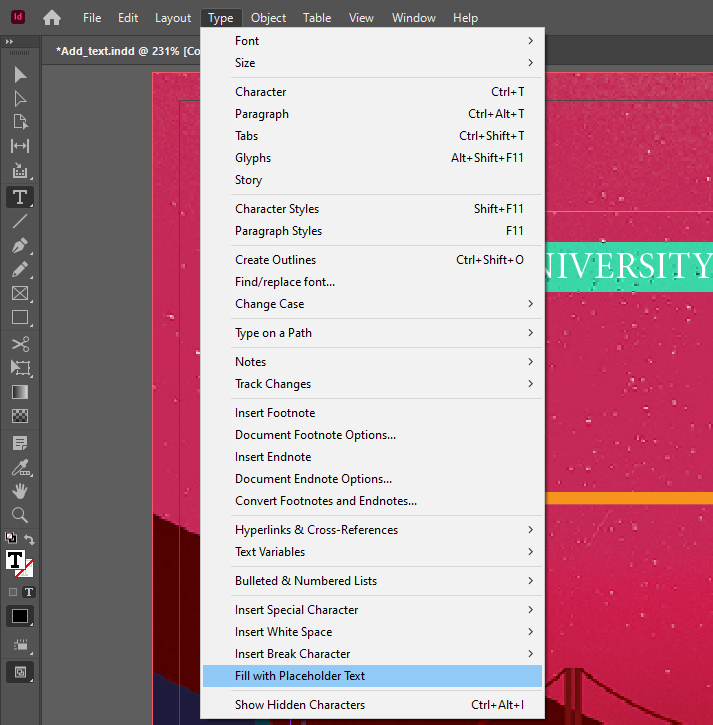
To add text to an InDesign document, select the Type Tools from the Tool panel on the left, on the document, press and drag to create an area for your text called a text frame, once done a cursor will appear in the text frame, type some text such as “Teesside University”. You can also copy & paste from another application, if you aren’t sure what type you want to add you can fill the place holder with temporary place holder text by clicking on the Type menu at the top of the screen and selecting Fill with Placeholder Text.
Once the text has been added you can place the text holder in a different location on the screen by dragging the text frame using the Selection tool. There are some alignment smart guides (like in Microsoft Office documents) to help you align with other objects on the document.
You can now select the text and in the properties panel to the right of the screen you can now modify various aspects of the font including size, colour, type etc.

Create Columns of Text
Create a text frame that covers a large area of the document (the width of the line below the title text). Add four lines of text such as “Every Tuesday, 6-8 pm, Art Café and San Francisco”. To resize the text frame to the exact size of the text double click the bottom middle handle to auto-resize to the exact size of the text.

To split the text into multiple columns, select the text frame, click the Object menu, and Text frame options.
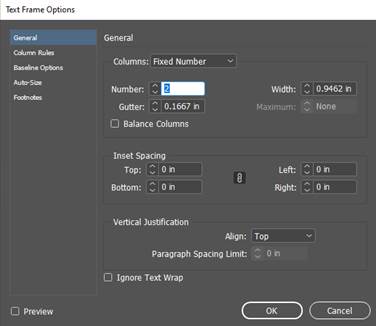
There are a lot of different options available including, splitting text frames into columns, pushing text in from the edge (inset spacing) and gutter sizes. Change the column number to 2 and press the preview to see how the changes will look before committing them.
To balance the amount of text in both columns click the Balance Columns to evenly distribute the text between the number of columns you have split the text frame into. The change the distance between the columns to update the value in the gutter. Once happy with the changes made click OK to commit the changes.
Formatting Text
Learn the basics of formatting text in Adobe InDesign, including changing font and font size, understanding the difference between character and paragraph formatting, and saving text formatting as a style.
Basic text formatting
InDesign is excellent in how it handles fonts and font formatting. When you open a saved document, you may see the Missing Fonts dialogue box, this means that you haven’t yet installed the font that’s are used in this document. In Adobe InDesign, any text that use fonts that are missing from your system will be highlighted in pink in the actual document, to see the pink highlighting you might need to drag the Missing Fonts dialogue box to one side of the screen or the other.
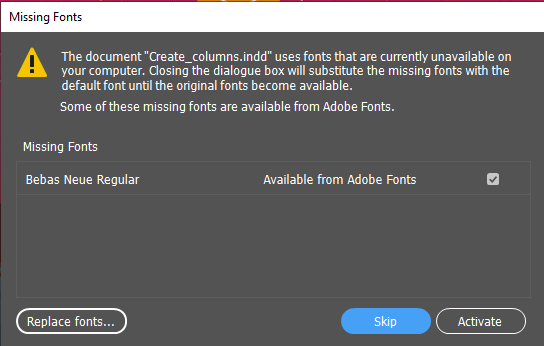
To fix the missing fonts, in the Missing Fonts Dialogue box click the Activate button to sync the Adobe fonts to your machine. Access to the Adobe fonts library is included with the Adobe Creative Cloud membership once the sync’ing is complete click Close. You can also choose to use an alternative font by clicking the Replace Fonts.
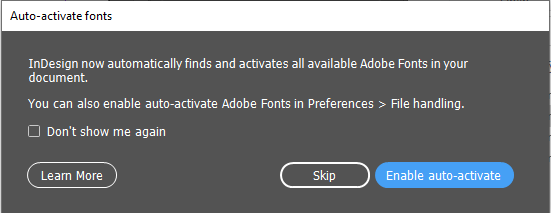
There is also an Auto-Activate fonts setting that when enabled will automatically download and install any missing fonts that a document you open might include.
Select the bottom text frame and zoom in to see the text (there is a zoom in feature in the bottom left of the Adobe InDesign application or press Ctrl & +). In the Properties panel on the right of the screen you will see a Character section for the formatting and a paragraph section for the formatting.
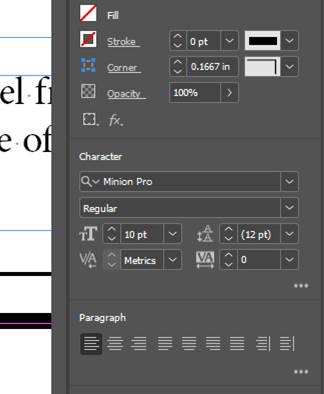
Character formatting is formatting applied to the character level, for example the individual letters and numbers. This type of formatting applies to whatever text is selected, this could be a single letter, a word, or a series of paragraphs. Adobe InDesign includes options to control the Letting value which changes the distance between baselines of text. Kerning value can also be used to change the space between two characters.
To select all text in a frame you will need to click the mouse four times. To move around a document whilst zoomed in, hold down the key to access the hand tool temporarily.
