
What is Microsoft Loop
Microsoft Loop is a new tool designed to support and enhance collaboration and transform how we work together. It allows users to share notes, files, images and many other digital artefacts in shared spaces within Office documents.
Microsoft Loop improves productivity by enhancing collaborative possibilities, across various Microsoft applications and devices. It combines a powerful and flexible workspace with portable components that can be shared seamlessly and will stay in sync, allowing staff and students to work, plan, and create together.
Microsoft Loop is designed to serve as a central location for collecting content from various applications. It aims to provide a unified space where groups of staff or students can organise and manage their collaborative work efficiently.
For example, an event sign-up table can be shared across:
- Teams
- Emails
- Links in other resources.
The staff and students can then add information from any of these locations to the table. This will help to reduce duplication of resources and the need to search through other applications to locate the required information.
How to access Microsoft Loop
Microsoft Loop can be accessed at:
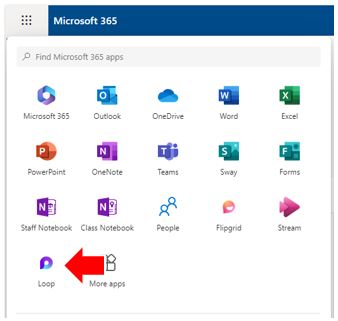
- https://office.com via ‘App launcher’ (you may have to search for it the first time you access it from here).
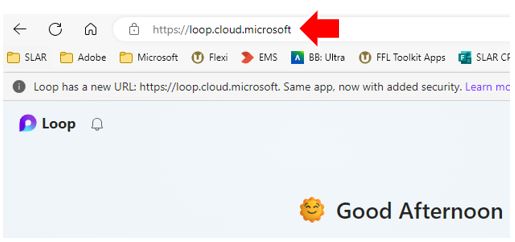
- https://loop.cloud.microsoft/ is the direct URL to access the application.
- Installing the Loop app from the Microsoft App Store.

Main elements of Microsoft Loop.
These are like blocks that move to different locations and always have up-to-date information. You can share loop components in many ways, like on a Loop page, in a chat or email, or even during a meeting or when working on a document. Loop components can look like task lists, tables, notes, progress trackers and more.
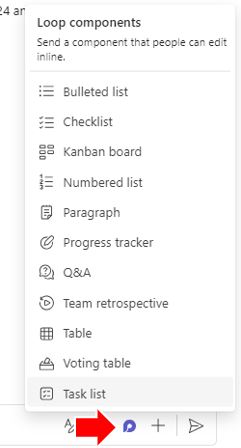
Various Microsoft Office applications support Loop components with more being added regularly. For example, clicking on the “Create Loop component” in Microsoft Teams allows new Loop components to be created from within this application that can be managed both within Teams and from the user’s Loop application.
Access Loop tasks from the messenger menu in Microsoft Teams
Open the Microsoft Loop application and select the ‘Recent components and pages’ option. All previously created Loop components can be managed from this one place.
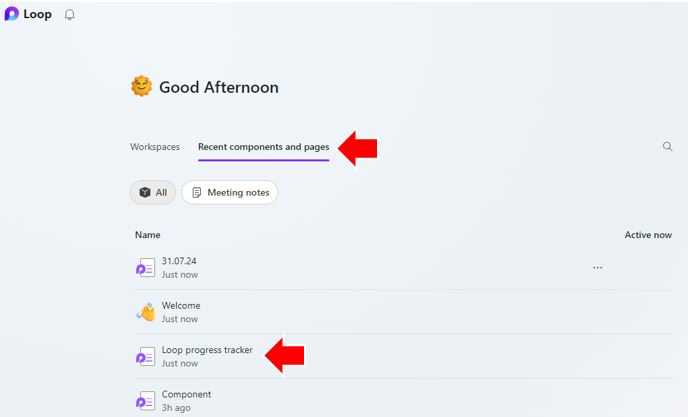
Regardless of where you created the Loop component (in Teams, Outlook, Word or Whiteboard), it will still appear here along with every contribution from each of the locations where the Link component is shared.
Loop pages are like flexible web pages. They allow you to bring people together with all the created components, links, tasks, and data. It is possible to share loop pages across various Microsoft Office apps by sending a link or embedding a Loop component. Loop pages can be made up of many Loop components, text, rich media and links.
In Loop pages, you can,
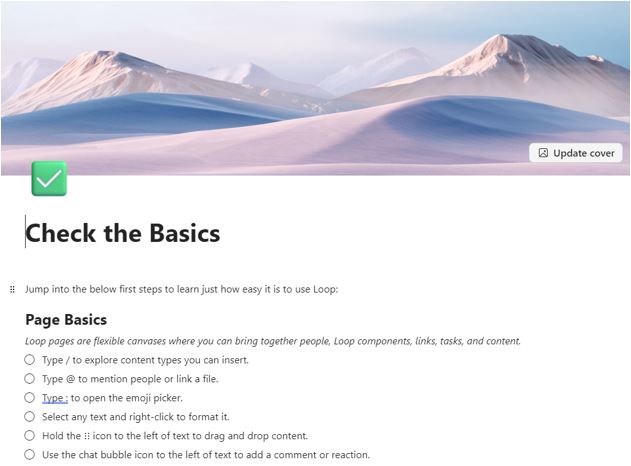
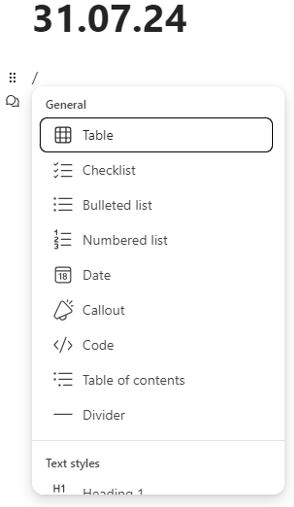
- Type “/” to explore content types you can insert.
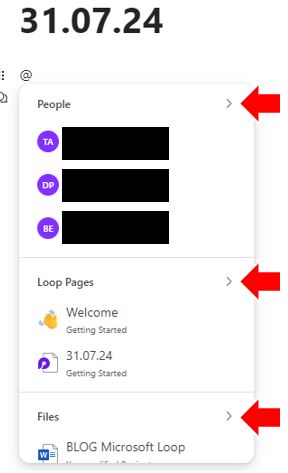
- Type “@” to mention people or link a file.
- Type “:” to open the emoji picker.
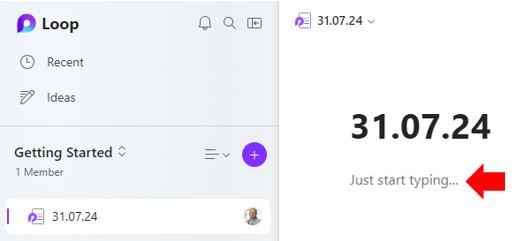
An example of a Loop Page
2.1 How to create a Loop page
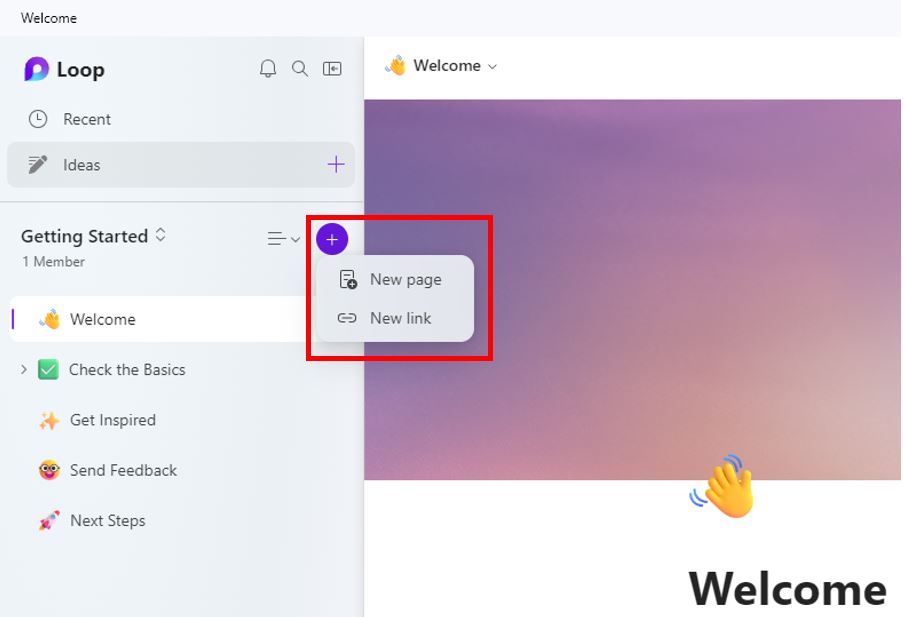
Get started by clicking on the plus button to set up a new page or link.
When creating a new page several useful pre-created Loop templates can be used, these are listed at the bottom of the page with access to even more templates via the ‘Template Gallery’ option.

For example, the ‘Meeting Notes’ template may be extremely useful to capture common outcomes from a team project meeting.
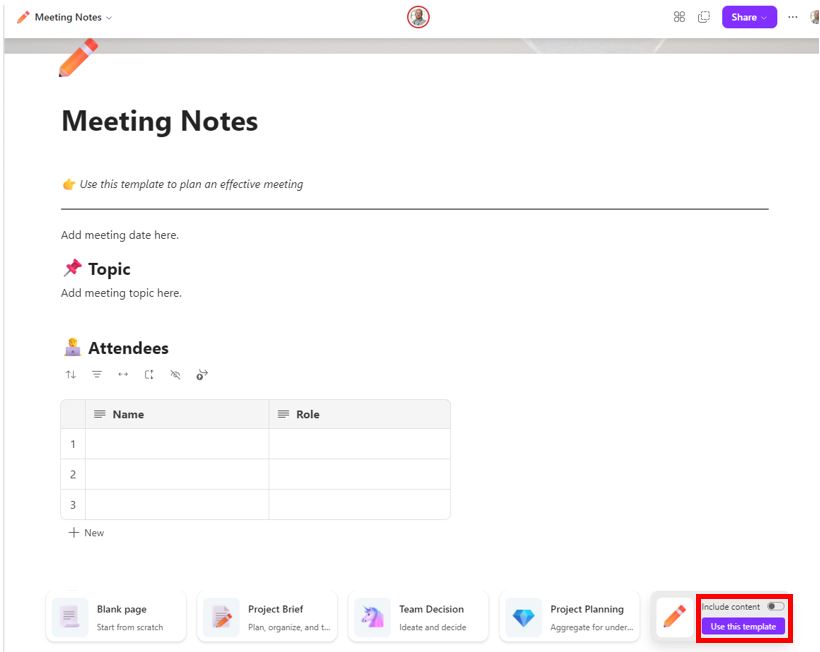
There is also an option to populate the template with exemplar content by toggling the ‘Include content’ switch. Click the ‘Use this template’ button to start working with this Loop template.
If you would prefer to start with a blank Loop page, click the ‘Blank page’ option.
2.2 Adding content to a Loop page.
To add content to a Loop page simply start typing text as you would in any other document.
You can tag staff, link to other Loop pages or link to files by using the @ character.
You can also use the slash character (/) to insert additional content including:
-
- General insert Office options (Tables, Checklists, Date, Lists etc.)
- Text Styles (H1, H2, Quote etc.)
- Templates (Task list, Voting Table, Progress Tracker, Q&A session etc.)
- Communication (@ Person, Emoji picker & Lable)
- Media (Image & Record Video)
- Microsoft Apps (GitHub & Planner)
- Other Apps (Jira & Trello)
- Other (Inline Code)
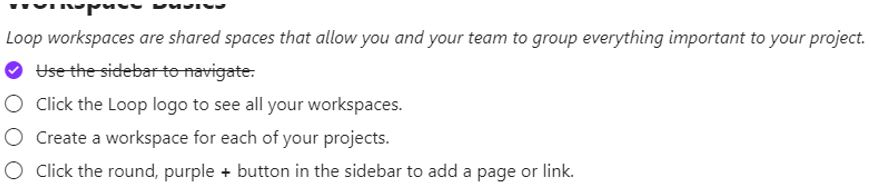
Loop workspaces are like virtual areas for you and others to collaborate. With shared spaces, it’s easy to keep track of what everyone is working on, catch up on progress, and stay focused on your shared goals. A workspace can be made up of multiple Loop pages that share a commonality.
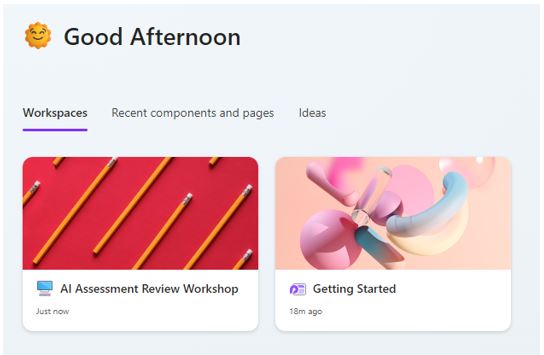
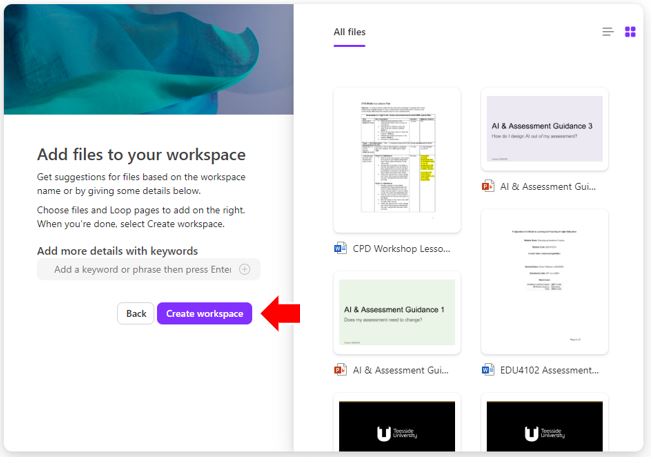
An example of a Loop Workspace
When creating a new workspace, based on the name it is given, Loop will scan your digital resources for those it thinks might be of use to include.
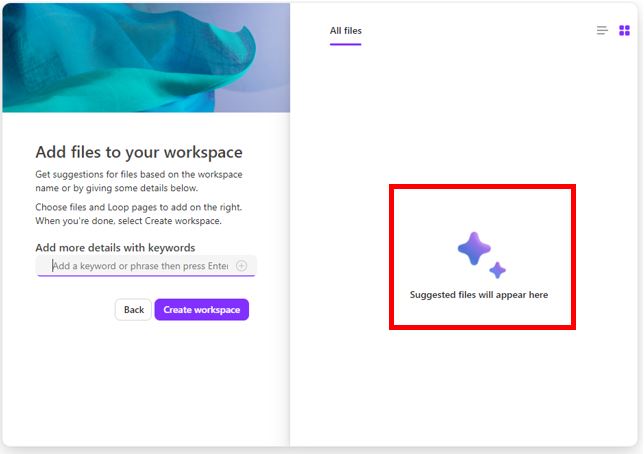
You can select which files to include within the workspace from this list or choose not to include any previously created files. Click ‘Create Workspace when ready.
Sharing Loops
Sharing information between Microsoft Office Apps and users can be a difficult and confusing process. The ‘share’ function isn’t always in the same place and even when a resource is shared, the share permissions must also be set correctly.
Once you have created content in a Loop page to share with other staff, click the ‘Copy as a loop component’ button.
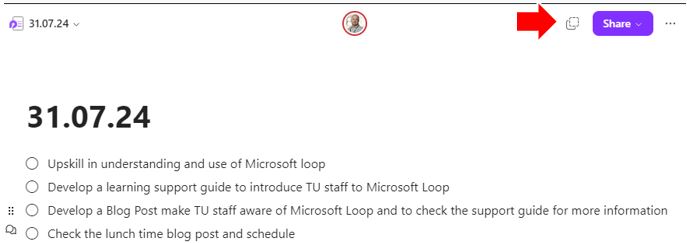
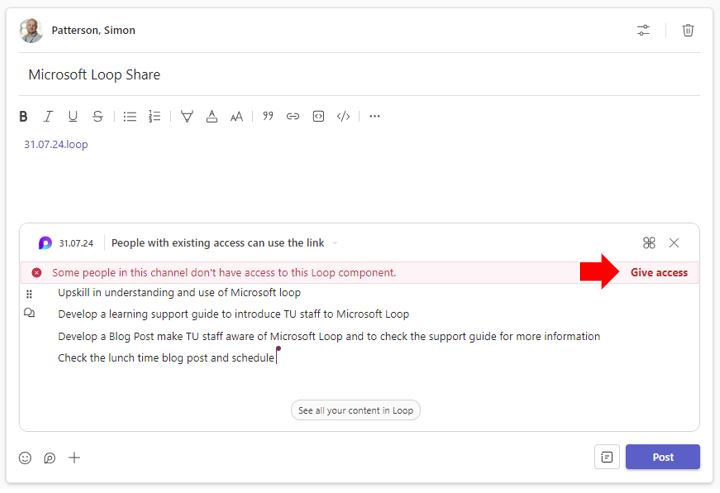
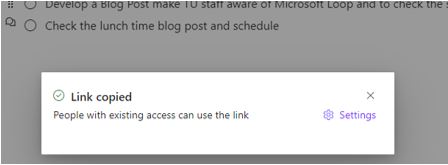
You will be informed that the link has successfully been copied.
Pasting the link into other Office applications (such as Teams) will provide the shared content inline and if there are any permission-based problems, Loop will identify these and in a much-simplified process, simply clicking on ‘Give Access’ will resolve the problem.
Possible ways to use Microsoft Loop to collaborate.
The following are five common uses for Loop components. But once you get started, you’ll likely discover new ways to help your team work more efficiently together.
1. Co-authoring:
Students can use Loop to work collaboratively on office content. Use Loop components to work the intro to a presentation, an upcoming social media post, or even an important email to a module leader.
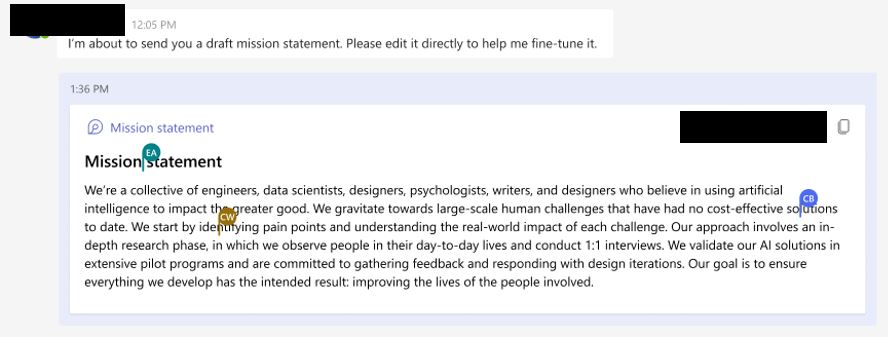
One of the best features of Microsoft Loop is its ability to facilitate collaboration across different Microsoft Office applications in real time. Students can collaborate simultaneously on documents, spreadsheets, and presentations within the Loop workspace, breaking down traditional silos between different tools, enhancing productivity and streamlining communication by offering an ecosystem where changes are reflected instantly for all collaborators.
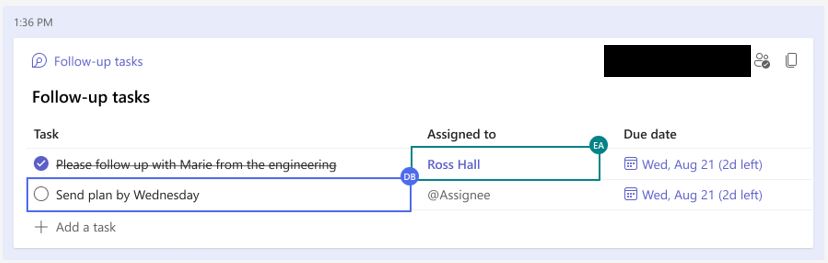
2. Setting up To-Do-Lists and assigning tasks:
Microsoft Loop streamlines the process of task assignment, sharing, and tracking, thereby enhancing team collaboration.
The ‘Task List’ feature of Microsoft Loop enables students to assign various duties to members of the group work team.
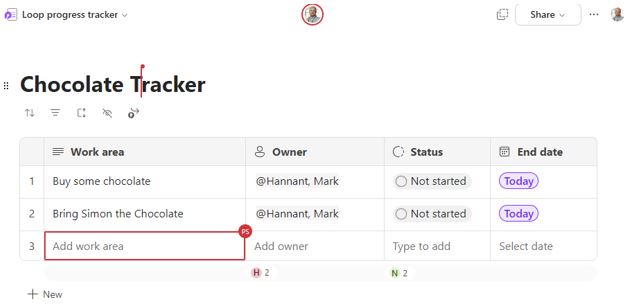
Once a ‘Task List’ component has been created, in the first column, list the various tasks that need to be completed (such as researching current solutions, identifying costs, testing, and so on). In the second column, list the names of the team members to delegate the respective tasks. Once tasks are complete team members can mark them as done.
Using this method supports collaboration and simplifies project management.
3. Tracking the progress of a project:
The “Task List” component not only allows you to assign roles to project team members. It can also be used to easily track the progress of the project.
In the last column of the “Task List” table, it is possible to indicate a due date for each task listed so, everyone knows what they must do, and by what date.
This also allows all members of the group work monitor the progress of the project and provides evidence of their input when evaluating the part they played.
4. Managing projects:
The task list component offers a way to assign work with due dates to people on your team. (Be sure to @mention them so they’re notified they have a task.) When work is completed, each person can mark their task as done.
5. Create various lists:
With Microsoft Loop, improve collaboration by simply compiling the data you need to work together.
For example, it is possible to create:
- A list of tools to know.
- A list of project deliverables.
- A list of potential project concerns.
- A list of roles and responsibilities.
To create clean lists, use the “Bulleted List” component.
*NOTE to create more detailed lists, use the “Table” module. This will allow you to add tags, URLs, comments and dates.