
Best Practice Guide for Creating Content in Blackboard Ultra
This guide will look at some best practice guidance for populating your Blackboard Ultra courses.
Before you begin
Rather than simply uploading content into your new course, it is strongly recommended you plan in advance. Do you want your content to be structured in a specific way – for example, by week or by topic? A good starting point is to simplify content as much as possible. Put yourself in the position of the learner. As you develop the course, you can start to add complexity as appropriate.
Containers
A handy way of organising your content is to think of material in chunks, or containers. These containers can be realised by using Learning Modules and Folders.
Learning Modules
Learning modules can be organised around a topic by building up a collection of content items. Learning modules provide a separate navigation allowing students to progress through the content sequentially helping them stay on task.
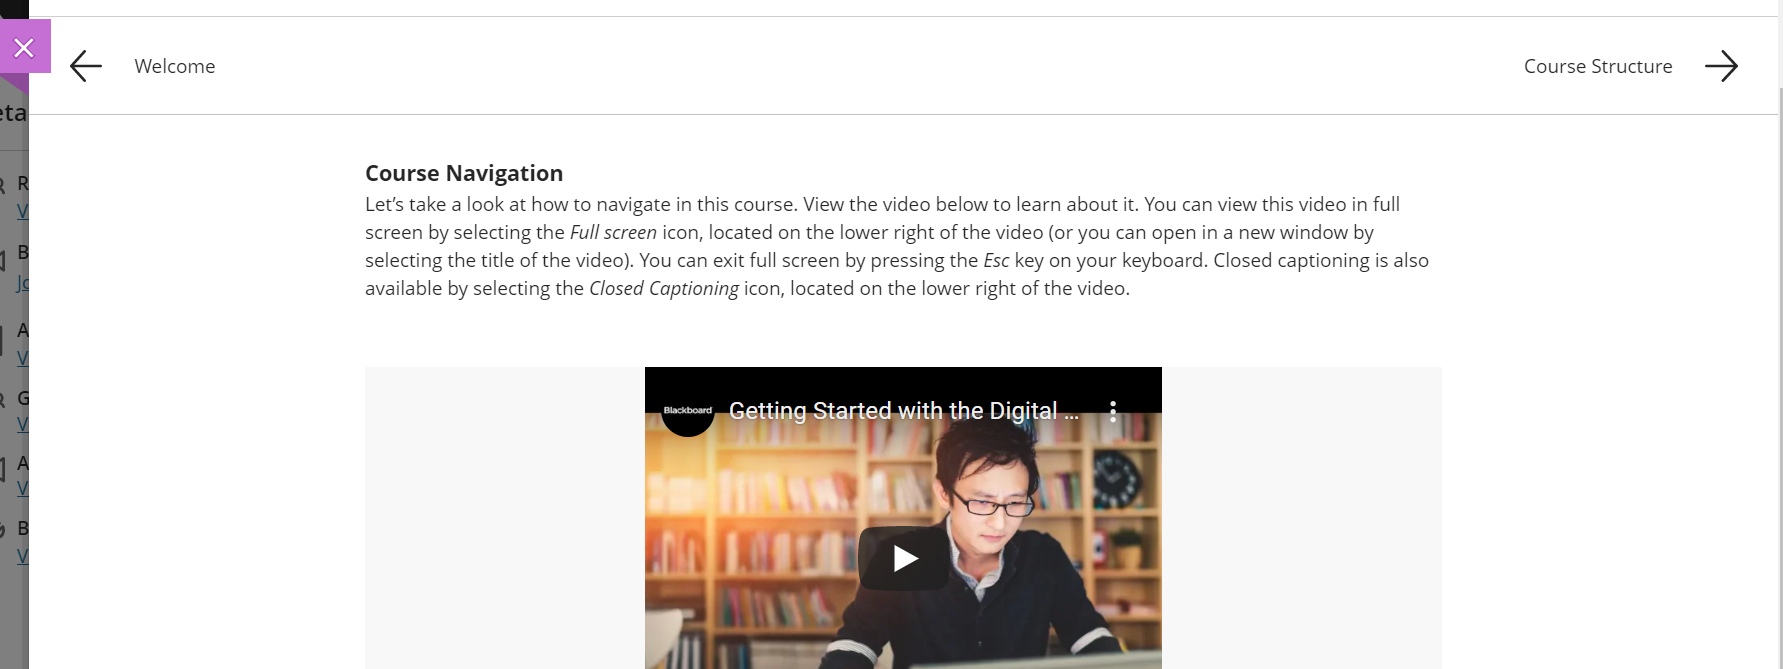
An example learning module with navigation controls.
A Learning Module can consist of any content items such as Files and Documents with text and media. Interactive items such as tests and discussion boards can also be added within the Learning Module learning design. To create a Learning Module:
- In your course, ensure you are in the Course Content area.
- Hover your mouse over the location where you want to create your folder.
- Click the purple PLUS icon and select Create from the menu.
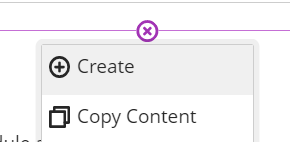
Adding content to the course area
- From the side panel, you can now choose Learning Module.
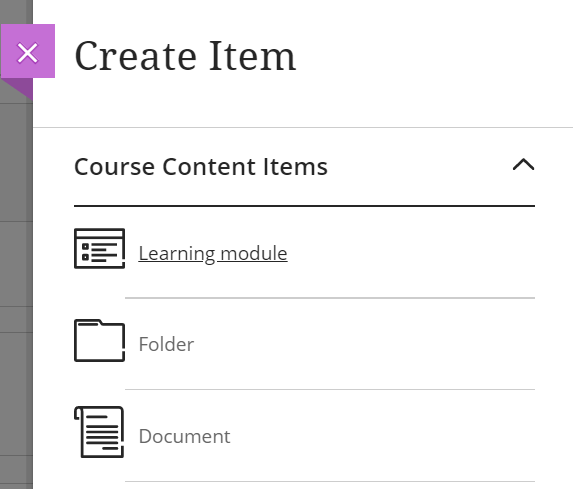
Create course content items
- The Learning Module will appear where you clicked the purple icon.
- Hover your mouse over the name (by default this will be New Learning Module), click the pencil icon and rename the learning module.
- Decide if you want it visible to students or not (by default it isn’t available).
- Consider giving it a description.
- It is also possible to define a sequence for viewing content in a set order only.
- Now you are ready to start building content within the learning module by simply selecting the purple plus icon under the description and choosing your required content items.
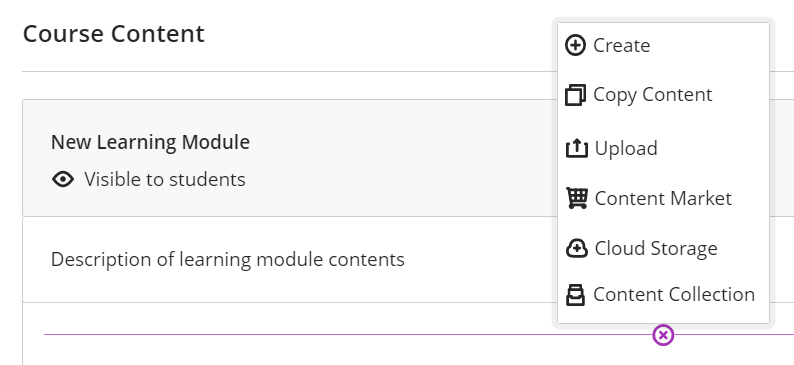
Adding content to a Learning Module
You will need to preview the navigation of your Learning Module content in Student Preview mode. To delete a learning module, hover your mouse over it and click the three dots that appear. You can now select Delete.
Further guidance on creating Learning Modules
Folders
Before you start creating folders, keep in mind Ultra allows for a “two deep” folder structure in keeping with the mobile first approach. If this has impact on your course design, you might need to re-think your approach.
To create a folder:
- In your course, ensure you are in the Course Content area
- Hover your mouse over the location where you want to create your folder
- Click the purple PLUS icon and select Create from the menu
- From the side panel, you can now choose Folder
- Give it a name, decide if you want to make it visible to students now or later
- Consider giving it a description
- Click Save
- To add content to the folder simply click on the purple PLUS icon underneath the folder.
You can edit or delete the folder at any time. Hover your mouse over the existing folder, click the three dots that appear and now choose either Edit or Delete.
Further guidance on creating Folders and Containers
Content Types in Blackboard Ultra
Once we have set up containers for content within Ultra we can now add content. Content types in Ultra including Files and Links. There are now some new content types Documents to create mobile responsive pages and Ally for accessible content. The Text Editor is a feature used throughout Ultra for adding content.
Documents
Documents in Blackboard Ultra are web pages that can be built into your course content. By using this item type, you are ensuring a better experience for your learners over the use of a file because:
- Documents are mobile responsive for optimal display to be viewed by users on all devices.
- Documents don’t need to be downloaded to be viewed.
- Assistive technologies often have difficulty reading uploaded files, so by using Documents can help you better meet accessibility requirements.
- Ally can always provide alternative accessible formats for content within Documents.
Documents cannot be downloaded although Ally can provide downloadable alternative formats. You will need to upload a file of the content if it is a requirement that the content be downloaded.
Creating a document:
- Decide where to place the document (within a Folder, inside a Learning Module or directly in the Course Outline)
- Identify the PLUS icon in the location you want the Document to appear, click it and from the sub menu that appears, click Create. Note that the interface varies slightly depending on existing content but the same principle applies.
- From the side panel on the right, select Document
- Give it a name, decided on whether to make it available and you can now start building the document
- You can add text (see below for more information on the text box editor), or add files (see below)
- When you have finished adding content, ensure you have saved any progress and navigate away.
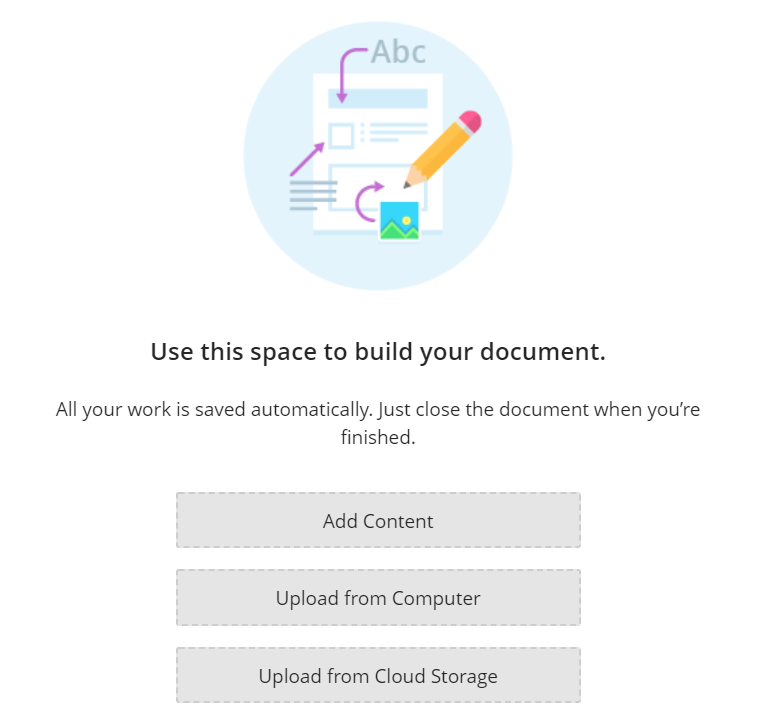
Options for adding content to a Document
As a workflow for creating Documents, select the purple PLUS icon and Add Content to add blocks of content. For example work with the Text style options to create a Title first. Repeating the process to create additional paragraph text. Separate blocks of content can also be added for presenting media content inline.
Further guidance on creating content within Documents
Adding Files
A file (such as a Word document, PDF or PowerPoint) can be added in several different places: in the Course Content; in a Folder; in a Learning Module; or in a Document.
The Upload from Computer and Upload from Cloud Storage options allow you to add files to your Document for learners to either download or view. By default, any media files you add to your Document will display inline; however, only supported media files can display this way.
The Text Editor
The Text Editor toolbar in Ultra allows you some control over the look and feel of your content.
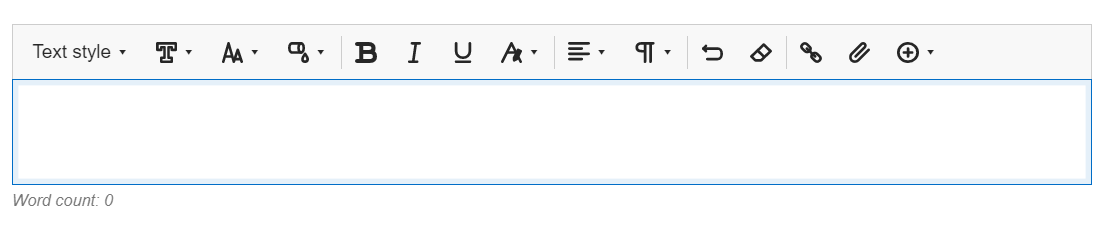
The Content Editor
You can create lists, use pre-defined styles, format the style of the text, use a math editor, create links, insert images, add video from the web, and attach files.
Guidance on working with the content editor
Blackboard Ally
Blackboard Ally will check the accessibility of documents and files uploaded to the VLE. It will also provide content in different formats. To access Ally:
- In the course content area upload an existing file (such as Word, PDF, PowerPoint)
- Once the file is uploaded the Ally accessibility score icon will appear to instructors only.
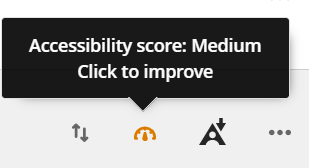
Ally accessibility score indicator
- Click on the file accessibility score and view any file accessibility issues in the instructor panel. Implement any accessibility guidelines and recommendations. Make these changes to the original file and re-upload it to the course area.
To download files in an alternative format.
- Click on the Download Alternative Formats button next to the file and select a file type to download.

Ally ‘A’ icon to download alternative formats.
For further guidance see Ally a module leaders guide to enhancing the accessibility of your modules
Further resources
Guidance on editing and managing content in Ultra