
Adjusting Panels
The default panels are snapped to the right side of your PS window. They are a fine set to begin with in Photoshop, and you can always adjust them, hide them, show them, or whatever makes the most sense to you. Photoshop workspaces are largely about personal comfort and have little to do with the so-called “correct” way to use Photoshop.
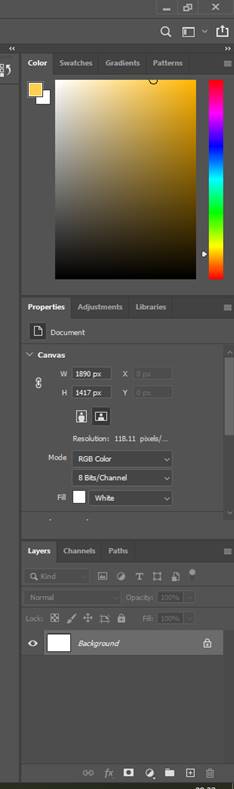
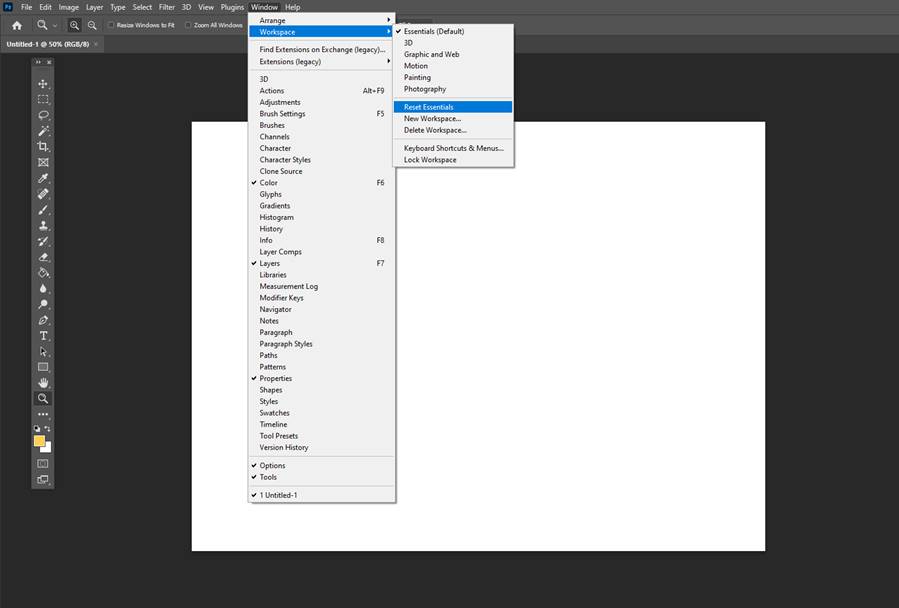
Your default set of panels from “Essentials” will look like this. If you lose any of them, you can get them back by going to Window > Workspace
The panels can be condensed by clicking the ![]() on the right of the panel. They can further be condensed or expanded by clicking and dragging on the left side of the panels.
on the right of the panel. They can further be condensed or expanded by clicking and dragging on the left side of the panels.
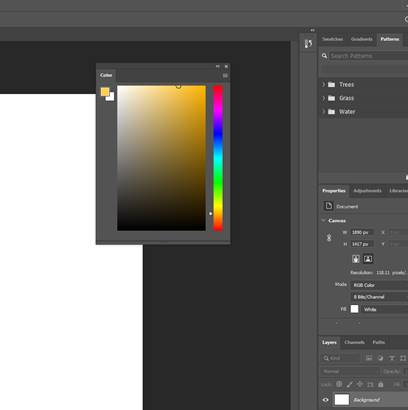
It’s also simple to create “Free Floating” panels by clicking and dragging them away from the snapped areas on the left and right.
Panels can be added back to the snap area by dragging them to the far right of your PS window. Release your mouse button when your cursor is nearly on the farthest right part of the screen, just within the dark grey window. You should see the blue line illustrated above, telling you you’re setting your new panel set to snap on the side of your screen.