When you start a new project in InDesign there are a lot of ways to begin. You can create a new document from scratch, start from a template and a lot more.
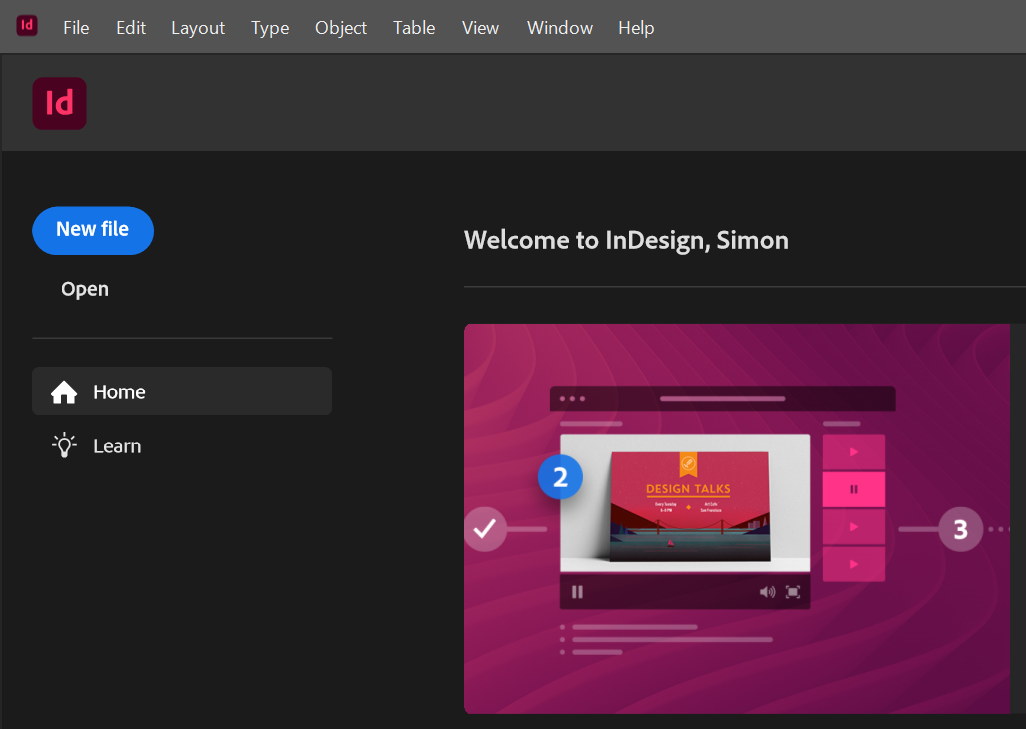
Once you open InDesign, you will see the following start screen. You can select to either create a new project or open an existing project. Regardless of where you are within a project you can always access the File menu and choose to open or start a New Project.
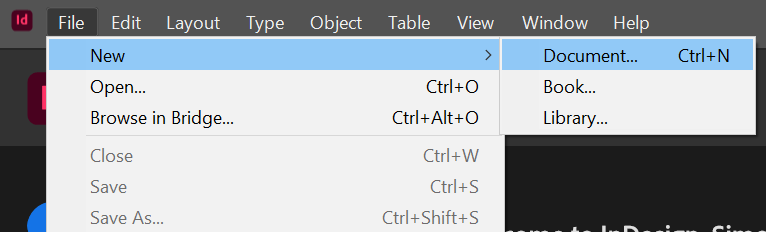
To start a new document from scratch, select the File menu and click on the New > Document or use the keyboard shortcut Ctrl+N.
You will first need to decide what type of document you are going to create, select from the different pre-set types available.
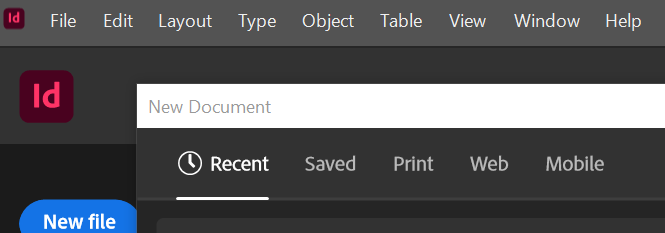
In this guide we are going to demonstrate with the creation of a brochure that is meant to be saved as a PDF to be available to be printer at a later point. Click Print to show a series of pre-set document sizes for a print document.
By choosing the print pre-set there will be several options automatically configured for you including:
Colours used and measurement units. After the pre-set has been chosen, there are several pre-set pages sizes that you can select. Click on the View all pre-sets to see all available.
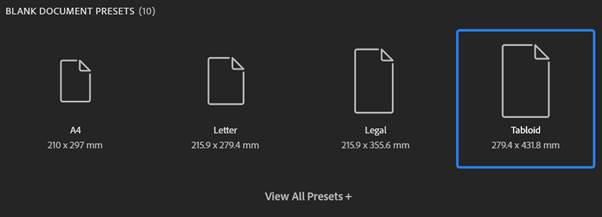
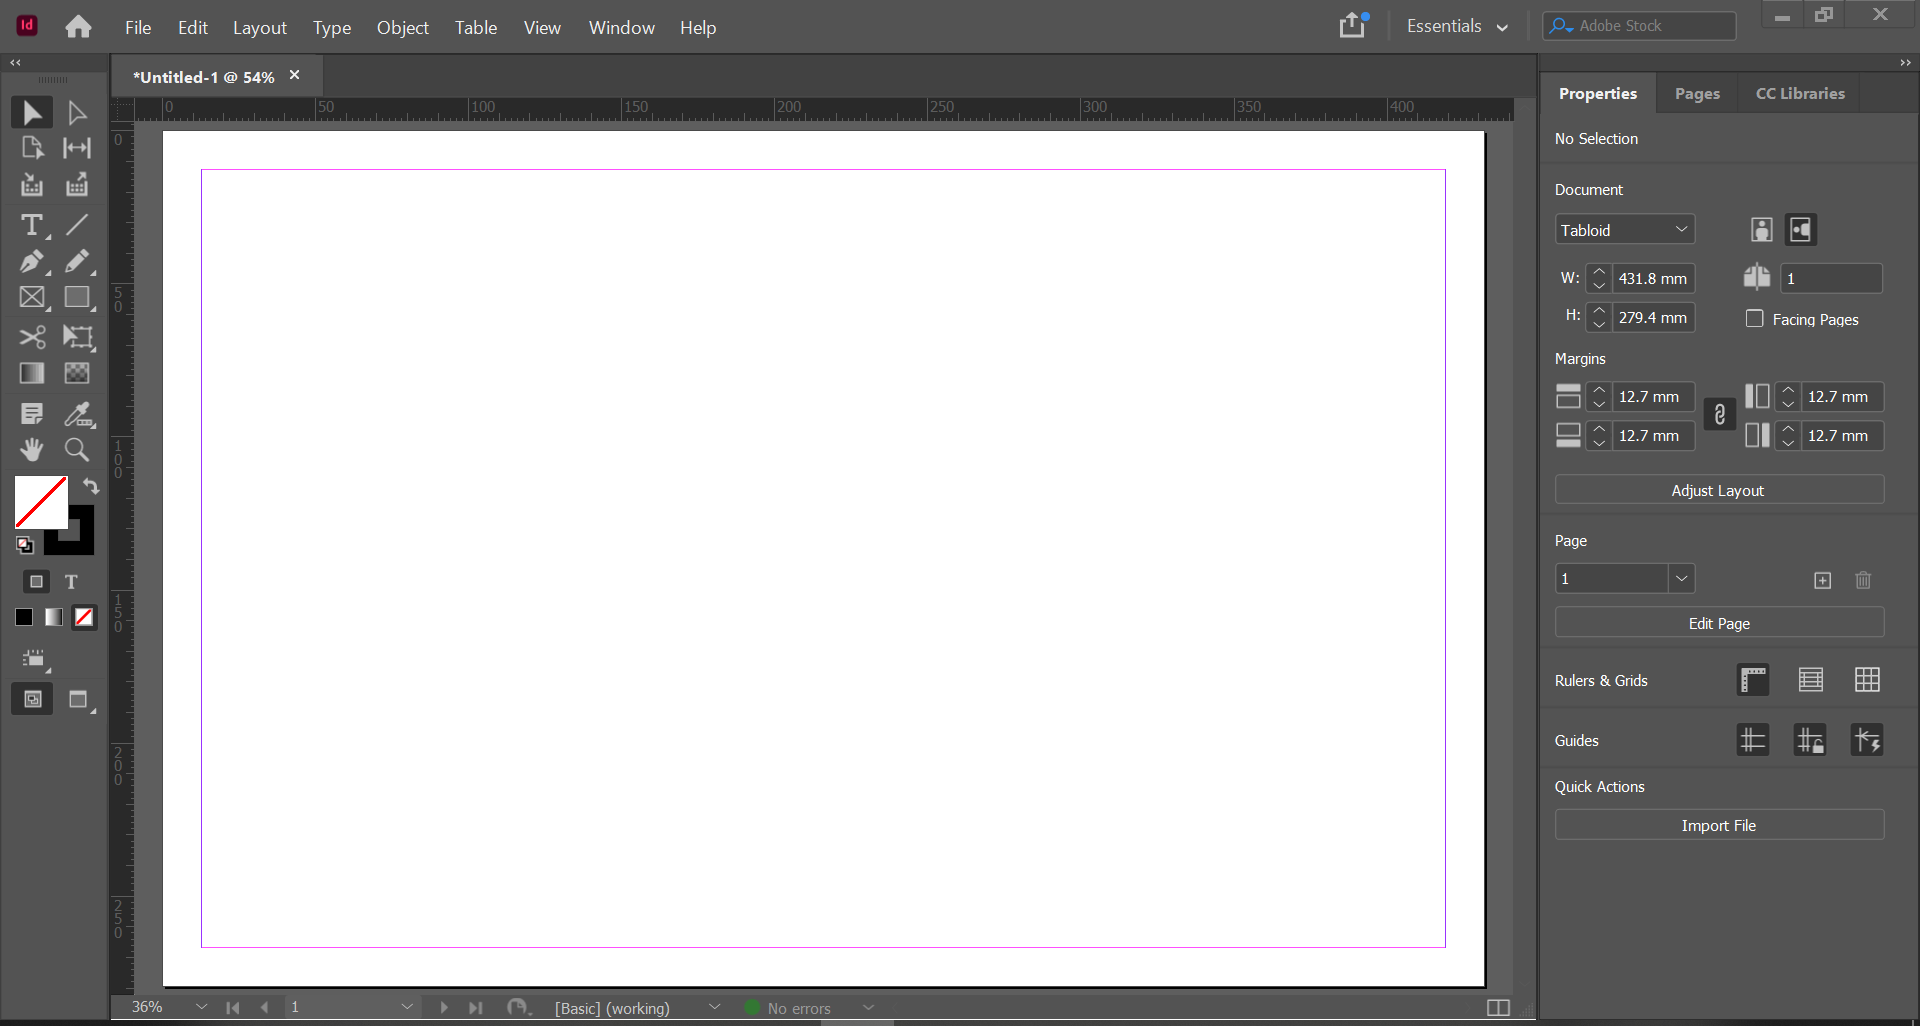
Although I am going to select tabloid I can, at point, change the size and of the other options at a later point, after the document has been created.
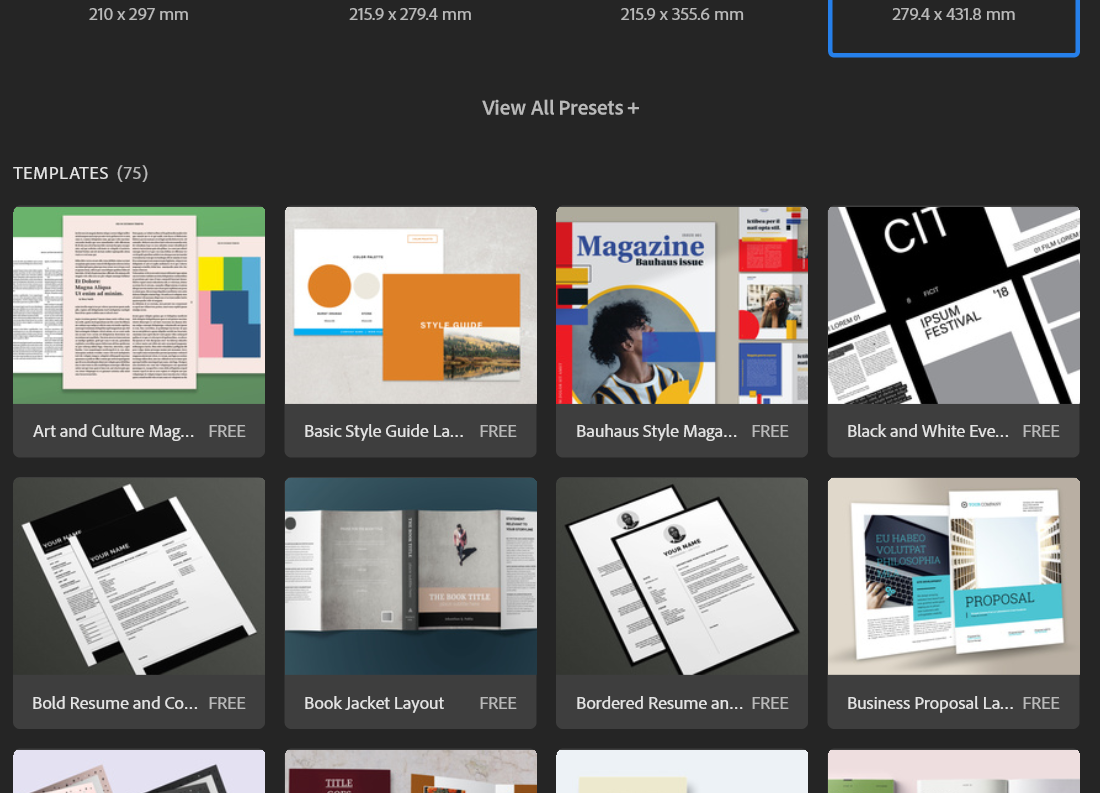
There is also a series of templates available in the new document dialogue box that are available from the Adobe stock. Using these templates is a good way to get a jump start on a new project. This repository of template is constantly growing as new templates are added by Adobe all the time.
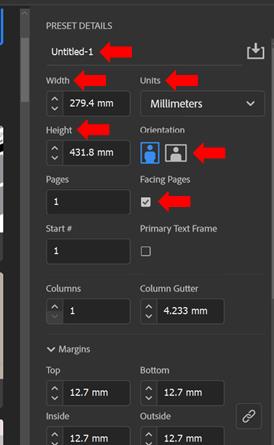
On the righthand side of the dialogue box there are a series of options that you can configure, many of these are already set based on your choice of document type or template, although some are worth quickly mentioning.
- You can change the name of the Pre-set details to match the project you are creating.
- You can change the document height and width to a custom size
- You can change the unit type the document used to measure aspects of the documents
- You can also change the orientation of the document from portrait to landscape
- Disabling the facing pages option will stop the pages being formatted as if they were in a magazine or a book
There are many other options within this menu that can be explored later, for now we have covered the most important basic settings. Once you are happy with the settings you have applied, click create to open your new document and project. Remember that you can alter all these settings at a later point.
If this is the first time you have used InDesign a basic help wizard will open to support you in getting started with your new project, you have to scroll through the three screens before you are allowed to close this pop-up. If you untick the Show at Next Launch button this wizard won’t appear again.
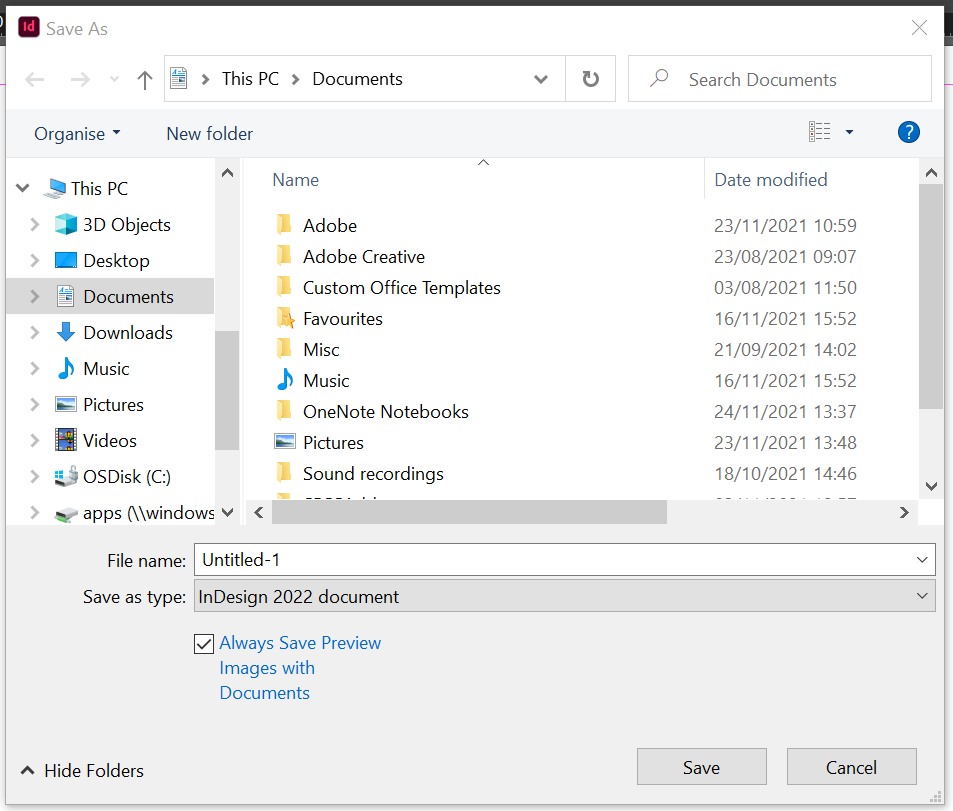
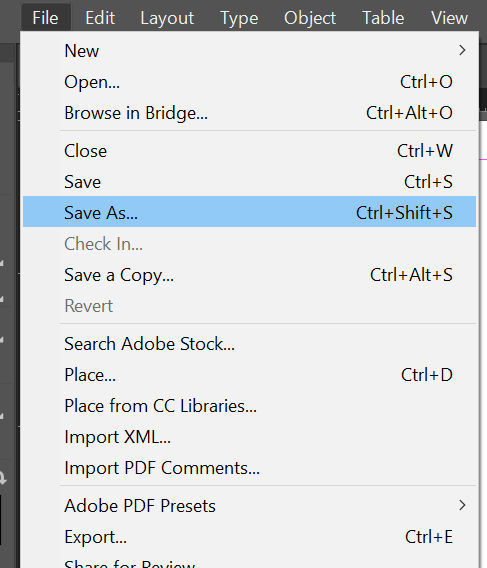
To save the document you will need to click on the File menu and choose Save, you will need to choose a location to save the document. By default, the save format should be automatically set to InDesign 2022 document, but worth checking the first time you save.
Save your documents
In Adobe InDesign we save and work in a file type called an Adobe InDesign document that has an .INDD extension, however there are a variety of other file types that you can work in and export your finished work as depending on your needs.
Other save options include:
Save As: This will all you to create an additional copy of the saved file so that any changed that have been made since the last normal save will only be saved to the new version of the file. This can be quite useful if you are wanting to track major updates you have made to the file and be able to revert to a previous, version if something has gone wrong.
As a Copy: This option will simply create a second copy of the InDesign document that can then be saved, stored or sent for later use.
Export: You can export a copy of the current InDesign project/document, using this option you can select one of a variety of different document type export options. These include:
- Adobe PDF (Print)
- Adobe PDF (Interactive)
- ePUB
- HTML
- JPEG
- XML
Each export file type has its own benefits and drawbacks.
Get around in InDesign
Let’s take a look around the layout of Adobe InDesign so that you can become familiar with the workspace and tools available.
Once a file has been opened, you will see the InDesign workspace, this is made up of the open document in the document window, the menus at the top of the application, the Tools panel on the left-hand side of the screen and docked panels on the right-hand side of the screen.
You can arrange this workspace to group and make more easily accessible items that you commonly and regularly use.
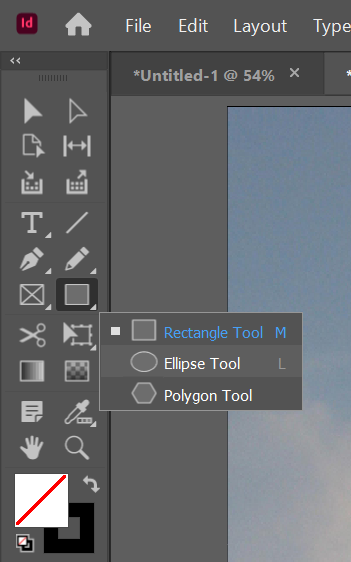
In the tools panel on the left-hand side of the screen, all the tools that are used to create and edit content in your document are stored. Any tool that has a small arrow in the corner means that it this button includes more related tools that you can choose from. For example, if you press and hold on the rectangle tool to see a menu of further tools, choose the ellipse tool from the menu of tools that appears. You will notice that once this has been done the new ellipse tool will be shown on the button.
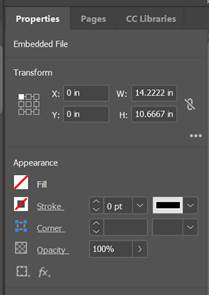
Next select the Selection tool, this is a commonly used tool that allows you to select and move content. Once it is selected, on the document click to select the entire image. The menu on the righthand side will now change to show the properties and options of the content that has been selected.
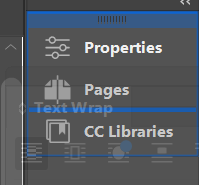
The three panel tabs listed in this menu such as the Properties panel are where you can work with pages, apply formatting such as colour etc.
The Pages panel shows all the pages in the project
The CC Libraries panel contains a variety of controls that can be used when working with documents.
You can also find a full list of all available panels to help and support you in your InDesign project via the Windows Menu.
You can also collapse and restore these panels when you need to maximise the size of the InDesign workspace by clicking on the Collapse to Icons button.

The Window menu gives you access to a variety of other panels, such as the Text Wrap panel, when you select this option the new panel opens as a free-floating window as it is not docked with the other panels on the right.
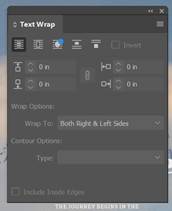
You can move free-floating panels by dragging the title bar at the top or the panel tab. You can also dock this and other panels on either the left or right of the workspace. To dock a panel, drag it by its name in the tab to the top of the properties menu (where the other tabs are located, when the blue highlight appears, release the mouse to place the panel.
After you have opened, added, reconfigured and moved some panels around your InDesign project you might find that the workspace has become overcrowed and even messy.
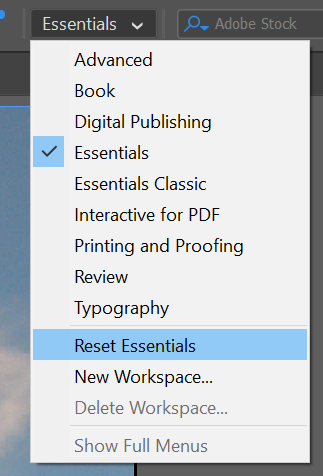
You can restore the default work by resetting the view. Select the Essentials menu from the top of the workspace and choose the Reset Essentials option to restore the original default worksapce view (Put all of the default panels back to their original locations).
Organising your workspace can make working in Adobe InDesign faster and easier.